Removing Acne with the Spot Healing Brush in Photoshop: Today I am going to talk about the Spot Healing Brush tool in Photoshop. It is a most amazing and quick process for retouching photos. We can also call it a texture replacement tool that creates a seamless repair by replacing damaged texture from one area in an image with another texture from another area of the same image. The spot healing brush tool is stunning because it applies the effect without changing the problem area’s original color or brightness values and the process is very fast. There are two types of Spot healing brush tools available. Standard healing brush tool and the patch tool (Newer options available in newer versions of Photoshop). Both tools need us to specify which area of good texture we want to use to replace the bad texture. People don’t like to read much to learn a simple thing. Let’s go ahead and see the process.
Step 1: Open the image and create a layer
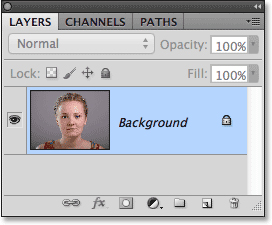
Firstly you need to open up your Photoshop software and then open your photo that needs to retouch. Now you can see the layer panel below and if you don’t see it then go to the window and click on the layer. You can see only one layer there which is called Background:
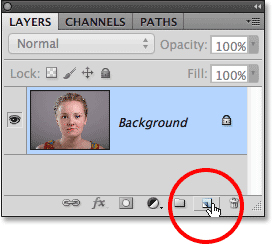
You are going to make the photo better but we need to protect the original picture in case we need the original one. Add a new layer above the background layer. Look at the image below:
Step 2: Change the name of a new layer
By default, you will see a new layer above your photo with the name of ‘Layer 1’. You can change the name; in this case, I am replacing the name with ‘spot healing. See the image below for reference:

Step 3: Select the Spot Healing Brush
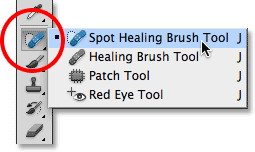
Now it’s time to select the Spot healing brush tool from the tools panel. If you don’t see the ‘tool panel’ then just go to ‘Window’ and click on ‘Tools panel’. Click on it and hold your mouse down for a second then you will see a submenu. Now select the Spot healing brush tool from the menu. See the image below for reference:
Step 4: Select the “Sample All Layers” Option
By default, the Spot Healing Brush works only with the layer that’s currently selected in the Layers panel. That will cause us some problems if we try to use it right now since we have a blank layer selected, which means all we’d be able to do is replace nothing with different nothing. We need to tell Photoshop to look at the image on the Background layer as well. To do that, select the Sample All Layers option in the Options Bar along the top of the screen:

The tools work only with the layer that is currently selected in the layer panel and it will create some problems. Here we need to specify Photoshop to look at the image on the background layer as well. To make it happen we need to select the ‘Sample All Layer’s option in the Options Bar along the top of the screen. Have a look at the image below:
Step 5: Select “Content-Aware”
Newer versions of Photoshop have some amazing options. Content Aware is one of these. If you are using Photoshop CS5 or newer make sure you have selected the ‘Content-Ware’ in the Options Bar:

Step 6: Click on the Problem Spots to Heal Them
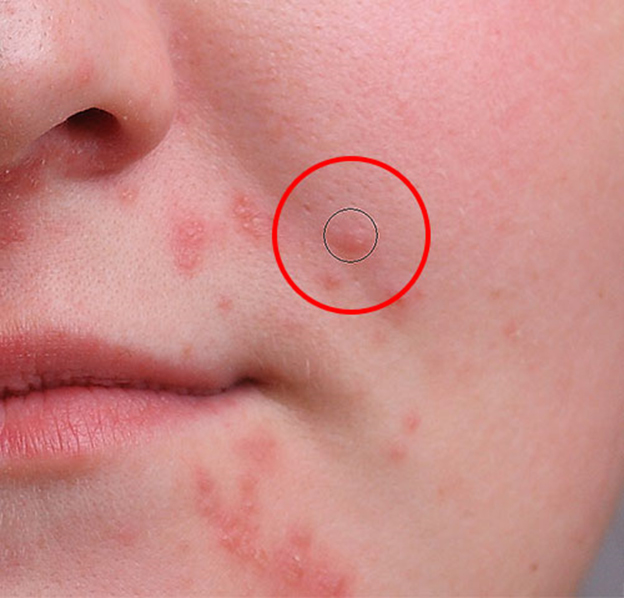
Now all is set and all you need to do now is click on the problem areas in the photo to correct them. Look at the picture below where you can see inside a red circle they are cleaning acne from a face. Keep clicking everywhere where you need to fix:
People do mistakes so you may make mistakes here too. If that happens just press Ctrl+Z in windows and Command+Z with Mac and try again.
This is how you can use the ‘Spot healing brush’ tools to retouch your photos. Thanks for reading this post about Removing Acne with the Spot Healing Brush in Photoshop.