Disclaimer: This blog is for general informational and inspirational purposes only, based on publicly available information and personal insights. Images—whether of models, screenshots, or products—are for illustrative purposes only and do not depict actual subjects, scenarios, or views described. We do not intend to offend or conflict with any societal, cultural, religious, or political values.
 This image is used solely for illustrative purposes. We do not intend to offend or conflict with any societal, cultural, religious, or political values.
Essential Post Processing Photoshop Tips: Post Processing- What exactly does this term define itself? As far as I understand, it means to edit a picture and translate it into perfect imagery. Many software these days are used for post-processing but the ones that have made a permanent resident in every designer’s computer are Photoshop and Lightroom. You can depend upon the post-processing capabilities of this software. Even much more than Lightroom, people like to use Photoshop. This article is also based on the essential post-processing techniques of Photoshop and how they can alter any image going from dull to highly blissful.
Essential Post Processing Photoshop Tips. Follow The Tips:
#1. Layout and Organizing:
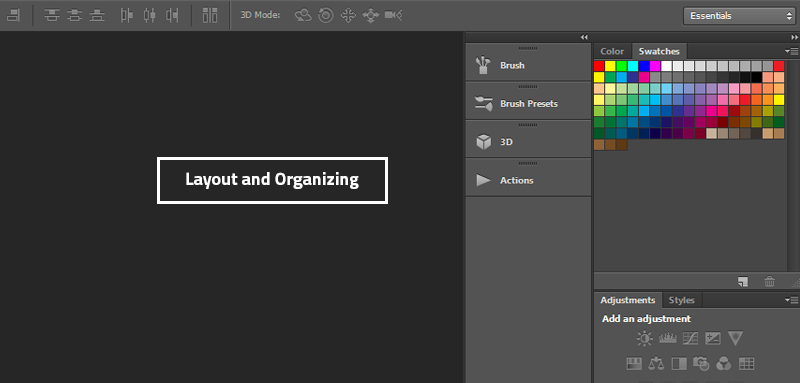
It is necessary to keep an account of the efficiency of your work in Photoshop. On a primer note, you can give a boost to efficiency by organizing and optimizing the layout of Photoshop. You must be wondering why is it so necessary. Well, it is to configure the way you want the canvas and panels to look. It is also highly recommended for designers who like to improve their workflow. Here is what you need while you perform the Photoshop Layout edits:
- You need to stay focused and very particular about all options you want. For this, you must delete the extra panels from the menu, especially those that are of no use in your editing endeavor. In this way, you will have some extra workspace as they just keep getting in the way.
- The panels have to be organized completely based on your workflow. When the to-be-used windows are paired, it will allow you to work faster and the adjustments can also be made with less trouble.
- To have a larger view of the image, you need to adjust spacing and arrange panels perfectly on the screen.

Creating Photoshop layouts can really help you in saving ample time and make your designing easy and spontaneous. The process of saving your workspace is very simple. You just have to go to the top-right corner of the PS window. When you click there, a drop-down menu will open. As you click on New Workspace, another screen will pop up. So, guys, this is your playground where you can save shortcuts and menus within the layout. For routine post-processing, preset layouts are of great use. This is where our first step ends.
#2. Gracing with Basic Effects:
So now you have made all the layout arrangements. You can now finally begin the process of editing. Every designer has his own set of rules and standards to follow while editing. You can disregard this section as you might have your own taste and style of editing. I would like to share my process of editing. There are certain steps being followed by me conscientiously as I begin edits.
I usually begin by creating a duplicate layer of the image I work on. This is to make sure that I don’t end up ruining my original image if any edit goes wrong. Then I prefer adding some adjustment layers in order to balance the image light. The below image can give you a complete insight into what the screen looks like at this point.
With the help of this effect, you will be able to make an accurate adjustment of colors in a playful way. To make further balance the image, I play with the brightness and contrast of the image. In the below image, you can see the tabs that will help you in making respective adjustments.
So, these are all elemental steps that are taken under consideration before the actual show. All these tasks are done to prevent any sort of error and balance the light. As I said earlier, you can follow your own style while making the preparation as every designer has their own style of working.
#3. Organizing The Layers:
Now, this is the time when we can begin with the editing. Firstly, to add more efficiency to your work, it is recommended to arrange and organize all the layers. You can group your layers according to the way you want to use them. For further assistance, you are also recommended to rename the layers according to the kind of effect you want to use for them. When finished, you can now take a brief look at all the layers and begin with the edit process. It is recommended to keep one layer on at a time in order to avoid any kind of confusion. As you have already renamed the layer according to its editing requirement, you will be able to work on each layer adeptly. During the process, you can also decide on the layers that are to be deleted from the scene.
How I Group My Layers And Label Them?
Well, I have a very direct approach to labeling my layers so that I can easily understand the process to be applied, even if I happen to edit them after a while.
- Gradient and vignettes group
- Strong Filters Group
- Light Adjustment Group
- Color Variations and Tints Group
Therefore, as I specify the requirements of groups differently, it becomes easy to handle each and every group separately. In this way, the editing becomes super fast and super convenient. Even if you want to re-edit any effect, you just have to discover the group and make the adjustments.
Smaller Adjustments:
Photoshop is all about delivering your best results. There are certain subtle effects that can give a complete renovation to the image and enhance its appeal. The tools that are used to give these effects are:
- Level Adjustment Tools
- Tints
- Blend Modes
Here is what blend mode can do as you can see the difference in the image. Only with the help of a single click, you can make a huge difference. It is always recommended to keep a duplicate layer, as I mentioned earlier. With the duplicate layer, you can play with different types of blending modes and discover the different effects. These are brilliant in-built effects that help in one-click editing. Basically, these modes say for the pixel performance on every layer and their behavior. Different modes are packed with different effects so it is always recommended to the user try all the modes and also keep a few in mind for future reference.
However, these modes can be used in different ways but the elemental way is:
- Create a duplicate layer of your image
- Double-click your layer and enable the options
- Go to the Blend Mode drop-down menu and select the effects.
You can also select the modes from the panel after enabling the layer.
After the selection of the mode, you can now make further edits like adjustment of opacity, etc. according to the need of the image. My personal favorite modes are a screen, lightning, overlay, and soft light.
Furthermore, to add a more subtle effect, you are recommended to set levels of the adjustment layer. To add a new adjustment layer, follow the steps:
- Go to layer
- Click on the new adjustment layer
- Select the layer you like
As the new screen appears, you can now make the required alterations.
Essential Post-Processing Photoshop Tips. Summarizing:
I personally find these techniques boost my efficiency in designing to a large extent. So here is a quick follow-up for all the steps that you have learned in this content.
- To boost the workflow, you need to create new Photoshop Layouts. This will help in easy and instant work on designing
- Always use some of the primary effects
- Grouping and labeling the layers will always make a difference and you can work with more ease
- Always add some blending modes in your editing.


