Disclaimer: This blog is for general informational and inspirational purposes only, based on publicly available information and personal insights. Images—whether of models, screenshots, or products—are for illustrative purposes only and do not depict actual subjects, scenarios, or views described. We do not intend to offend or conflict with any societal, cultural, religious, or political values.
In this valuable article, we briefly describe and analyze How to Photoshop Someone Into a Picture. A photo conveys the emotion and charms of life. Suppose you found a great photo background frame, but unfortunately, it’s impossible to capture yourself there. Will you feel disheartened? Don’t be so; instead, dive into execution to edit the photo with Photoshop that unlocks the creative world of features.
If you want to Photoshop yourself, all you need is enough patience with diligence and appropriate guidance as a newbie. This blog will guide you on How to Photoshop Someone Into a Picture. So, let’s jump into the details to explore the idea and make it happen.
The Groundwork to Photoshop Someone Into a Picture
Good preparation brings out the best output. Therefore, you should make a good preparation, whether you are a pro or a beginner, to Photoshop Someone Into a Picture. Let’s have a quick view of what to do as the groundwork to photoshop someone into a picture:
- A certified Photoshop software with a good PC.
- Proper direction to execute the process smoothly.
- It is essential to pick the right image cut out from separate photos.
- Match two photos’ visual consistency for the best combination. Hence, both images should be similar in lighting, outlook, and overall atmosphere to ensure an authentic look.
- Last but not least, patience with persistence to make out the best output.
How to Photoshop Someone Into a Picture
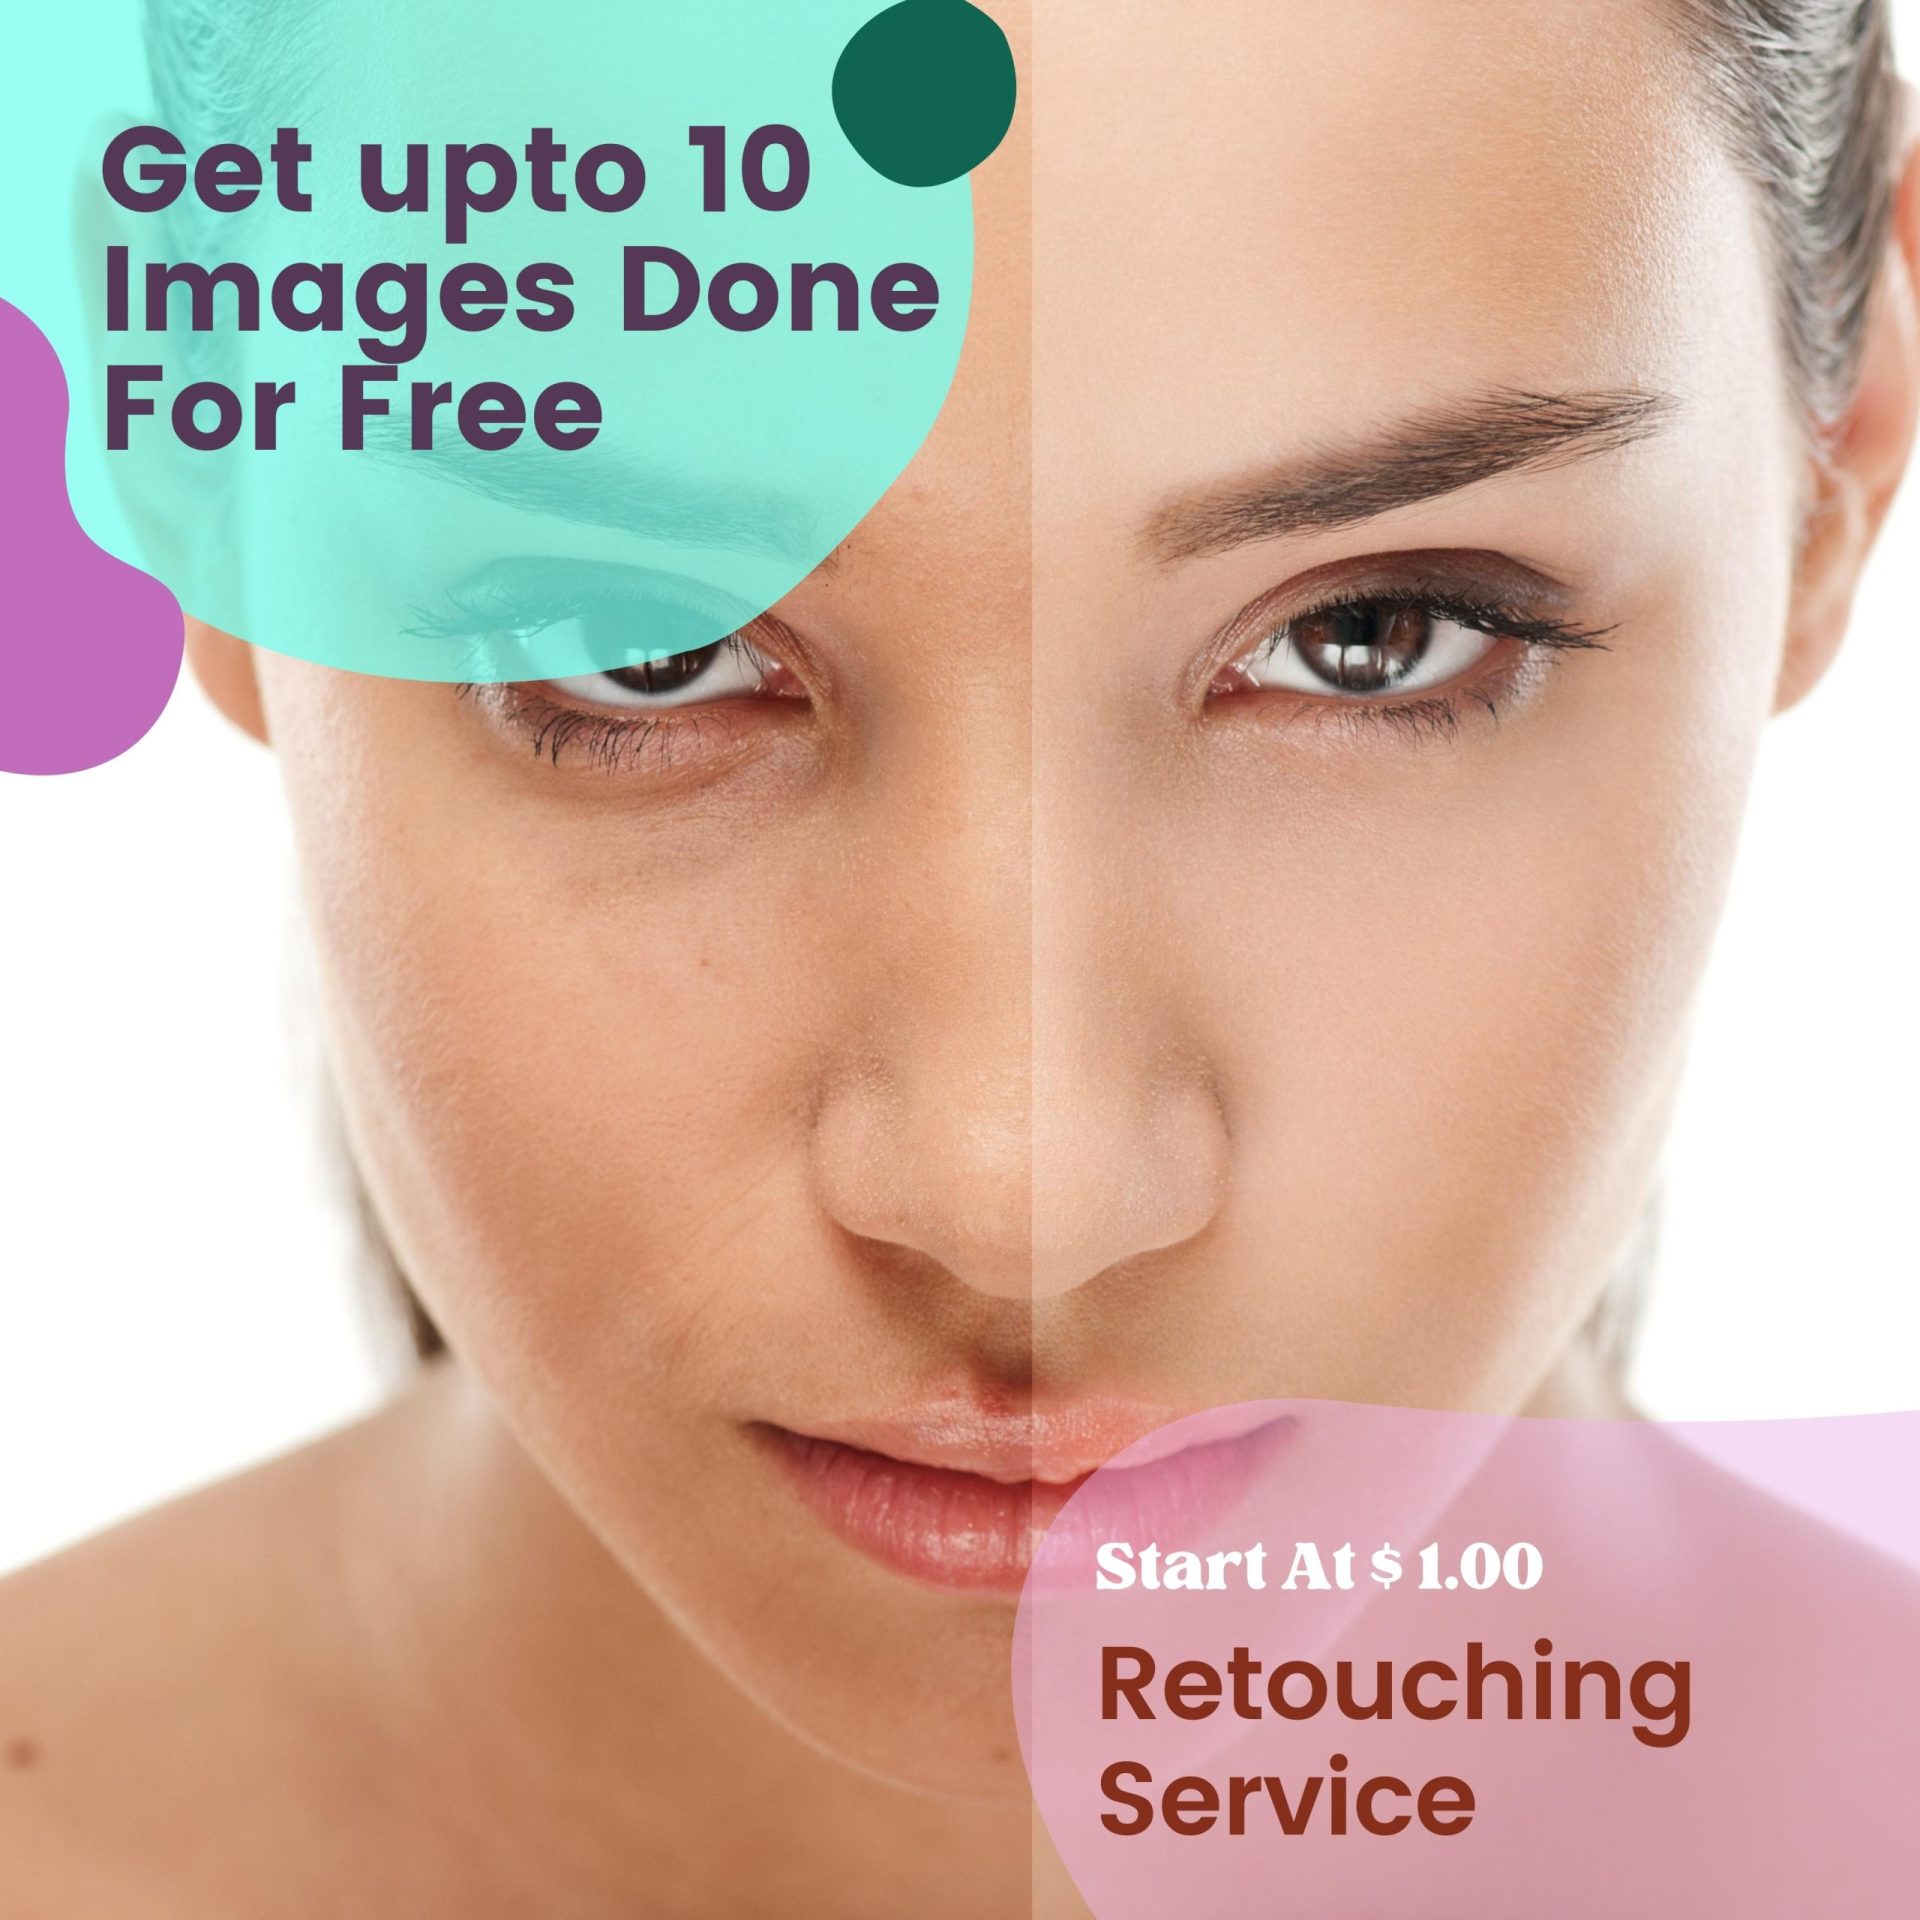
 This image is used solely for illustrative purposes. We do not intend to offend or conflict with any societal, cultural, religious, or political values. Image Source: Unsplash
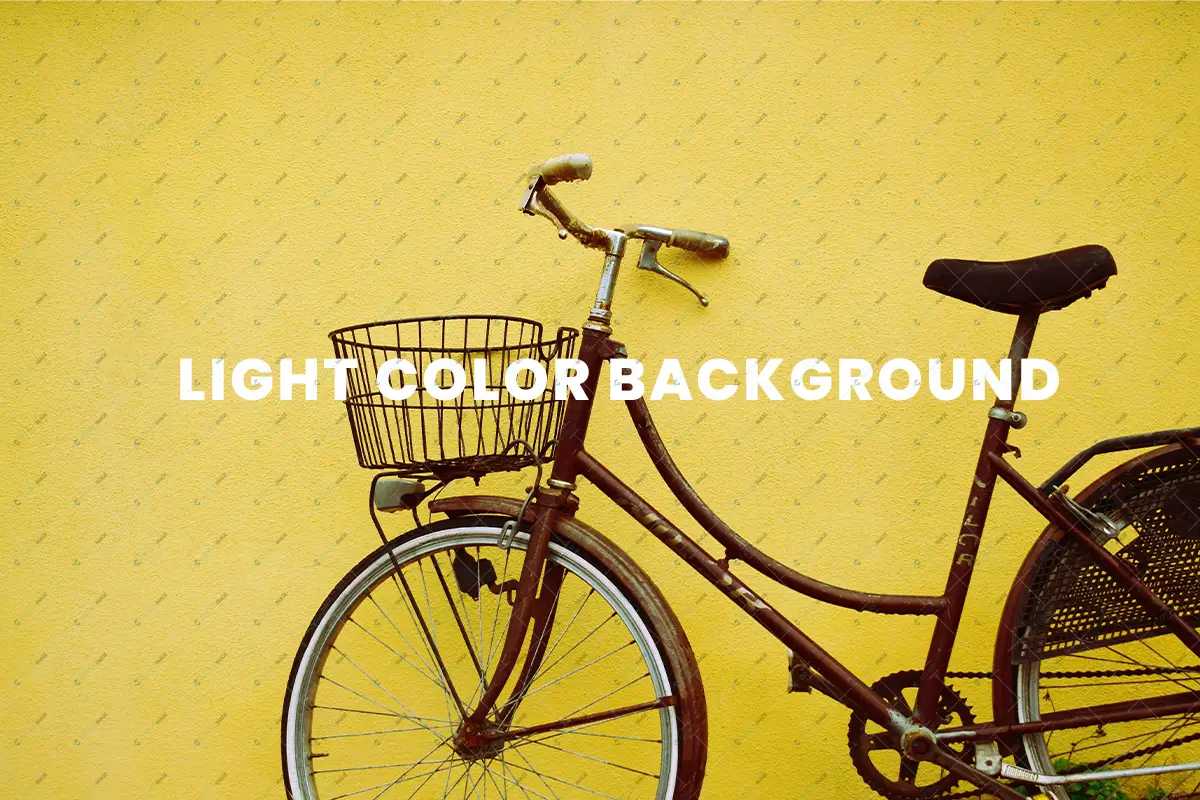
Photoshopping is altering a photo using Photoshop Software. It is more than photo editing like color correction, adjusting exposure, removing noise, cropping, etc.
It is fun for professionals but difficult for a beginner. However, please read this blog thoroughly and follow the guidelines to make it happen. Let’s know the process step by step:
Step-1: Open images
First, load two photos that you want to work on. One picture includes the background, while the other consists of the subject.
Step-2: Replicate the background layer
Replicate the background layer. Choose the background layer and double-click on the mouse’s right button. It will help to keep a backup background for future needs.
Step-3: Outline the subject
Pick the image you expect to extract the background and outline the subject using any selection tool. For instance, you can utilize the Lasso Tool, Quick Selection Tool, or Pen tool to trace the issue. However, a beginner should use the Lasso tool to remove background from image more accurately.
After selecting the tool, you have to outline the subject creating paths around the issue. Then, continue to generate the path until you meet the first path point. Don’t worry if you are not perfectly outlining because we will refine it later.
Step-4: Copy the subject
After outlining the subject, copy the outlined part by going to the Edit bar and selecting the copy option. Then, you can hold Ctrl+C to copy it in the shortcut.
Step-5: shift the subject
Now paste it into the new background where it appears most realistic and appropriate. Finally, you can move the subject to any convenient place using the Move tool.
Step-6: Resize the subject
Adjust the subject with the background carefully. Then, using the Free Transform Tool, you can alternate and rescale the layer according to your preference.
Step-7: Accommodate the subject
You will have to remove the unwanted objects from the photo. Utilizing the History Brush tool is the most manageable way. You can adjust the brush size.
You also can add a mask to protect the selection part and define the unwanted portion. After removing the unwanted part, you can remove the cover. Carefully follow this step since proper execution will make sound output, and improper one will result in an unmatched photo.
Step-8: Refine Hair
Select a mask to fix the hair part that brings up a new panel. Then, select ‘Refine Hair’ from the available option to get a proper selection of the hair. This option is a bit challenging, but you have to at least try this if you want to get a good result.
Step-9: Polish up the Edge
If you shift the subject to a new background, you will find a small portion of the previous background on the edge that might distract the view. To resolve this, you need to refine the edge. Therefore, go to the Select bar to pick the Modify option. Next, choose the Contract option and set the value as 01 to put the final touches for polishing up the image edges.
Step-10: Blend the Subject
Now again, go to the Select and Modify option to choose the Feather option. Set the value accordingly to slightly blur the edge and blend the subject into the new background.
Step-11: Refine the subject
There should be consistency in the background lighting and the selection image. That’s why you have to adjust the lighting and shadows using curves.
Step-12: Add shadow
A shadow can help to make your selection look natural. Lowering the curve, you can add a shadow at the feet easily. Put the brush hardness to 0 to soften the shadows.
Now, alter the shadow layer into an overlay and copy it to amplify the shadow. Continue to adjust the shadow until it becomes flawless.
Step-13: Save the final result
After following the above step properly, you will get the final output. Save the final result. These are the typical steps that you can apply to photoshop any photo.
Following the above steps, now you know How to Photoshop Someone Into a Picture. However, practice makes a man perfect. So, you might not have an excellent result on the first try, and don’t be disappointed by that. Try and try. Moreover, if you want to save your time and get professional development, pass the buck to Cut Out Image. The hotshots of Cut Out Image are convenient with the process, and they can offer you a reasonable price.
Why Should You Photoshop Someone Into a Picture
Photography is fun, whereas photoshopping is more fun and creative. In addition, photoshopping offers you the chance to increase the worth of your memory by turning an ordinary photo into special.
Let’s know more reasons you should learn why you should Photoshop Someone Into a Picture.
Altering The Background: Sometimes, you feel the background is inappropriate after capturing the photo. Sometimes, you have caught a great landscape natural shot and wish to pose in that background, but that is not possible. In this scenario, you should Photoshop yourself into a Picture.
Touching-up: Photo retouching is essential for model photography and E-commerce photography. You must have seen a billboard advertisement where a model posed on a not achievable background. It was possible by photoshopping the model into the picture.
Tell Stories: A picture is a storyteller. A camera can’t always capture the moment perfectly to tell the story and photoshopping aids in making it happen. So, you recreate a story by learning the process and getting attention.
In this blog, I have tried to elaborate on the whole process of How to Photoshop Someone Into a Picture step by step. I also have mentioned the reason for doing this. So, read thoroughly, practice, and create a great picture. Best of luck. Don’t miss to convey your feedback.