Disclaimer: This blog is for general informational and inspirational purposes only, based on publicly available information and personal insights. Images—whether of models, screenshots, or products—are for illustrative purposes only and do not depict actual subjects, scenarios, or views described. We do not intend to offend or conflict with any societal, cultural, religious, or political values.
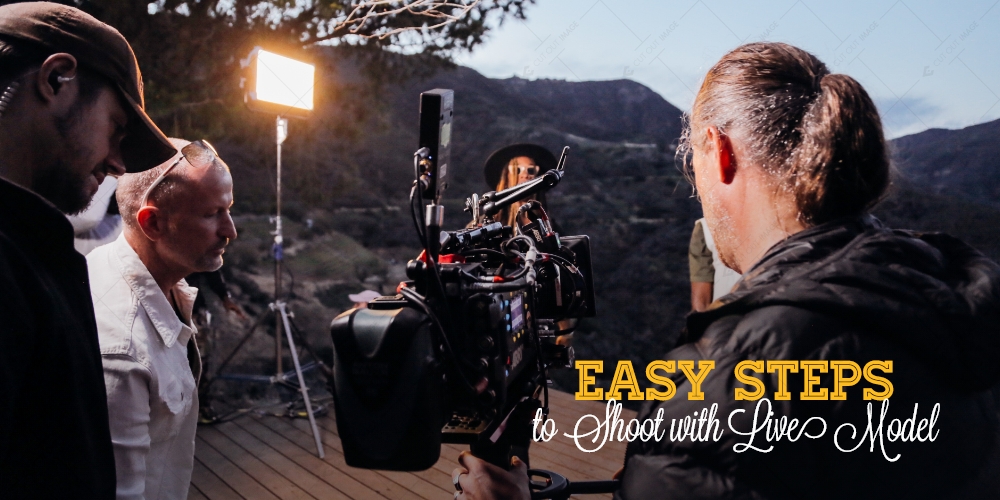
You must have listened to and viewed the live model photography; it is very common in every website focusing on the online selling of the products. The products are sold to the customers by displaying with the live models or by using a mannequin. The main aim of the online seller is to drive more and more sales by showing the product in the most appealing and dazzling look which standout in the minds of first of the customers in the first meet. In this, model photography has steal importance as it is the perfect way to create the professional, original, and well-executed look of the product and it also makes the customers visualize the product and its shape and size assuming as it is worn by them. So learn these seven steps if you want to create the magic inthe looks of the product. So let’s begin:
Choose the model
This is the obvious thing for shooting with the model you have to first choose your own model ready to work with you at your listed price. Another important point to be considered while choosing the model is to see whether your product will look good on your selected model or not according to the shape and size of the product and if does not look as you desire then you can easily change the model depending upon your requirement. For better results, you have to maintain consistency by working with the same model that you have selected for displaying your entire product range.
Space set-up
Space set-up is essential to manage both the equipment and the model. Various equipment like cameras, white paper, tripod, and lighting equipment need space for product shoots. You also have to consider that your model will get enough space to move freely to follow your directions and to focus exactly in the frame. You can set the backdrop boundaries also as it will help to know the model stays in the frame and exactly knows where to aim the camera. Just remember you can use any backdrop or image stabilization of your choice but you have to maintain that with all your products to ensure consistency.
Have the proper light
The most important requirement for the shoot is adequate lighting which is very necessary for your images to stand out. The not-too-fin-all lighting equipment is Speedlight, umbrellas, and continuous softbox lights with stands. You need to properly manage this equipment with the setup and ensure the light dropping on the model is not be too harsh or if it is you have to change the angle of the speed lights. Keep on experimenting with the lighting until the model arrives to get the perfect pictures.
Positioning your model
Now the next step requires you to position your model in the space you prepared to achieve your vision. Make the model understand your vision so that he can effectively take the right position. You can make it more convenient by making the cross on the floor according to your camera position from where you get the perfect shots. It will also be easy to work for the model by following the X mark.
Always shoot in the wide frame
There are many requirements for all the websites regarding cropping and margins which you need to comply. For this you really need to shoot in a wide frame means you have to leave ample space around all the sides of the model so that you can make the required adjustments easily.
Direct your model
Model works on your directions so try to give them directions that will go with your vision. You can tell them to look in different directions according to your requirements. Prefer to take multiple shots from various angles and in various poses to select the est images from that. Don’t elaborate to avoid customer distractions.
Post-production
You cannot complete the process without post-production because it is very relevant to make adjustments like cropping, skin touch-ups, lighting adjustments, wrinkle removal etc. to give the perfect and pleasing look to the images in ra eal manner.
Follow these steps for model photography to communicate the accurate shape and size of the garment to your customers.