Disclaimer: This blog is for general informational and inspirational purposes only, based on publicly available information and personal insights. Images—whether of models, screenshots, or products—are for illustrative purposes only and do not depict actual subjects, scenarios, or views described. We do not intend to offend or conflict with any societal, cultural, religious, or political values.
The holiday season is filled with joy and cherished memories. One fantastic way to capture those special moments is through Christmas photography.
“Christmas isn’t just a day; it’s a frame of mind.”- Kris Kringle.
Whether you want to capture the joy of opening presents, the warmth of family gatherings, or the sparkle of the Christmas lights, you need some skills and techniques to make your photos stand out.
In this blog, we will guide you on how to take and edit Christmas photos, providing insights and tips to help you create stunning and magical images that will be treasured for years to come. Whether you’re a beginner or an experienced photographer, this guide will equip you with the knowledge and techniques to capture the beauty and spirit of the holiday season.
Are you ready to learn how to take and edit Christmas photos? Let’s get started!
Plan Your Christmas Photoshoot and Editing
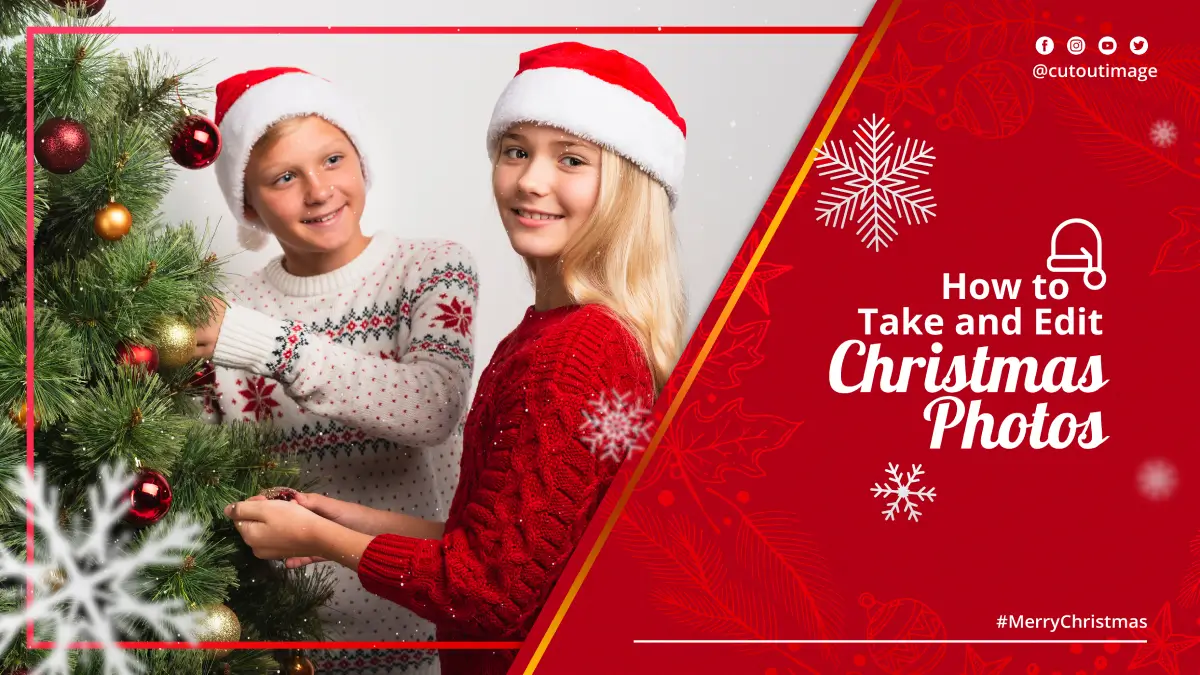
 This image is used solely for illustrative purposes. We do not intend to offend or conflict with any societal, cultural, religious, or political values. Image Source: Unsplash+
Before you start taking photos, you need to do some planning and preparation. Planning is an essential step for capturing and editing Christmas photos. It helps you save time, avoid stress, and reach your desired goals. By carefully considering various aspects of the process, you can ensure that your photos turn out well, tell a story, and evoke the holiday spirit.
Here are the things to consider when planning your Christmas photoshoot:
Start with a Concept: Before you even pick up your camera, spend some time brainstorming and deciding on a concept for your Christmas photos. Think about the mood you want to convey, the story you want to tell, and the overall message you want to communicate. This will give your photos direction and purpose.
Pick Date and Time: Schedule your photoshoot well in advance and choose a date and time that works for everyone. Avoid taking photos when the sun is too bright or too low, as it can create harsh shadows or glare. Try to capture the golden hour when the light is warm and soft.
Plan Location: Once you have a concept in mind, choose a location for your Christmas photoshoot that suits your theme and style. It can be your living room with a decorated Christmas tree, an outdoor setting with snowy landscapes, or a cozy fireplace with festive decorations. Make sure the location is safe, accessible, and has enough space for your equipment and props.
Plan Setup: Plan and set up props, backdrops, and any additional elements that will enhance the festive atmosphere. You can decorate your location with festive items, such as a Christmas tree, wreath, garland, ornaments, stockings, candles, etc. Consider the lighting conditions and make necessary arrangements to ensure optimal lighting for your photos.
“Freshly cut Christmas trees smelling of stars and snow and pine resin—inhale deeply and fill your soul with a wintry night.”- John J. Geddes.
Coordinate Outfits: To make your Christmas photos visually appealing, coordinate the outfits of the people involved in the shoot. Plan to wear an outfit using a color scheme that complements the holiday theme. Matching or complementary outfits can create a cohesive and festive look.
Plan Capturing Candid: While it’s great to have posed shots, don’t forget to capture candid moments that reflect the genuine joy and emotions of the holiday season. So, include capturing candid moments in your plan to evoke the warmest memories and emotions.
Pay Attention to Composition: Composition is key to creating visually appealing photos. Learn the rules of thirds, leading lines, and symmetry to use and create balanced photos. Also, plan to try different angles and perspectives to add a unique touch to your photos.
Helpful Blog: If you plan to capture from different angles, check How to Shoot Dutch Angle Photography.
Plan for Edit: Not even a professional photographer can capture perfectly within a single shot. So, to make your memories more stunning and flawless, plan to edit using different photo editing software or apps. Check out different tutorials to edit photos.
How to Take Christmas Photos

Now that you have planned your photoshoot, you are ready to take some amazing Christmas photos. Here are the guidelines on how to take Christmas photos that will wow everyone:
A) Camera Settings:
Adjusting camera settings is key to capturing perfect shots. A few ways to execute this are:
- White balance: Set your white balance to match the color temperature of your light source. You can use the auto mode or choose a preset, such as daylight, cloudy, tungsten, or fluorescent, depending on your situation.
- Exposure: Adjust your exposure to control the brightness and darkness of your photos. You can adjust the exposure compensation feature or use the histogram to see the distribution of tones and prevent overexposure or underexposure.
- Shutter speed: Adjust your shutter speed according to your needs. A fast shutter speed will freeze the motion, and a slow shutter speed will create motion blur. You will need a tripod or a remote trigger to avoid the camera shake.
- Aperture: A large aperture (small f-number) will create a shallow depth of field, and a small aperture (large f-number) will create a large depth of field. You can use a large aperture to blur out the background and create a bokeh effect with the Christmas lights.
- ISO: A high ISO will make your photos brighter, and a low ISO will make your photos. You can use a low ISO to avoid noise in low-light situations.
B) Lighting:
Effective use of lighting can make all the difference in your Christmas photos. Here are some guidance on how to work with lighting:
- Natural light: Maximize the use of sunlight whenever you can. You can use window light, which is soft and diffused, or outdoor light, which is bright and direct. You can also use reflectors, such as whiteboards or silver foil, to bounce the light and fill in the shadows.
- Artificial light: Use artificial light when natural light is not available or sufficient or when you want to create a specific effect. You can use flash or continuous light. You can also use fairy lights, candles, or lamps to create a cozy and festive atmosphere.
- Light direction: Consider the direction of the light and how it affects your subject and background. You can use a front light, backlight, or rim light. You can also use side lights or top lights to create different effects.
Helpful Blog: Check out my blog, ‘Mastering the Basics of Product Photography Lighting,’ to learn more details about lighting.
C) Composition Techniques:
Composition is the arrangement of elements in your photos. Mastering composition techniques can transform your Christmas photos into visually stunning works of art. Here are some techniques to improve your composition:
- Rule of thirds: Divide your frame into nine equal parts using two horizontal and two vertical lines, and place your subject or points of interest along the lines or at the intersections. It will create a balanced and dynamic composition.
- Leading lines: Use lines, such as roads, fences, or branches, to guide the viewer’s eye to your subject or a focal point. It will create a sense of depth and direction in your photos.
- Framing: Use objects, such as windows, doors, or arches, to frame your subject and draw attention to it. It will create a sense of perspective and context in your photos.
D) Poses and Expressions:
Capturing authentic emotions and expressions is the essence of Christmas photography. Here are some tips on how to pose and express yourself or in groups naturally and effectively:
Individuals: For individual portraits, you can use different angles to show different aspects of your face and body. You can also use props, such as a book, a mug, or a gift, to add some interest and interaction to your photos. Here are some Christmas photo ideas for individuals that you can try:
- Selfie beside a table full of holiday treats
- Snowy portraits wearing a colorful coat, scarf, or hat.
- Portrait yourself in Christmas lights, bokeh.
- Cozy and warm photo sitting by the fireplace, on the couch, or on the bed.
- Pose with your Christmas tree.
- Take pictures of your handmade Christmas ornaments.
Groups: To capture the festive spirit and the bond among the group members of friends, family, or colleagues, you can try different poses and formations. Embrace, hug, or kiss one another to express your love and intimacy. Group photos for Christmas also include implementing Family Christmas Photoshoot Ideas. Here are some Christmas photo ideas for group photos:
- Festive Family Portraits
- Working on decorating a Christmas tree
- Baking fun session with the family
- Outing to the Christmas market
- Tour to the snowy landscape
- Special events during the holiday season
- Enjoying a warm drink with the group
“Christmas works like glue, it keeps us all sticking together.”- Rosie Thomas.
Candid moments: For candid moments, you can capture the spontaneous and natural actions and reactions of your subjects, such as laughing, playing, or opening presents. You can use a fast shutter speed to freeze the motion and a large aperture to blur out the background. You can also use a remote trigger or a self-timer to join in the fun and be part of the photos.
Expressions: For expressions, you can use your eyes, mouth, and facial muscles to show your emotions and feelings. You can smile, frown, wink, or pout, depending on the mood and tone of your photos. You can also use your voice, music, or jokes to elicit genuine and natural expressions from your subjects and you can also use a mirror or a selfie mode to practice and perfect your expressions before taking photos.
How to Edit Christmas Photos

You can make your pictures look better by changing them with some tools. You can also correct any errors in them by using this technique. Here are some guidelines on how to edit Christmas photos and make them more festive and magical:
B) Know Editing Software and Techniques:
Introduce yourself to professional photo editing software like Adobe Photoshop or Lightroom and unlock the power of basic editing techniques. You can also explore Fotor, Pixelied, or Picsart, which are online and easy to use. To improve your photos, you can apply some of the basic editing techniques, like:
- Crop: Crop your photos to remove unwanted edges or parts or to change the aspect ratio or orientation of your photos. You can use the crop tool or the preset ratios, such as 1:1, 4:3, or 16:9, depending on your purpose and preference.
- Rotate: Rotate your photos to correct the angle or perspective of your photos or to create a different effect. You can use the rotate tool or the preset angles, such as 90°, 180°, or 270°, depending on your need and choice.
- Resize: Resize your photos to change the dimensions or resolution of your photos or to make them fit a certain size or format. You can use the resize tool or the preset sizes, such as 800×600, 1024×768, or 1920×1080, depending on your goal and option.
- Adjust: Adjust your photos to change the brightness, contrast, saturation, hue, temperature, and other parameters of your photos or to balance the exposure, color, and tone of your photos. You can use the adjust tool or the preset modes, such as auto, enhance, or custom, depending on your situation and selection.
- Filter: Apply filters to your photos to change the mood or style of your photos or to add some artistic or creative effects to your photos. You can use the filter tool or the preset filters, such as black and white, sepia, vintage, or sketch, depending on your mood and taste.
B) Enhancing the Festive Mood:
To make your photos more festive and magical, you can use some advanced editing techniques that can add some extra elements or effects to your photos. To do that, you can follow some of these examples:
- Bokeh Overlays: To create a dreamy and sparkling effect with the Christmas lights, you can use the overlay tool or the preset bokeh overlays, such as gold, silver, or rainbow, depending on your theme and color scheme.
- Snowfall Effects: To create a winter wonderland effect with the snowflakes, you can use the effect tool or the preset snowfall effects, such as light, medium, or heavy, depending on your preference and intensity.
- Color Adjustments: Adjust the colors of your photos to enhance the festive mood of your photos or to match the holiday spirit. You can change the color of your photos by using the color tool or the preset color adjustments, such as warm, cool, or festive, depending on your mood and theme.
Make your Christmas memory flawless without much effort, you can outsource professional service. One of the service providers that offers professional image editing at a reasonable cost is Cut Out Image. How to Edit Christmas Photos by Cut Out Image? You just have to contact them, and they will tell you the simple process.
Conclusion
Taking Christmas photos is a wonderful experience. You can create images that capture the joy and beauty of the holiday season by planning well, mastering the techniques, and editing creatively. By following the tips and tricks we shared, you can make the magic of Christmas come alive in your photos and create amazing photo gifts for your loved ones. Now it’s your turn to give it a try!
We hope you enjoyed this blog and learned how to take and edit Christmas photos. Do you know any other tips or tricks on how to take and edit Christmas photos? Do you have any questions about the topics we discussed? Please feel free to leave a comment below and let us know your opinions. If you enjoyed this blog, please share it with your friends and family, and stay tuned for more blogs like this. You can also explore our previous blogs. Thank you for reading, and happy holidays!
- Divorce Photoshoot Ideas
- How to Use Adobe Artificial Intelligence
- How to Remove Mannequin From Photos


