Disclaimer: This blog is for general informational and inspirational purposes only, based on publicly available information and personal insights. Images—whether of models, screenshots, or products—are for illustrative purposes only and do not depict actual subjects, scenarios, or views described. We do not intend to offend or conflict with any societal, cultural, religious, or political values.
 This image is used solely for illustrative purposes. We do not intend to offend or conflict with any societal, cultural, religious, or political values. Image Source: Unsplash+
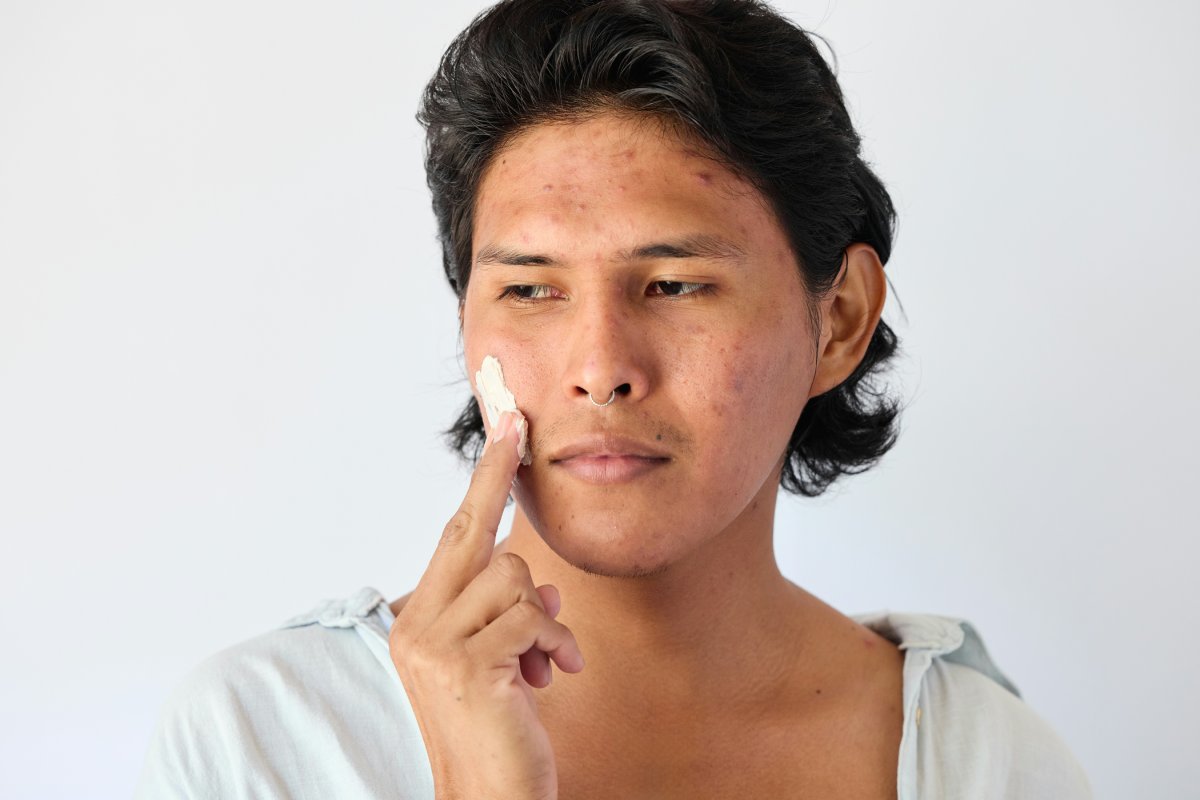
How To Remove Blemishes From The Face: People with blemishes on their faces in real life cannot do much to omit them from their faces. But the magic software Photoshop can help you in taking sight of your actual blemish-free beauty. Removal of blemishes is an easy task. It is extremely simple to do. Moreover, it is very effective, given the fact that you can simply polish your look by removal of unwanted blemishes.
For someone who is being paid for removing blemishes using Photoshop, it becomes even necessary for them to check the image, before making any major alterations. Undeniably, it is a primary practice that is taught in Photoshop but still, you have to be very tactful in making the right moves to omit blemishes, if you don’t want to end up with something humorous.
While working for someone, you have to be very smart in asking about the blemishes as it is a sensitive area and no one wants an outburst about a weak spot. The word “blemishes” is best to be avoided. Well, this is just a tip out of the context. You can really make impressive and praiseworthy alterations to the look of the person in the picture.
It is recommended to keep the permanent scars intact or you can make the alterations after the prior consent of the customer. Because if you don’t seek permission, you might upset your client with the work and that will do no good for the business. The prime subject to focus on here is that you must make basic alterations such as scars, cuts, blemishes, sunburns, etc. Now, let’s head toward the main process and start with the correction process.
Go to Adobe Photoshop and open the target image. You can open the image by simply visiting the open tab in the prime menu. After the image is displayed on the screen, we can begin the process.
In this figure, you can see How To Remove Blemishes From The Face. Making this image clear and blemish-free is our task for today. I will be teaching you guess the steps in form of helping tips. By the time we conclude the article, you will be aware of the essentials that are required for the process as well as the process that is to be followed.
Tips: How To Remove Blemishes From The Face
- Firstly, we will use a healing brush to remove the scars and other blemishes on the face. The healing brush is used to blend the blemishes and it will make the transition smooth and barely discernible. This tool will give a smoothened appearance to the face that will be highly merged with the skin.
- For the perfect implementation of any process in Photoshop, you need to assimilate the right usage of brushes. The usage of a hard brush will convert the image into something highly abstract. The hardness and the spacing measures completely depend upon the object. If the blemishes are quite visible and prominent, you need to increase the hardness as well as the spacing. There is no set diameter that can be specified as it also varies from image to image. You have to experiment with these settings and during the practice session, you need to note the alterations after a change in each and every setting. It is important to assimilate which one is making maximum plus changes on the object.
- For all sorts of minor changes in the image, the Zoom key can help you a lot.
- You have to target each and every blemished area specifically. There are different types of brushes available for all sorts of needs. So, it is recommended to use smaller brushes while targeting small areas.
- You have to position the brush at the area that has to be merged on the blemished area. You have to ensure that it is the clearest area of the face. This technique brings most natural results to the revised image.
- On positioning the brush on the suitable area, you have to hit ALT key from the keyboard and combine it with a left click from the mouse.
- It will highlight the area as the benchmark and can be further used for healing purposes. Now you can begin with the play. Simply take the brush on the blemished area and start painting. All the process has to be done by keeping the left side of the mouse pressed.
- The magic works when you are done with the paint and release left mouse button. For practice, I would recommend you to play with it and try to understand where how you make the alterations. Unless you don’t try it by yourself, you will not be able to understand the right usage of the process. Sometimes when you start making alterations, you usually go with the flow but it is suggested to not to overdo the task. Keep the look of the image neutral and natural.
- Once when the task is done completely, at least to your knowledge, it is recommended to give a deep look at all the sections of the face. You have to discover all possible blemishes and scars and use the same process to omit them. This can easily be done by zooming in on the image. You just have to remember to select the closest area, every time the location of the scar is changed. These are perfect for wedding photography editing as you don’t want any scars or spots to ruin your bridal look.
So, this was all about how you can remove scars and blemishes from the face by using Photoshop tools. This technique is highly used by photographers, especially wedding photographers. Even if your makeup artist has left an area of disappointment for you in dressing you up the best, your photographer can always take care of the wedding pictures and make you look flawless.

![Graduation Party Ideas [ Make Dream Celebration ]](https://www.cutoutimage.com/wp-content/uploads/2023/07/Geaduation-Party-Ideas-1.jpg)