Disclaimer: This blog is for general informational and inspirational purposes only, based on publicly available information and personal insights. Images—whether of models, screenshots, or products—are for illustrative purposes only and do not depict actual subjects, scenarios, or views described. We do not intend to offend or conflict with any societal, cultural, religious, or political values.
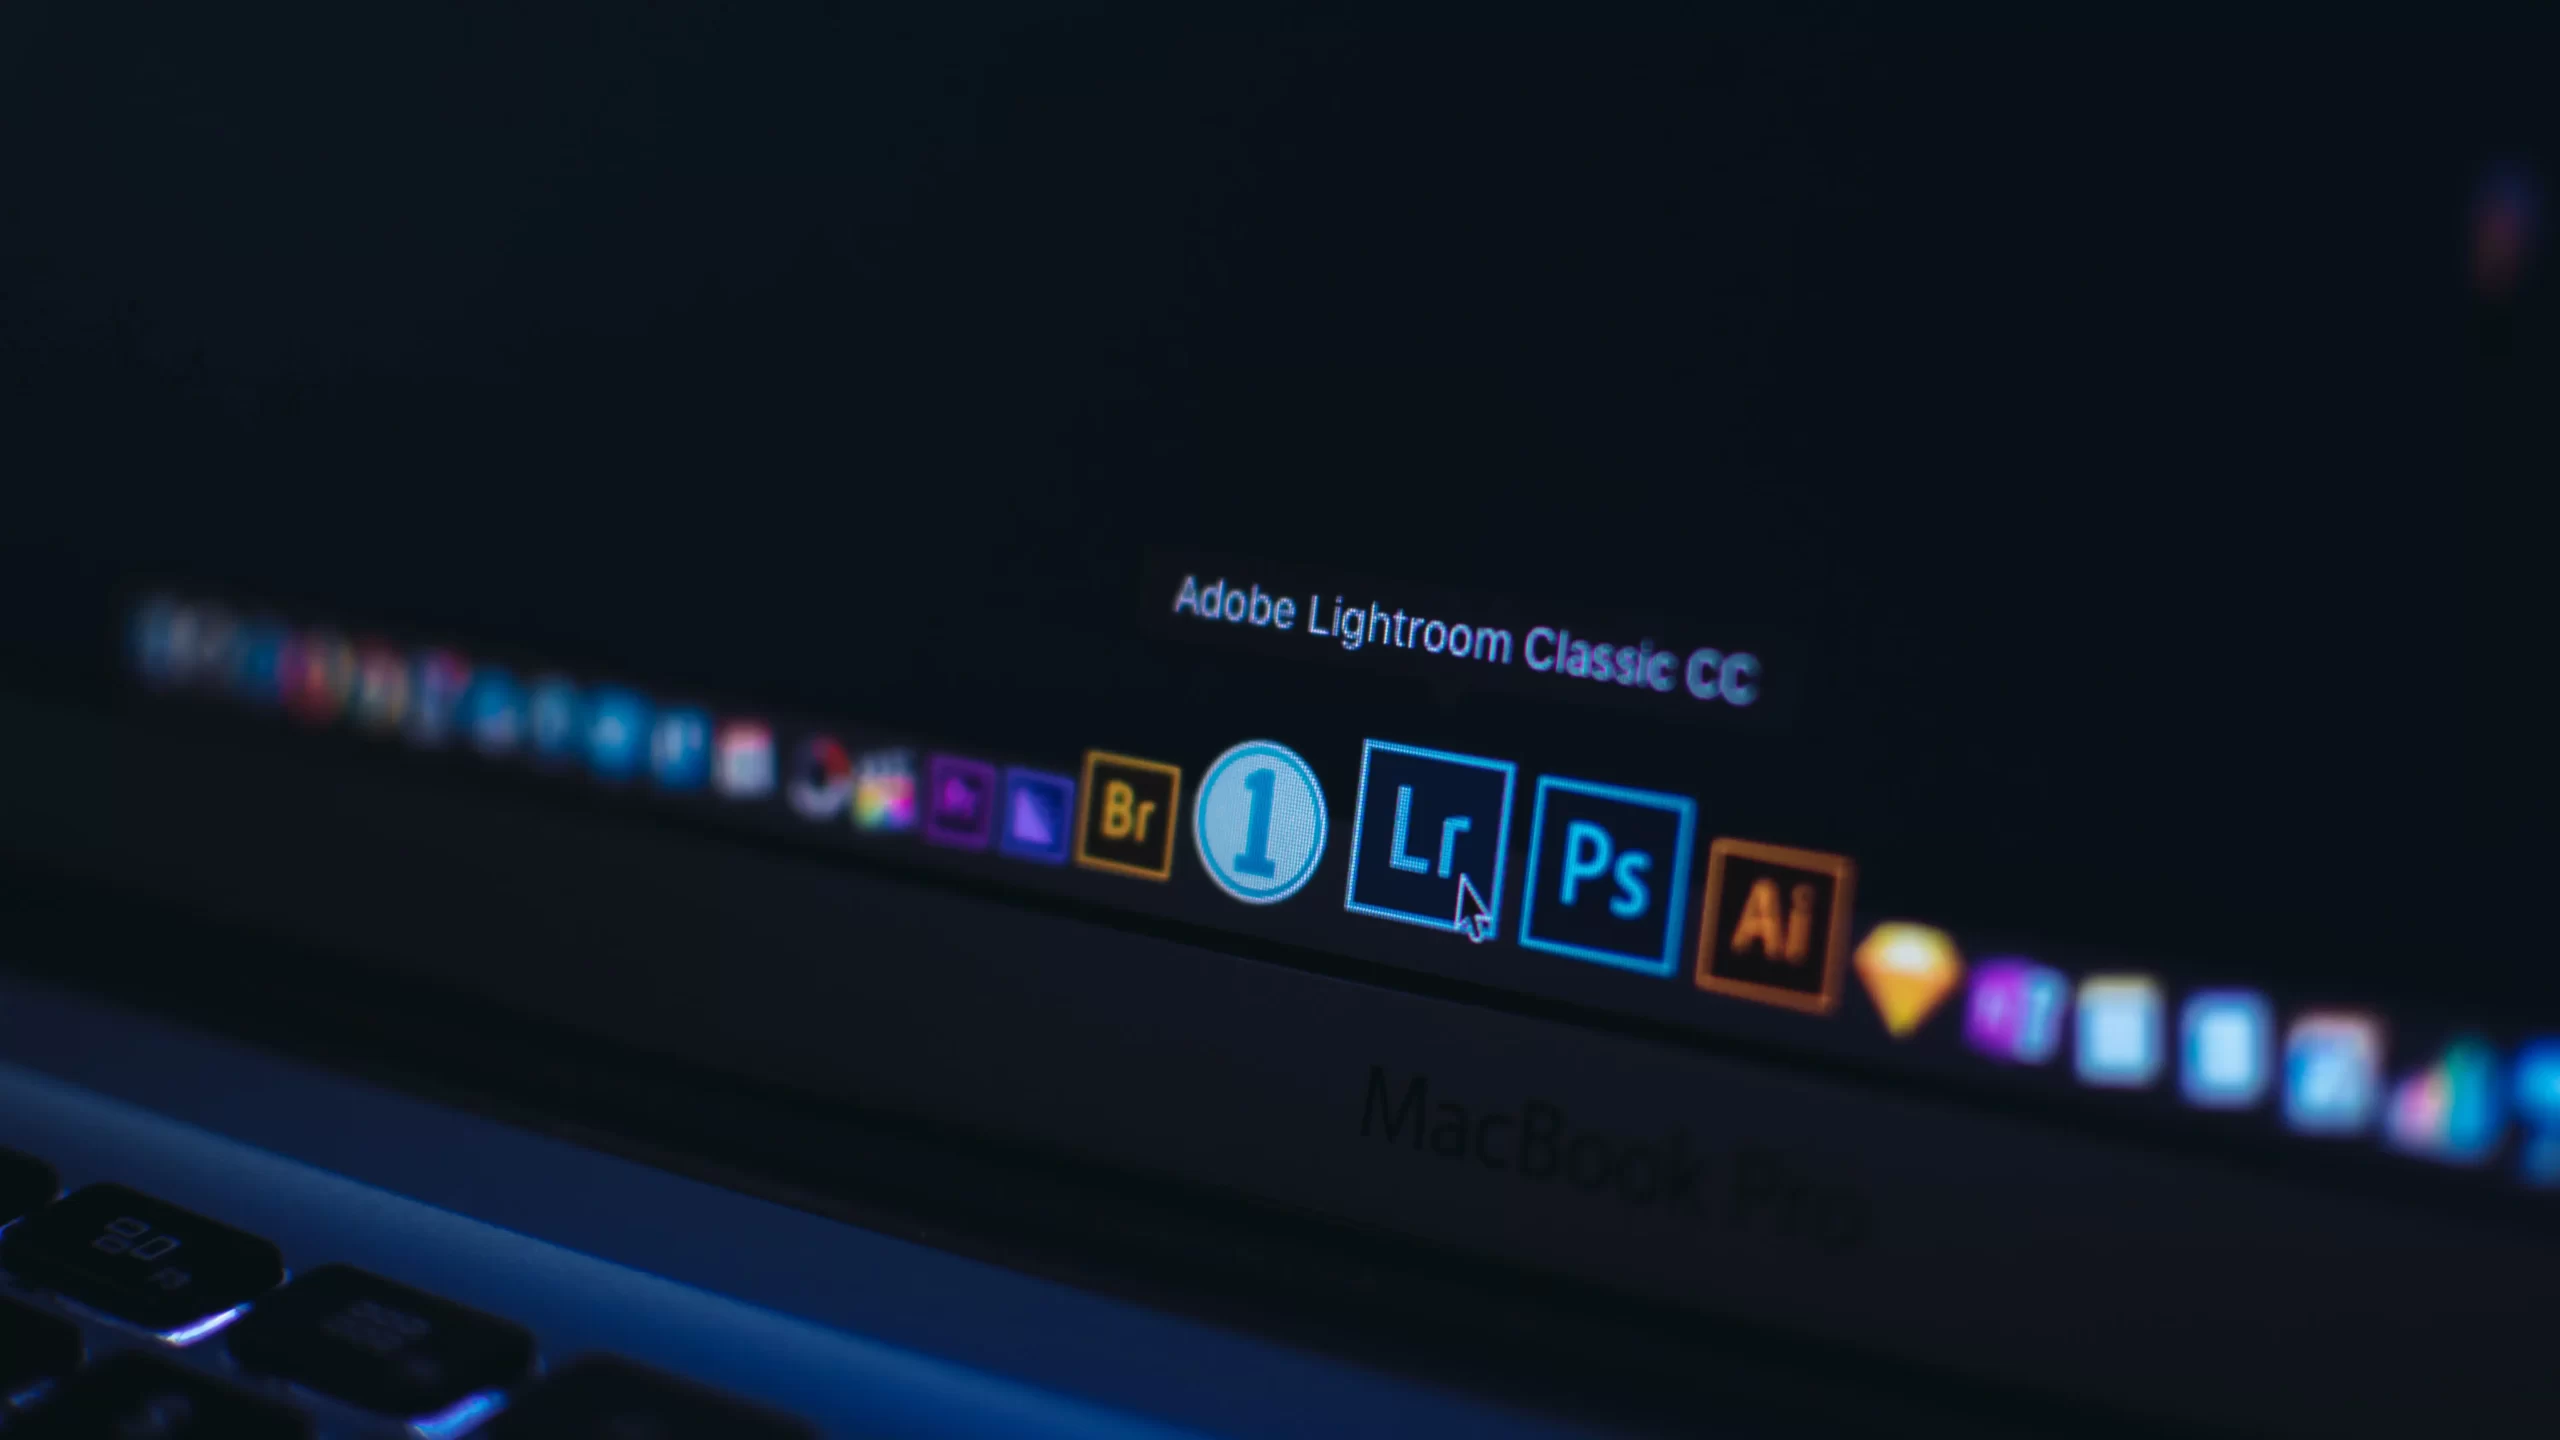
How To Upgrade Lightroom Classic Software: For a professional photo activist, there are millions of things that are considered in their profession. Those considerable things include the camera they are using, the lens that is required for different types of photography, and most important- the software for post-production.
Every day a newer model of DSLR is announced and photographers these days have spectacular options to use. Same way, there are various types of editing software available. The most commonly used software is Lightroom Classic. Just like any other software, this one has also got various versions that have helped users in brilliant ways imaginable.
No wonder why this one is the default software that you can find on every photographer’s computer. It is easy to learn, understand and process. As you know the latest Lightroom version is out for use, you don’t have any reason for tossing around, whether or not to give the software an upgrade. The version that I am talking about is LS6 or more commonly known as Adobe Creative Cloud (CC).
Delightful information for Lightroom lovers is that the general interface of the software has not been touched for any kind of edits. You can still enjoy some comfortable screens with standard features and icons. Also, you don’t have to change the way of doing the job as the outlook is exactly the same as in previous versions.
OK, the general interface is the same, so what is it that you are getting with the upgrade? Saying more precisely, why should you spend $79 to get an upgrade of the software? If you are still using LR 4, there are more reasons for you to take this upgrade. For upgrading from LR4 to LR 6, you might need to spend some extra cash and that will cost you approximately $149.
I understand that it is essential for anyone to know the reasons for such an investment in the upgrade. Well, here are the causes that will help you in understanding the powerful additions that are done in the latest version.
Radial Filter [ How To Upgrade Lightroom Classic ]
The shortcut for Radial Filter is Shift+M. It is the most appreciated and awaited feature in the Lightroom realm. It gives more control to the users on the basic tasks. With the help of this feature, you get amazing flexibility in performing tasks related to image masking such as dodging, burning, and many others that makes a number in the Adjustment Brush.
How can you increase the effectiveness of a Radial Filter?
Well, there is a simple handy way to accomplish the task. As you make the prime adjustment, you just have to right-click on the pin and duplicate the filter. After that, you will have to select the Invert Mask option from the adjustment panel and then you can make amendments as you like. This can go as intense as you like.
Facial Recognition:
In the suite of the upgrade, you get another awesome feature of Facial Recognition. This one has put more zeal in users about the newest version as it was available in other related software but LR was somehow lacking at this quotient. But as it is said, better late than never, this feature has been finally inserted into the list.
This feature has made many people quite pleased. This feature can be activated with the help of keyboard shortcut O. As you activate this feature LR searches the photos with similar faces and the list if complied. In the list, you can also label names with the faces, and then it will be even more convenient to conduct a search. This feature has made things work out more easily for the users.
Visualize Spots:
In the profession of photography, we usually get to cover spots and blemishes on the face. The spot removal tool is quite a help and a perfect addition to the list of new fantastic features. This feature has been named Visualize Spots. The interesting part here is how it performs or processes. Well, in every new picture that has spots or blemishes; the area gets highlighted giving you a hint about where you can work. If the function doesn’t perform itself then you can click at the T button from the keyboard and the toolbar appears on the screen.
This feature makes editing a bit relaxing as it becomes easy to overlook spots on a small screen. This feature saves you from the struggle of zooming the screen every time you work for edits of spots and blemishes.
Smart Previews:
This is undeniably the most awaited feature in LR that has been finally announced in the newest version. Well, according to the usage of this feature, you will be able to create compressed copies of the pictures that you might be working with, and hence, it will be possible to make offline edits. This feature makes editing so much fun and safe. You can store a copy of the image in the external drive and make changes without storing it back in the computer.
With the help of Smart Previews, whatever changes are made to the image in the external drive will be revived whenever the drive will be reconnected to the computer. Well, for further convenience, LR can automatically create Smart Previews for the images whenever they are imported. This can also be created manually by visiting the Library tab, then clicking on the Preview tab and going to Build Smart Previews.
Overlay Guide:
It is another new feature in the latest version of LR which is also quite handy and useful. The purpose of this feature is to create a vertical and horizontal line that can be used to construct a frame, more aligned for a symmetrical presentation of work. This feature can either be accessed with the crop overlays or you can also activate it in a conventional form using options such as visiting the View tab then Loupe and then going to the option of Overlay and finally to the Guides.
So, these are the hottest and most resourceful new additions, which one did you like the most? Thanks for Reading this post about How To Upgrade Lightroom Classic Software.
#How To Upgrade Lightroom Classic Software

![Graduation Party Ideas [ Make Dream Celebration ]](https://www.cutoutimage.com/wp-content/uploads/2023/07/Geaduation-Party-Ideas-1.jpg)