Disclaimer: This blog is for general informational and inspirational purposes only, based on publicly available information and personal insights. Images—whether of models, screenshots, or products—are for illustrative purposes only and do not depict actual subjects, scenarios, or views described. We do not intend to offend or conflict with any societal, cultural, religious, or political values.
Have you ever stopped scrolling and been amazed by jewelry images? You find some fantastic items and click the ‘add to cart’ button. This is the power of jewelry photo retouching that makes the photos eye-catching.
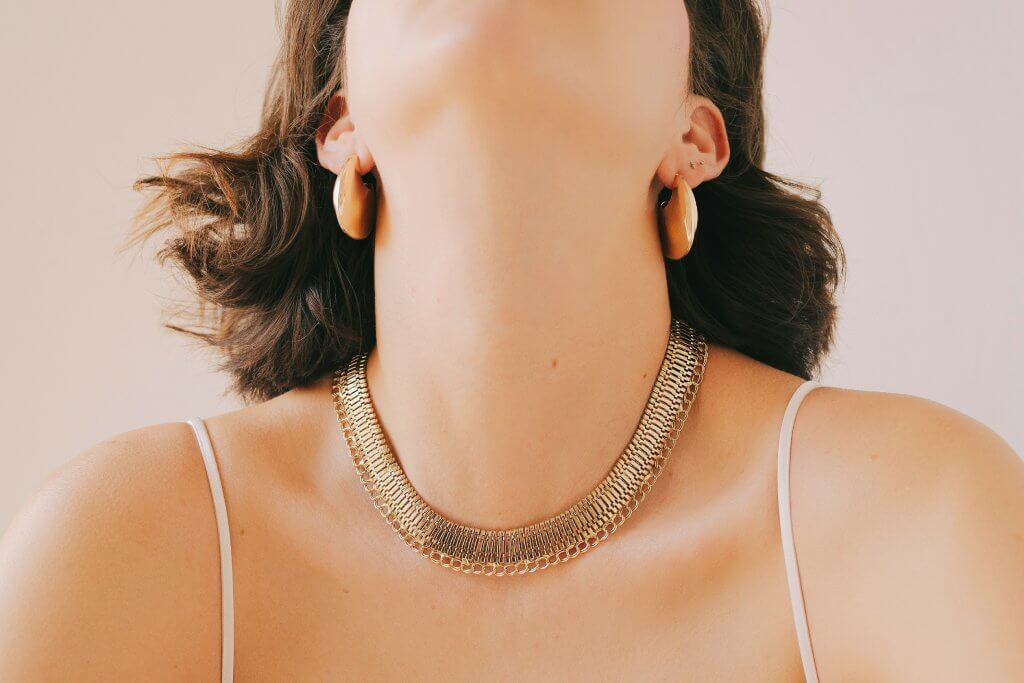
In the online world of jewelry, people mainly depend on photos for making buying decisions, as they can’t touch or try on the jewelry in real. So, the first impression is crucial to turn a browser into a buyer. Jewelry photo retouching comes in as a lifesaver, making photos sparkle with their metallic surfaces and gemstones.
This blog will focus on how to Retouch Jewelry Photos for E-Commerce, which will be helpful if you are a jewelry business owner, product photographer, e-commerce seller, or marketing agency. In this blog, we will discuss the process along with pro tips
Why Jewelry Photos Need Special Retouching
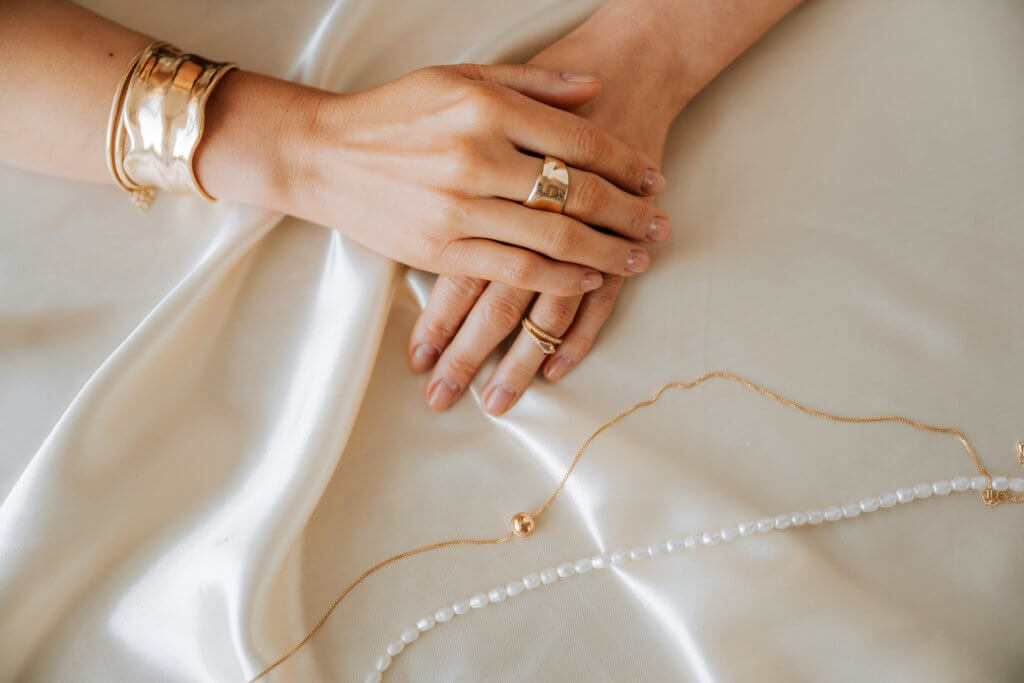
 This image is used solely for illustrative purposes. We do not intend to offend or conflict with any societal, cultural, religious, or political values. Image Source: Unsplash+
Have you ever thought about why your jewelry photos don’t match the shiny images on websites like Tiffany & Co. or Cartier?
Jewelry photography is challenging, even in good lighting, due to the shiny nature of metals and gemstones. Here, professional jewelry retouching helps make the pieces in photos look more appealing. It’s a detailed process that ensures your products look their best and increases attention to drive sales.
About 93% of online shoppers say that good product photos help them decide what to buy.
The types of photo retouching and their applications depend on the specific category of your jewelry items. Here are a few key reasons why jewelry photos require special retouching:
- Spotless Pieces: Jewelry is a small piece, but it may still contain scratches or dust, which can be noticeable even after the piece is cleaned thoroughly before being photographed. Jewelry retouching comes into play here to clean up the piece, making it stand out and showcase its beauty.
- Removing Unwanted Reflections: Jewelry, particularly metallic pieces, reflects everything around it—including light, the camera, and even your face. With jewelry retouching, you can remove those reflections and improve the appearance.
- Make Gems Shine: Jewelry is a shiny object. To make it look good in photos, it’s important to use light effectively. Improper lighting might make the gems look dull or overly shiny, which will make them appear fake. Jewelry retouching can fix flaws in gemstones and improve the overall appearance of the piece.
- Color Precision: Color is the life of photography. In jewelry photography, lighting can change the color of metals and stones. Color correction with jewelry retouching can correct incorrect colors and ensure your jewelry piece appears real.
- Impressive Image: High-quality images can create a great impression and trust among the audience. Regardless of selling handmade beaded bracelets or diamond rings online, you need eye-catching images to attract customers. You can develop such jewelry images with jewelry retouching strategies.
Most Common Jewelry Photo Issues
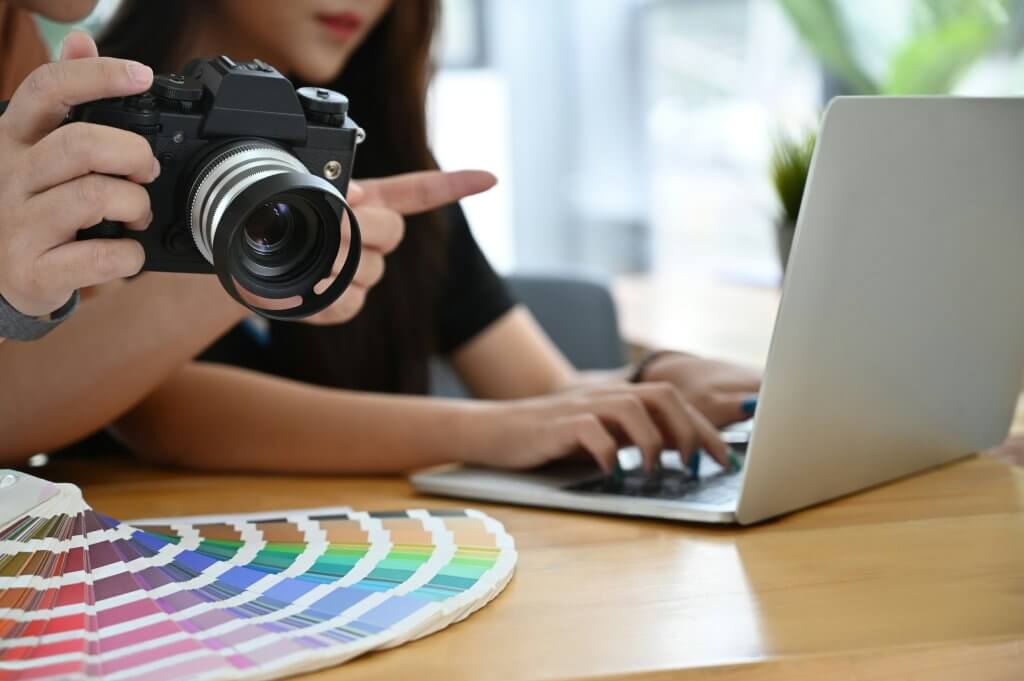
 This image is used solely for illustrative purposes. We do not intend to offend or conflict with any societal, cultural, religious, or political values. Image Source: Unsplash+
Photographing jewelry is a challenging process that requires meticulous work to make it believable, as customers can’t try it physically. Whether you’re a novice or an experienced product photographer working with the best camera and lighting setup, you’ll likely encounter common issues when photographing jewelry.
Let’s know them:
Faded Gemstones: Due to improper or excessive lighting, the jewelry piece often appears dull. It makes the high-end jewelry piece look ordinary. To fix it, professional retouching enhances the natural brilliance of gemstones by:
- Revising brightness and contrast
- Fine-tuning color balance
- Repainting highlights to reflect light more realistically
Dust and Scratches: Jewelry is a shiny item, but even the cleanest studio can’t prevent tiny dust particles from appearing in macro shots. Often, handling jewelry without gloves can leave smudges. To fix these issues-
- Retouchers use the Spot Healing Brush or Clone Stamp in Photoshop
- Clean jewelry using a microfiber cloth before shooting.
- Wear gloves to avoid the fingerprints
- Use compressed air to keep the studio environment clean
Distracting Backgrounds: Unwanted elements in the background or textured surface can make the background distracting, shifting focus from the jewelry piece. That’s why e-commerce platforms like Amazon or Shopify prefer a clean and solid color background. To fix these issues-
- Set a clean background before shooting.
- Evenly lit the background to avoid gradients.
- Use a pen for precise cutouts and replace them with a solid-colored background.
Inappropriate Lighting: Improper lighting can cause a shiny gold or gemstone jewelry piece to appear dim, unflattering, or dull due to harsh reflections, lack of intricate details visibility, improper shadows, or a lack of luster. Such images can’t attract viewers, resulting in a decrease in sales. To fix such issues-
- Ensure proper lighting setup using diffused lighting with softboxes or light tents
- Ensure lights from appropriate angles to ensure sparkle without harsh reflections
- Utilize professional retouching to fix uneven lighting, improper reflection, or shadows.
- Use tools like Adobe Photoshop’s Clone Stamp or Healing Brush to remove distractions.
Lack of Sharpness: Intricate details with sparkling gem cuts are the key selling points that add brand credibility, but due to imperfect focus, they may appear blurry. Without revealing intricate details, how can a jewelry piece be a charm to the viewer? You can fix these issues as below-
- Shoot at a higher resolution
- Use a smaller aperture (e.g., f/8 or f/11) to focus all parts
- Use a tripod to eliminate the camera shake.
- Use macro lenses to capture small details.
- Apply sharpening filters in Photoshop to improve edges
- Use focus stacking to combine multiple images
Undesirable Reflections: Jewelry made from shiny metals or gems can often reflect light, creating distracting reflections. Such distracting reflections take attention away from the main design. To address this issue:
- Use masking and replace the background.
- Clone clean areas over the reflective spots.
Inconsistent Colors: Consistency is essential for an online shop or website. Maintaining color consistency in jewelry images is a challenging task. Otherwise, it will mislead customers. To fix inaccurate color-
- Set the correct white balance
- Apply professional color correction service
Over-Editing: Excessive retouching can make jewelry appear unnatural, with overly smooth surfaces, inflated colors, or unrealistic highlights that don’t accurately reflect the product. A professional editor knows where to stop to make it look exactly with the shiny vibe.
How to Retouch Jewelry Photos for E-commerce
 This image is used solely for illustrative purposes. We do not intend to offend or conflict with any societal, cultural, religious, or political values. Image Source: Unsplash+
Jewelry is one of the trickiest products to photograph. Even if you hire a professional photographer, some flaws are almost impossible to avoid during the shoot. That’s why high-quality retouching matters in jewelry e-commerce photography and it’s a core part of today’s must-know photo editing tips and trends.
We’ve identified the problems, so it’s time to discuss solutions. Here are the must-know jewelry photo retouching techniques to show you how to Retouch Jewelry Photos for E-commerce and make your product photos attract viewers authentically. Let’s break down the typical jewelry retouching process step-by-step:
Step 1: Background Removal / Clipping Path
A clean, white background is fundamental for e-commerce jewelry listings. Online platforms like Amazon and Etsy follow this standard method for presenting their products, including jewelry items. Here is how to do it-
- Open the image in Photoshop.
- Carefully outline the jewelry piece using the Pen Tool to create a clipping path.
- Pay close attention and zoom in while tracing to thin chains, small prongs, and open spaces between parts.
- After completing the path, convert it to a selection.
- Delete or mask the original background.
- Replace it with a pure white background (RGB 255, 255, 255) for e-commerce or a transparent background if needed.
Tip: For complex pieces, zoom in to 300% or higher for cutting the border precisely.
Step 2: Clean Dust, Scratches, and Imperfections
Even the cleanest jewelry pieces often have micro-dust, fingerprints, or minor scratches. The next step is to create an excellent surface that retains texture realism. Follow the steps below to fix it-
- Zoom in very close up to 400%-800%.
- Use the Spot Healing Brush Tool (J) to remove tiny dust particles.
- Use the Clone Stamp Tool (S) for more controlled corrections.
- For polished surfaces or metals, switch to the Healing Brush Tool to blend textures smoothly.
- Be careful not to over-smooth; maintain the jewelry’s natural surface texture.
Step 3: Light & Shadow Enhancement
Shadow adds depth to jewelry pieces, where lighting is a crucial factor. Here are the steps for light and shadow improvement:
- Create a new blank layer and set it to Soft Light or Overlay.
- Use the Dodge Tool to brighten the metal and gemstones.
- Use the Burn Tool to darken the shadows
- Use layer masks to remove any unwanted glow or spill.
Step 4: Improve Reflections
Gemstones can’t be thought of without reflection in jewelry, but unwanted reflections can make the jewelry look artificial. Here is how to remove them:
- Pinpoint the reflection source, such as cameras, lights, or nearby objects.
- Use the Clone Stamp or Patch Tool to mask overexposed areas
- Soften the harsh reflection using the Dodge and Burn tools
Pro Tip: Less is more. Avoid over-shining, as it can make jewelry look fake.
Step 5: Color Correction
In jewelry photos, the gold should appear gold, not mustard or a yellowish hue. Also, gemstones should shine brightly, not dull or gray. Keeping the original colors can often be challenging in jewelry photography, but color correction techniques can restore it. One effective tool for this is Adobe Lightroom’s color grading feature. Here’s how to use it:
- Adjust white balance using Camera Raw Filter or Levels (Ctrl + L).
- Correct Metal Tones:
- Gold: Warm, balanced.
- Silver: True neutral.
- Rose gold: Soft pink tones.
- Adjust gemstone colors using Selective Color and Hue/Saturation (Ctrl+U).
- Use reference images to check color accuracy.
Tip: Always work on a calibrated monitor for Lifelike color accuracy
Step 6: Sharpening and Final Details
Only editing is not enough to bring out the beauty of gemstone parts or detailed design; what you need to apply is sharpening.
- Pressing Shift + Ctrl + Alt + E, merge the visible layers into a new copy
- Apply a High Pass Filter with a radius of 1-2 pixels and set it to Overlay
- Mask out areas that don’t need sharpening
- Check every detail carefully to confirm a sharp and clean look.
Step 7: Consistency Check
Consistency across your product images builds trust and creates a professional storefront. Customers expect uniform colors, lighting, and presentation when browsing multiple products.
Compare final images with other product photos for consistency in:
- Background color
- Metal tones
- Gemstone hues
- Cropping and angle
Step 8: Export for E-Commerce
Optimizing your final image for the web secures fast loading speeds, real color display, and compatibility across various platforms while retaining image quality.
- Save and export the image as JPEG or PNG
- Optimize file size
- Make sure the color profile is set to sRGB for the best display on the web.
Best Practices for Editing Jewelry Photos for Online Stores
 This image is used solely for illustrative purposes. We do not intend to offend or conflict with any societal, cultural, religious, or political values. Image Source: Unsplash+
Editing is just one piece of the puzzle that’s not just about fixing flaws but also about creating a consistent, professional look that screams “buy me.”
A few Best Practices for Editing Jewelry Photos for Online Stores are:
- Maintain a standard and consistent image size.
- Save the images in JPEG or PNG format as needed.
- Keep a resolution of 72-150 DPI for web use.
- Provide multiple viewpoints showcasing attributes.
- Avoid over-editing to maintain a natural look.
- Keep the background simple and solid color, following marketplace guidelines.
Here are a few of the best jewelry photo editing software:
- Adobe Photoshop
- Lightroom
- Capture One
- Remove.bg
- Clipping Magic
- GIMP
- Canva Pro
If editing seems time-consuming or you lack the necessary expertise, there is an option to outsource to professionals. Cut Out Image offers an affordable service with precision and consistency, allowing you to focus on other essential tasks.
Conclusion
Online jewelry businesses mainly depend on images to attract viewers and drive sales. Stunning images are the sales here. If the product photos aren’t compelling, the sales will be down. Applying proper techniques and professional support can create images that reflect the actual beauty of the products.
It’s not just about aesthetics; it’s about building trust, improving conversions, and gaining a significant competitive advantage in a crowded market, putting you ahead of the game.
Are you ready to see the difference?
👉 Try our Jewelry Image Editing Services at Cut Out Image – Get a Free Trial!