Disclaimer: This blog is for general informational and inspirational purposes only, based on publicly available information and personal insights. Images—whether of models, screenshots, or products—are for illustrative purposes only and do not depict actual subjects, scenarios, or views described. We do not intend to offend or conflict with any societal, cultural, religious, or political values.
Product photography is a genre which needs your time and patience to master the art. When it comes to present the reflective products like watches, sunglasses, and metallic objects, advanced skills are required. With the proper set of skills and lighting setup, you can click commendable pictures for everyone to see.
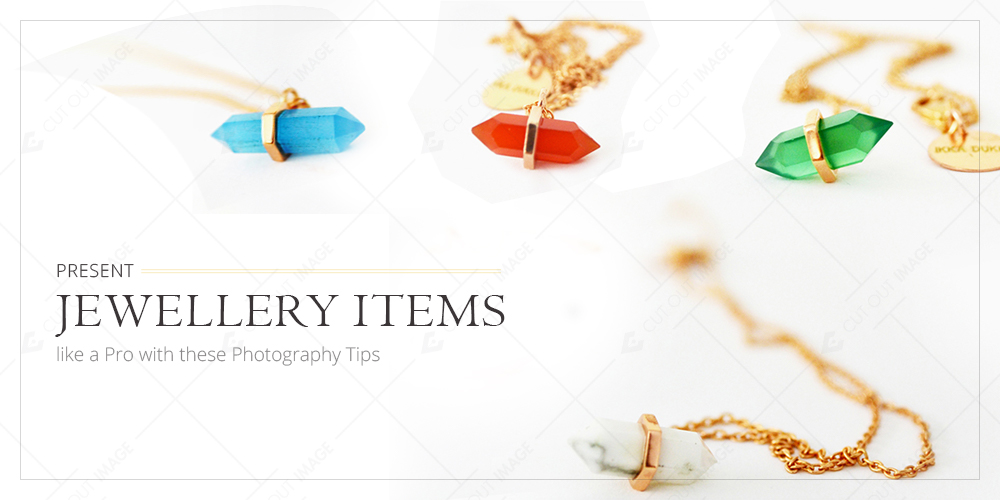 This image is for illustrative purposes only. No offense or conflict with any cultural, religious, or social values is intended. All trademarks, logos, & content remain the property of their owners.
There is no need to spend loads of bucks either, you can showcase the jewellery products at the comfort of your home. Let’s check out the tips to present jewellery items like a pro:
Backlighting
To upload the products on the online portals, it is essential to create nice product images. It is possible either by clicking the stunning pictures or applying photo editing techniques like photo retouching, clipping path, shadow creation etc. But before moving on to these methods, I would like you to read this section. Jewellery products are the most critical so backlighting plays a major role when reflective items are shot.
Take the jewellery item you want to upload and then set up a backlighting stage. Place the lighting source directly behind the product and wait for the light to shine through thus highlighting the important parts of the product. Once it does, you can click the picture with a DSLR camera and if the light is not highlighting the product, position the light source to emphasize the natural curves.
Camera Settings
Next thing to take care is the camera settings i.e. ISO, aperture and white balance etc. Other than the lighting setup, you have to make sure that the camera is properly set to bring the outstanding results. Even if the lighting set up is up to the mark, without right camera settings, you cannot produce beautiful shots.
Adjust the white balance according to the light source that you are using. For example, if you are using a white board in the backlight source, you should go for the camera settings accordingly. Switch on the flash setting and choose a defined part of the subject to focus on. But if you are not sure, go for auto white balance.
Edit the Image in Post Production
Once you are done with the shoot, it’s the time to see if the images look good or not. Zoom in the image and check the flaws or bad reflections that might ruin the whole appearance of the jewellery item. Look for any spots, smudges that are getting in the way of the photos and try removing them in the post production phase.
At times, the backgrounds look distracted so in that case, you should consider photo cut out or background removal technique to get rid of it. Other than that, it’s important to clone out imperfections and adjust the colors and tone of the images to make them look perfect. Extract the product out from the colored background (if you accidently clicked the product against it) and place it on a new white backdrop to ensure consistency.
Do you have any other tips? Let me know in the comment section!