Disclaimer: This blog is for general informational and inspirational purposes only, based on publicly available information and personal insights. Images—whether of models, screenshots, or products—are for illustrative purposes only and do not depict actual subjects, scenarios, or views described. We do not intend to offend or conflict with any societal, cultural, religious, or political values.
How often do you purchase after seeing a product image?
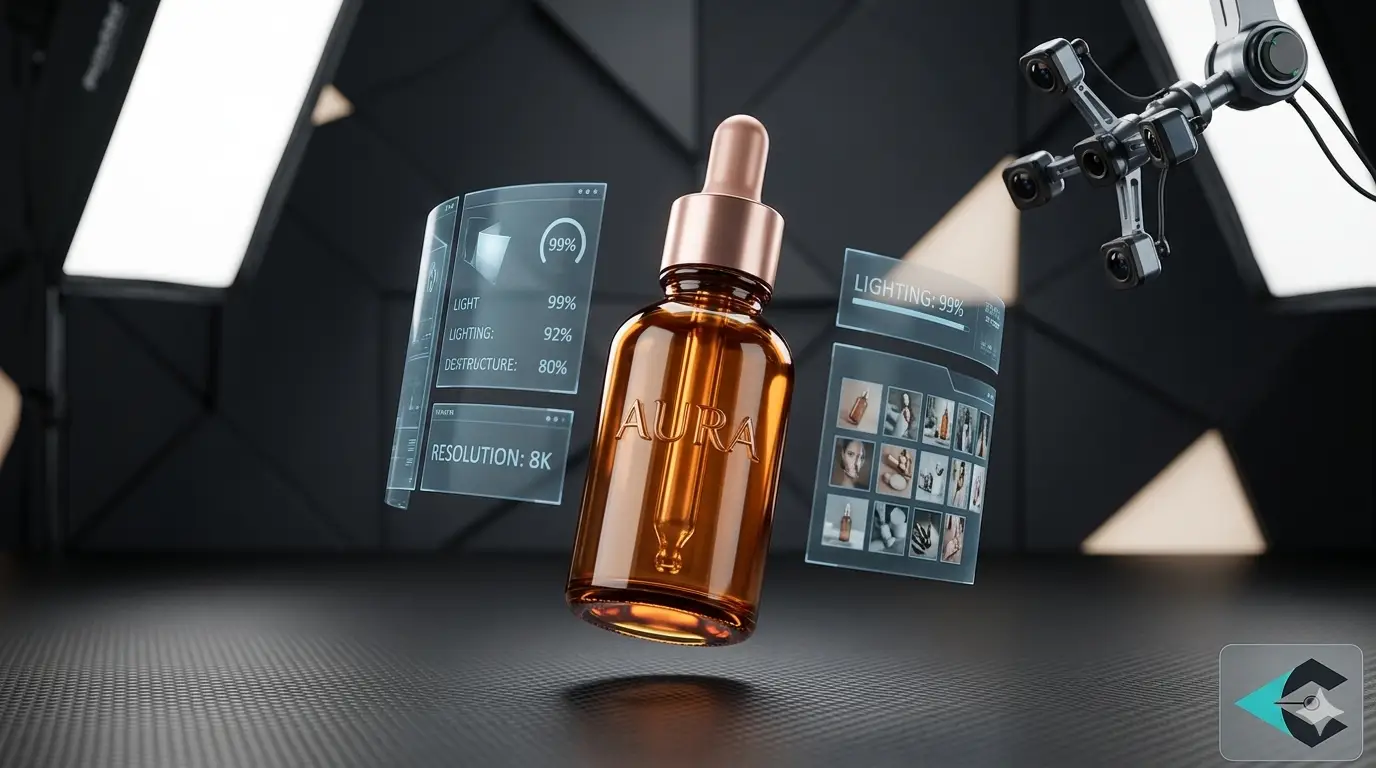
A Study found that a product picture transmits 90% of information to the brain that influences buying. Therefore, eye-catching product photography is called the spine of selling. However, excellent product photography abides by true-to-life strategies, and Lighting is one of the major strategies.
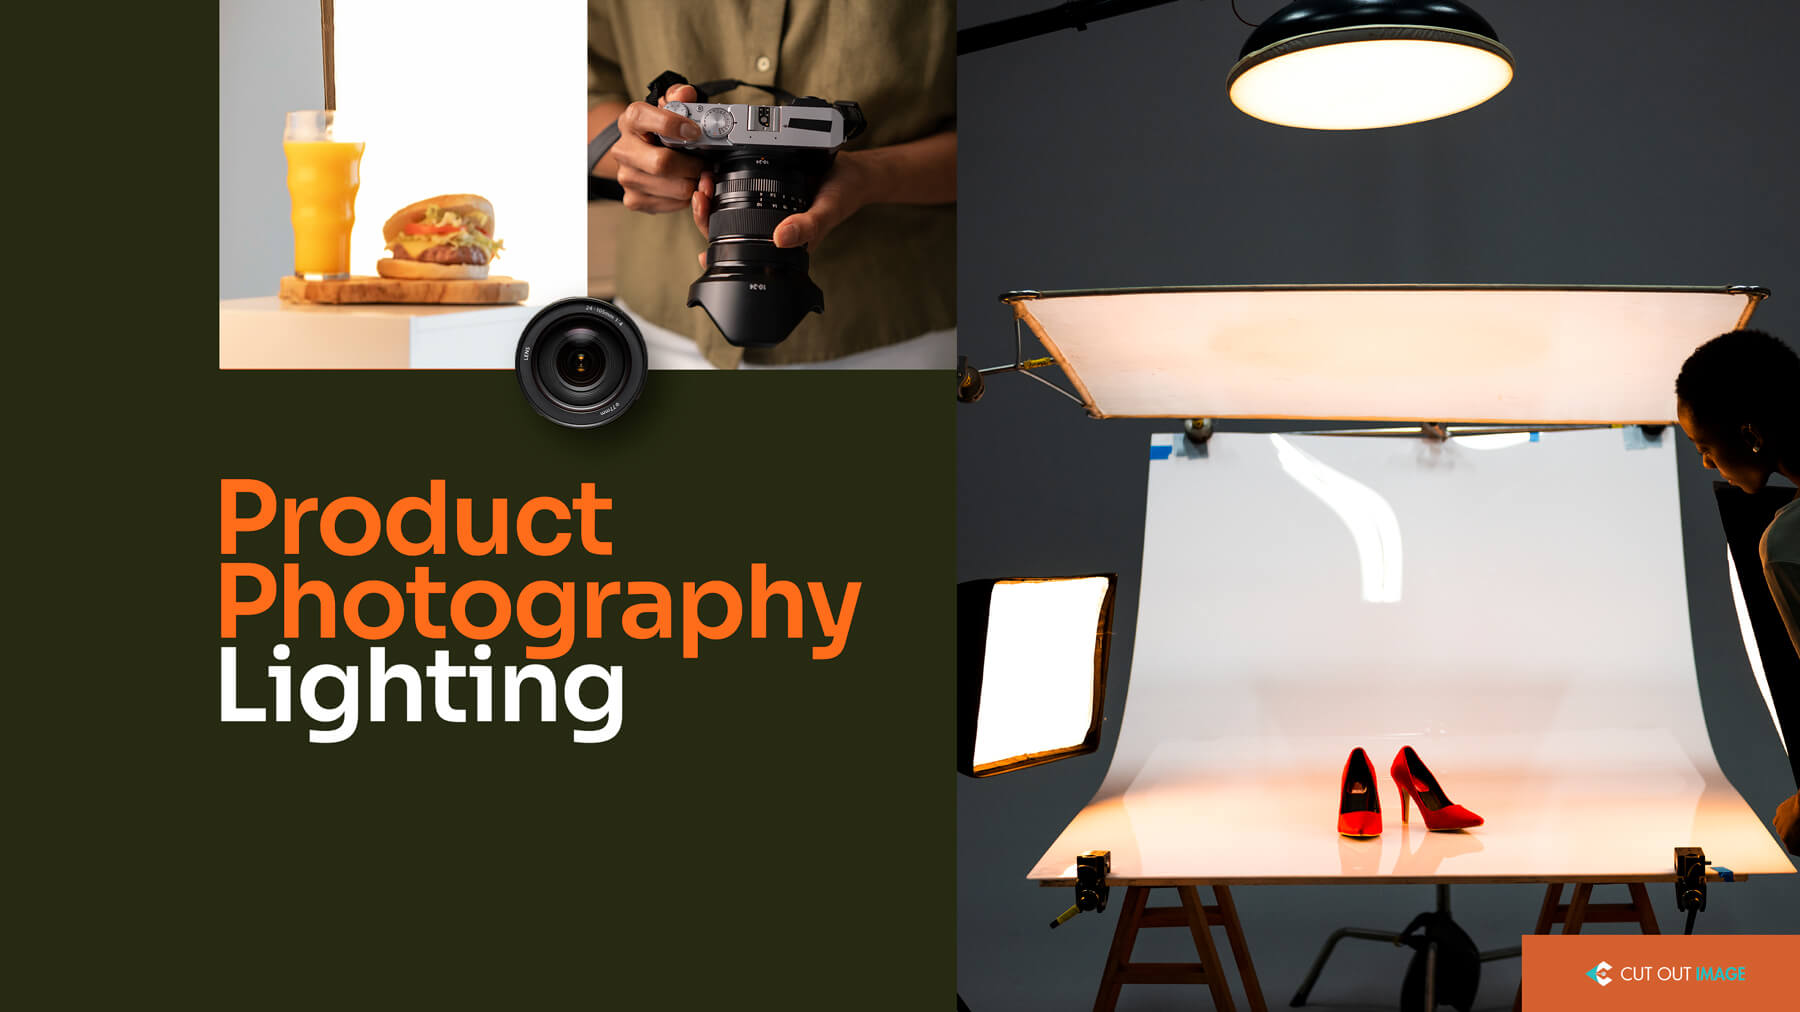
Making a beautiful product photo requires cameras, lenses, and appropriate background, but lighting acts as the ultimate secret sauce for the best product photography cooking.
Whether you are a professional or a novice, you should understand the importance and implementation of Lighting in photography to make a stunning photo. In today’s blog, I will discuss Product Photography Lighting. Continue reading to understand and apply Lighting most effectively.
To sum up, today I will walk you through all possible details of Product Photography Lighting and guide you in setting up Lighting in the best way for your Product Photography. I will also dish out some valuable tips on using light, different lights with their effects, and brands from where you can buy them. The following are the topics to discuss:
- Product Photography Lighting
- Product Photography Lighting Attributes
- Product Photography Lighting Techniques
- Product Photography Lighting Tips
- Different Lighting Effects for Product Photography
- Product Photography Lighting kit
- Best Lighting for Product Photography
- Importance of Product Photography Lighting
- Product Photography Lighting Brands
Product Photography Lighting
‘Photography’ originated from the Greek words “photos” and “graphic,” which collectively means “drawing with light.” Lighting impacts everything in photography, like character, textures, mood, and image story.
Product Photography Lighting refers to connecting the image subject with a natural or artificial light source, quality, and position. The light position and quality affect the photo’s tone. Usually, product photographers use three-point lighting sources- key light, fill light, and backlight.
Product photography is an integral part of any business that plays a notable role in business growth. Product Photography Lighting is the first thing often appearing in product photography tips, even if you use Product Photography Software For Your Product. However, you don’t need to be a lighting expert but must apply strategies to get the perfect shot by ensuring proper Product Photography Lighting.
“Light makes photography. Embrace light, admire it. Love it. But above all, know light. Know it for all you are worth and you will know the key to photography.” – George Eastman.
Product Photography Lighting Attributes
Light is integral to product photography since photography is drawing with light. Expensive lenses and cameras will only bring fruitful results once you employ light correctly. DICCH is a wake-up call to remember five essential attributes of Product Photography Lighting: Direction, Intensity, Color, Contrast, and Hardness.
#1. Direction: Direction indicates the light source which is hitting the product. The light can come from the front, back, or side, and controlling the shadow’s width impacts the shape and texture of the product in photography.
#2. Intensity: Intensity is the understanding of the light’s brightness or strength. Intensity can affect your shot. The high intensity makes the image brighter, whereas the low-intensity results in a darker image.
#3. Color: Light isn’t crystal clear in terms of color. Through photography, you can experience different light colors- white, red, or blue with “cool” or “warm” temperatures, affecting the image’s mood. For instance, a photo captured in shad might have a bluish color with a cool vibe, whereas the picture of a sunset might appear as golden light with a warm vibe. This color or temperature can change under specific situations. Occasionally you can change the light color or keep it the same for creative effect.
#4. Contrast: Contrast describes the transition from brightness to darkness. High-contrast pictures look vivid, containing bright highlights and dark shadows with other tones in between, whereas low-contrast images look flat and dull, having a small spectrum of tones.
#5. Quality: Lighting quality reveals its softness or hardness. Hard light generates strong shadows and bright highlights, whereas soft light creates fuzzy ones. If you closely look at the rims of the shadows, it will exhibit many lighting details.
Product Photography Lighting Techniques
Proper lighting setup is the precondition for product photography, whereas improper setup can ruin the photo. The setup can be simple to complex according to the product and photographer’s preference. Multiple category products fitting light setup is vital for E-commerce photographers. In this part of the blog, I will share product photography lighting Techniques that will help you improve image quality more efficiently.
A) 1 Light Setup for Product Photography:
Product photography always doesn’t cry for using multiple lights. A single light can do the job well if you can employ skillfully with creativity. LED, strobe, and ring light suit a one-light setup in product photography.
#1. Direct Front Light- To highlight the product, the photographer uses the light in front of the camera directly, and that’s why it’s named direct front light.
- Since you will use single light, you can use high-output bulbs like bounce light to generate intense light with various effects in front of the product.
- Ensure a standard distance between the light and the product.
- You can organize the fast lens and aperture if you don’t have the proper background.
- To set up the lighting, put a flashgun, LED, or strobe at eye level in front of the product.
- Drop the exposure or adjust the shutter speed if the lighting seems exceptionally bright.
#2. Ring Light- Ring light is no stranger to all since every TikToker and social media influencer shows it in their videos.
- Though ring light is mainly used in videos or portrait photography, you can use it to capture a single product highlighting specific features.
- While using the ring light, shoot through its center while placing the product away from it since it shines bright and has no diffuser.
- If your product is shiny, shoot underexposed until you have the desired shot.
#3. Overhead Lights- The product gets lighting from the overhead in this overhead lighting setup.
- The overhead lighting setup includes adjustable heads that you can pair with a tripod and lean according to need.
- Control the all-embracing lighting while setting the overhead light; otherwise, it will create an overexposed reflection.
- Remember to close the window to block the natural light source while employing overhead lights.
- Keep the overhead light away from the subject; otherwise, it will wash out the subject with lighting.
- The soft and discreet Overhead lighting helps capture moody, unique, and engaging product photos.
B) 2-Light Setup for Product Photography:
1 light setup doesn’t bring sound effects for reflective products unless you remove reflections during post-processing. To avoid the extra work, you need to employ another lighting. That’s where the 2 light setup for product photography comes into play. In this light setup, one light serves as the main light opposite the camera while the second fills the light above or below the subject. While employing a 2-light setup, remember the following things-
- Set the light source to the product with a diffuser.
- Never direct the light to the product; instead, put it at a 45° angle to eradicate reflections. You can also try lighting different angles to find the best position.
- While working with a reflective product, use a dark background that will engulf the reflections. Use non-shiny matte white backdrops if you don’t like dark backgrounds.
- Separating from the light source and placing the diffuser close to the product can help reduce reflections.
- Finally, you need an image post-production service to eradicate the reflection properly.
Let’s glance at a few awesome two-light setups for product photography:
#1. Rim Lighting From Back: Using Rim light, you can shoot stunning shots of reflective products like wine bottles. Using a softbox, place 2 rim lights at the back-right and back-left of the product for the best output.
#2. Lighting From Beneath: Do you want to add a dramatic effect to your product? This technique is for you.
- Set 2 lights from below the product, creating shadows and highlights on the product’s surface. Such an effect will make the photo appealing to the viewers and generate customers’ trust and faith.
- Set the light at the product at a 90° angle for the best result.
- While setting light from below, use a makeshift table.
#3. Gradient lighting- To capture professionally, you can set up gradient light. You can achieve it in many ways-
- Use two different lights – warm and cool. Also, you can use colored gel to get the effect.
- Place the lights pointing directly down and up at 45° angles to cast a gradient on the product.
- Set lights vertically at different heights at a 90° angle to generate a gradient effect.
- Create a backlit shot by setting the stripe light in an umbrella and placing it behind the product. Now capture the product through the umbrella.
C) 3-Light Setup for Product Photography
Capturing a photo fully covered with Light from a different angle, front and back, lets the photographer generate a perfect image. A 3-light setup is essential for this purpose, where you must place the lights on the right side to emphasize the product thoroughly. The lighting system is also known as the triangle light setup since you use a 3 point lighting structure. The 3-light configuration involves:
- Key Light- Key light leads the product photography lighting setup. Off-axis to the camera, it is placed facing the product to highlight its features.
- Fill Light- Fill light supports the key light by extending low-intensive lighting around the product. The fill light is placed opposite the key light to fill the shadows.
- Back Light- According to the name, the Backlight stands behind the product to add depth to the subject separating it from the background. It is also called rim light because it creates a halo effect around the subject.
However, there is no hard and first rule for setting up the Light. You can try different layouts and finalize one for product photography. Here are some techniques for this setup-
- Use any light- LEDs, bulbs, strobes but the same type to ensure a uniform appearance with control.
- Form a triangle by placing the lights at 45° angles around the subject, ensuring uniform brightness to all product parts.
- You can set 2 lights at the top and bottom to create upward and downward Light on the product. Place the third Light just above the camera to illuminate the product from all sides.
- You can set 2 lights focusing on the background and one from the front. Ensure the product is illuminated brightly to catch the eye in contrast to the background.
D) Natural Light Setup for Product Photography
Natural light can be advantageous for product photography if you can employ it skillfully. In this part, we learn about 3 types of artificial lighting setups for product photography. Now I will share ideas on how you can set up the natural light for the same purpose.
#1. Outdoor Ideas: You can do product photography outdoors with natural light in 2 ways as below:
- Photograph Against the Sun- You can photograph Matte textured products against the sun to get stunning reflections with highlighted texture and deep shadow. Place a reflector instead of a fill light to get improved highlights saving the color reflection on the product. Don’t photograph shiny products against the sun. If you do, it will lose the details and contrast with shadows.
- Photograph Under Shade– You can photograph shiny products like jewelry or glass under the shade with soft lighting. The soft lighting will beautifully glow your product. To shoot under shade:
- Find a suitable place where the direct sunlight doesn’t come and set the product at an angle that glances off the product correctly.
- Experiment with every angle by rotating the camera.
- Use a diffuser or umbrella to make improvements to the output.
#2. Indoor Ideas: While photographing the product at home, you can mix natural light with a flashlight to soften the harsh shadows generated by the flash.
- When using natural light, consider when the sunlight best appears in the room through the window or door. Fix the morning, noon, or afternoon for photography according to the light appearance.
- Evaluate the weather because it changes the sunlight.
- While using flash, remember that you are not using it to replace the natural light but to enhance the shot. Therefore, control the brightness by photographing at a slow shutter speed with a flash power 1/32 to test and gradually increase the speed to darken the photo.
- In case of insufficient light, you can use a white card or paper as a reflector that will reflect light onto the products. Move the product away from the window or use a diffuser to soften the brightness on the opposite scenery.
Product Photography Lighting Tips
Photography is all about lighting because it can break or make a picture. Can product photography stay, excluding this lighting? The answer is straight ‘No.’ A photographer can only ensure a fantastic product photo with proper use of lighting. Therefore, knowing tips and tricks for adequately employing lighting is fruitful. Let’s know them:
#1. Know the Product: Product photography lighting setup depends on the product and how you want to shoot. For example, the lighting setup for photographing skin care products differs for home appliance products. How will you understand the lighting setup for your product, then? Here are ideas to define the product and lighting set up-
- Closely look at the product to know about the product’s shape, color, size, and material.
- Ask yourself if it will look better to shoot outdoors or indoors. If indoors, consider a home or studio. If outdoors, think about the location.
- Take ‘Photography toned bulb’ like bulbs, flashes, or strobes exuding natural white shades if the product is matte. Use the 2 lights set up with a diffuser for shiny products to avoid reflection. You can use the 3 lights setup to emphasize the product from all sides.
#2. Think about Background: Background is essential for displaying a product on a website with a complement. For that, you should select a background that improves the lighting to contrast against the product and pop it out. A neutral backdrop like white or gray can help you make the product stand out with a vivid look. Next, highlight the effect by utilizing post-production. You can take help from Cut Out Image for post-production service.
#3. Avoid Reflections: Unwanted reflection causes distraction and makes the picture look distorted or fake. It happens mostly for reflective products like jewelry or glass. How to solve it? Check out the lighting and camera settings. Keep experimenting and implementing the image post-production process.
#4. Check Natural Light: Few products look aesthetic with natural light, while some require artificial light, and some look stunning with natural and artificial combined light. So, it’s up to you to use, blend or block the natural light from the window based on the product. However, multiple experiments can ensure the correct one for your product if you still need to determine what to do.
#5. Review Direction and Angle of Light: As I discussed, different light angles from diverse directions create various effects that impact the product’s outlook. Try capturing from distinct angles and directions to find the best lighting setup.
#6. Acclimate Camera Setting: Whether you do product photography outdoors or in an indoor studio, always try to shoot in manual modes. Manual mood lets you control photos’ every element through camera settings of Aperture, ISO, White balance, Shutter speed, etc. However, before you jump for the camera setting, you must set up a tripod or a stack of books in line with the product to stabilize the camera; otherwise, a slight motion will ruin a wonderful picture.
- Aperture- Aperture or f-stop defines the depth of field with light in a photo. You can use a higher aperture between f/8 to f/14 when capturing a large object with a background without losing light. Use the highest setting available if your camera doesn’t have this high aperture. Remember, the higher aperture ensures a clearer photo.
- White Balance- white balance adjusts the photo’s color with the light. When manually setting the white balance, you should aim to match the camera viewfinder and your eyes.
- Shutter Speed- Shutter speed lets the light into the camera. In a low-light environment, you should use a lower shutter speed to let more light into the camera.
- ISO- ISO handles the camera’s response to light. A higher ISO results in brighter photos, while a low ISO results in darker images. While capturing in a dark environment, you should raise the ISO. The ground rule for ISO is to keep it between 300 to 1600, depending on the environment. However, it is better to slow the shutter speed while lowering the aperture instead of raising the ISO.
#7. Know About Soft and Hard Light: In the case of lighting setup for product photography, you must differentiate between soft and hard light. Use hard light to show product texture but not on shiny products. Use the soft light to create more detailed shadows.
#8. Use Light Meter: A light meter measures the amount of light in a photo. It is a handy tool to help you identify the correct exposure settings to light the product appropriately.
#9. Utilize Colored Gels: If you want to add a dramatic effect to your product photography, you can add colored gel to the lighting. To add a relaxed vibe, you can add blue gel, or to create a vibrant mood, you can add red gel.
#10. Employ Modifiers: You can improve the lighting in photographs by employing Light modifiers, including diffusers, reflectors, and flags. It also helps in enhancing the subject and mitigating the harshness.
#11. Employ Modifiers: You can improve the lighting in photographs by employing Light modifiers, including diffusers, reflectors, and flags. It also helps in enhancing the subject and mitigating the harshness. The 5-in-1 reflector set is an excellent diffuser for extra diffusion in front of a softbox. You can use an umbrella as a cheaper option to diffuse lighting. Use reflectors in product photography to fill light and brighten up the photo. You should use flags to block unwanted light from the background.
#12. Experience post-processing: Only capturing can’t ensure perfect photos. Even a professional photographer needs to retouch pictures slightly. So, after capturing images, load them on your computer or phone for culling. Check out my blog to learn What does culling mean in photography.
After selecting images, use photo editing software like Adobe Lightroom on your phone or computer to edit them. Image post-production helps remove all flaws. You can adjust the brightness and exposure to make the picture lighter or darker. You can also remove unwanted things and retouch them with color correction. Doing such things can make the photo attractive and professional.
Image post-production is a time-consuming process that demands skill with efficiency. It will be painful for a novice and result in imperfect photos. So, it is wise to outsource the service for professional results. Cut Out Image ensures efficient and professional service with data security.
Helpful Link: Buy Image Post Production Service at Cut Out Image
Different Lighting Effects for Product Photography
Product photography can not exist without lighting. However, different quantities of artificial and natural lighting can affect the product photo differently. Moreover, the photographer can manipulate artificial and natural lighting to create any lighting style.
Different quantities and qualities of Product Photography Lighting can create diverse effects in product photography.
#1. Hard Lighting Effect:
Hard light, also called harsh light, focuses on the subject, shines brightly, and generates strong contrast with sharp shadows. It generates deep shadows and bright, sometimes overblown, highlights or whites. Small light sources like the sun, bare lightbulbs, candles, flashlights, etc., generate hard light.
#2. Soft Lighting Effect:
Soft light diffuses from an enormous source and generates modest shadows with fuzzy edges or often no shadows. It is opposite to hard light and makes it challenging to identify the shadows. However, the soft light hit the product more evenly to brighten all parts of the subject. Therefore, soft light is famous for product photography. Cloudy sky or using diffusion panels, reflectors, and light-colored curtains over the window are some sources of soft light.
#3. Flat Lighting Effect:
The Flat lighting brightens the subject from the front directly without contrast. Flat light results in small shadows as the light is not at an angle. Though it visualizes flaws less, it is not preferred for product photography, excluding close-ups.
#4. Broad Lighting Effect:
The Broad lighting is the best for product photography. Broad lighting generates a comprehensive view focusing on the part of the product nearest to the camera. Rim light, backlight, and ambient light are the major components of this lighting effect.
#5. Short Lighting Effect:
The Short lighting is the opposite of broad lighting. Short lighting highlights the product’s main features, like the shape of a bottle or a vase, making it easier for customers to see what they purchase.
#6. Ambient Lighting Effect:
Ambient light is the natural light that falls on a space using a large window, skylight as the background, or multiple reflectors in a dark room.
#7. Backlight Effect:
Backlight throws an extreme focus on the subject from behind and highlights shapes with shadow details in the photo. It works best for creating silhouettes since it makes the white balance off. However, if you plan to see some product detail, pull out the light diffuser, reflecting some light from the subject’s back to front.
#8. Rim Light Effect:
As a secondary lighting option, the Rim light highlights the subject’s features and distinguishes the subject from the surroundings. A higher contrast brings out the rim light, while a lower contrast dims the overall effect.
#9. Butterfly Lighting Effect:
Butterfly lighting creates a butterfly-shaped shadow under the subject, and that’s why it is named butterfly lighting. The butterfly lighting source is set at the top of the stand to create a soft and diffused light effect on the subject. The light forms an intimate look, making it feel like the subject flows above the background. You can use a medium softbox with a diffuser panel and less light to get the best result.
#10. Split Lighting Effect:
Split lighting hits the subject at 90° angles, resulting in a straight line below the subject’s center, keeping one side brightened and the other in shadow. It adds depth and dimension to product photography. You can do it anywhere without any extra equipment.
#11. Rembrandt Lighting Effect:
Rembrandt Lighting is named after the lighting style Rembrandt used in his paintings. In this lighting effect, the photographer uses side lighting like split lighting, except for the shady side containing a triangle light.
#12. Loop Lighting Effect:
Loop lighting is popular for product photography because it sets light evenly on the subject. To create a loop lighting effect surrounding the product, place the light above the subject at a 45° angle and move the light up-down to experiment with a better loop.
Product Photography Lighting kit
Product Photography Lighting highlights product details with brightness to use in online shops, e-commerce, product catalogs, advertisement, etc. If you capture the shot without proper photography tools, the photo might appear too bright or dark. Investing product photography Lighting kit can lessen the problem and save you time on post-production for extreme or less brightness. As a result, it will help you save for Product Photography Pricing in 2023.
You might wonder what Product Photography Lighting kits are. The below details will make you clear:
#1. Continuous Lights:
As the name defines, continuous light produces constant light. While photographing products, most photographers often use it to contrast with flash lighting since it lets them see how light falls on the subject. Besides, it helps novices to adjust the light around the subject easily while working with complex lighting setups. The most common continuous lighting bulbs are-
- Fluorescent- Fluorescent is an energy-saving bulb that provides colorful luminous at cheap pricing. But sometimes, it creates unwanted blue or green light that affects photography results. However, compact fluorescent lights can be the solution to this problem.
- LED- LEDs are flexible, energy-saving, and long-lasting; they produce little to no heat and can change the picture’s color best. However, often they miss capturing the accurate color and create “digital noise.”
- Tungsten-Tungsten lights shine brighter than LED or fluorescent lights. They can capture the color with an invariant spectrum, like natural daylight. These lights are durable too. However, tungsten bulbs’ downside is that they are expensive, consume more energy, and produce heat.
#2. Flashguns:
Flashguns fire in a blink of an eye while capturing photos, and the light of the fire brightens the scene. Its are flexible to shift, tilt, rotate, or bounce to de-stress the light. Flashguns are Also called speed lights.
#3. Strobes:
Because of powerful light, Strobes are the most preferred Product Photography Lighting for studio photographers. It can highlight the material’s texture with a dramatic effect. Usually, strobes lights function like speed lights, but they are more adaptable and powerful. However, remember that the price concerns the strobe light power. An expensive one can ensure powerful light, while a cheaper one will be less powerful.
#4. Ring Lights:
According to the name, the Ring light is a ring-like circular light designed for hospitals and dentistry. Because of the uniform light source, it is now used for photography, also. It comes in two types- a small one attached to the camera lens and a larger one through which you can shoot the photo. The light can contain a fluorescent bulb or multiple small LEDs to illuminate the product, adding a pop-up view with different shapes.
#5. External Flashes:
External flashes, or hot shoe flashes, are the light source attached to the camera to illuminate the subject with the firing of brightness. It has various settings to create a more dramatic effect on the product than the continuous lighting. Photographers use external flashes to generate shadows while highlighting details.
#6. Diffusers:
Product Photographers usually use the diffuser to soften the light and distribute it evenly on the product. It creates a larger light source by scattering light and generating reduced harsh reflections. Diffusers are a matter of life and death for product photography lighting setup if the product is made of reflective elements like metal or glass or if the background is reflective. You can use the following diffusers as your product photography kit:
- Softboxes– A softbox is a simple movable box to control lighting and shadows while ensuring a neutral background for the product. It’s an excellent option for small or handheld product photography. Photographers place Softboxes around a light source to diffuse and generate more uniform light. They are flexible in size to fit different light sources.
- Umbrella: Alike the softbox, the umbrella diffuses the light and is flexible to shape and size. Additionally, they are easily portable.
#8. Reflectors:
As the name defines, the reflectors evenly reflect the light onto the subject. It reduces the harsh light, adds highlights, and refills shadows. To create distinct effects, reflectors come in various colors:
- Silver: Bright, realistic reflection.
- Gold: Warm shade
- White: Soft and true-to-life reflections.
- Black: Improve contrast absorbing light.
#9. Beauty Dish:
Photographers use a dish-like reflector which is called Beauty Dish. It creates a dramatic lighting effect highlighting textures and details.
#10. Gobos:
Photographers use Gobos, a small metal material when they prefer to create patterns on the product. They place the Gobos at the front of the light source to block the light and give a shape.
#11. Snoot:
You might often struggle to set the light in a specific direction, and Snoot is a solution for such a situation. A funnel-shaped gadget directs light in a particular focus by placing it over the light source and generating a thin ray.
#12. Barn Door:
To control unwanted lights in product photography, the photographers use barn doors, a metal flap hooked to light sources.
#13. Grids:
Grids are little, honeycomb-shaped devices placed over a light source. Photographers use it to control the light spread and create a focused light beam for dramatic effect.
#14. Light Stands:
The light stands are crucial for the Product Photography Lighting kit. It can carry the light and other equipment weight to adjust the light easily.
#15. Tripod:
Who doesn’t know about Tripod? It is also considered a critical Product Photography Lighting kit. It will keep the camera stable and allow you to shoot from different angles, adding consistency in product photography lighting.
Best Product Photography Lighting
Photography is all about lighting because lighting can make a photo breathtaking or dull. There are different lighting, and none fits all. Sometimes you find daylight perfect, while other times, flash or LED light works well for your photography. Therefore, to be a professional photographer, you must know how to play with the best lighting according to necessity. Here are a few comparisons between different lights to make you understand when to use which light for the best outcome.
- Continuous vs. Strobe light: As the name suggests, the continuous light always stays on. Often it becomes challenging to identify a good light spot. On the contrary, you can on-off the strobe light according to your needs. Continuous lighting is ideal for shooting photos or stage shows, whereas strobe light is excellent for movies and video games. However, in the case of product photography, you should go for continuous lighting options since it is best for photography.
- Natural vs. Studio Lighting: You can move the light in studio lighting whereas obeying the sun as the boss for natural lighting. So, you need to move the products to the sun points while using the sunlight. Natural lighting often creates flattering effects on products, whereas studio lighting creates realistic images. However, both lighting is essential according to the circumstances.
- Natural Light vs. Artificial Light: Natural light is accessible to all where the sun is the boss. Natural light can be sunlight at any time of the day, moonlight, etc. Sunlight can change over time, and weather impacts the temperature and color. Natural light is ideal for product photography if you can apply it correctly. Don’t depend too much on natural lighting. If needed, go for artificial. Artificial light is getting light from different tools created by humans like a camera flash, an LED, Christmas lights, and street or car lights. Artificial lighting’s intensity is controllable and suitable for low-light photography. Both lights work well for photography, but whatever you apply, think about the temperature because it might change the photo’s mood or tone.
- LED Light vs. Ring Light: LED light is designed for a broader rectangular shape light source, whereas the Ring light comes with ring shape light. Usually, LED lights are famous for videography and product photography. In contrast, the Ring light is used in handy product photography but is perfect for capturing human faces while making videos or attending online meetings or interviews. Compared to the price, LEDs are higher in price.
Importance of Product Photography Lighting
Product photography is buyers’ first contact with products that can be affected by lighting. Whether you are a product photographer or an online seller doing product photography by yourself, you must know the importance of lighting in product photography. If you don’t know, keep reading to understand why Product Photography Lighting is essential.
Sweetens Image Quality:
Lighting is essential to enhance the subject in an image by defining brightness, darkness, tone, texture, etc. Hence, it’s mandatory to control light in photography accurately for true-to-life texture. The photographer can avoid shadows or reflections by throwing light from all directions, which makes the photo eye-catching and realistic.
Spotlight Details:
Proper lighting highlights the product’s detailed features. It makes the color vibrant and adds texture to the product. By patching Shadow, you can make the product natural looking. You can Buy Shadow Service at Cut Out Image at an affordable price.
Develop Mood:
Excluding enhancing the subject, lighting creates an atmosphere to develop the product picture’s mood. The mood makes the image look appealing, elegant, or even mysterious. For instance, you can create a relaxing atmosphere using soft and warm lighting while photographing a product. Usually, red light creates a vivid mood, while blue light creates a relaxed mood. By placing lights right in front of the product, you can create a fun mood, while placing them behind can create a suspicious or sad mood.
Revives Backgrounds:
A photo with a cleaner and proper background looks professional. But a photographer often accidentally captures a dirty background, spoiling the picture quality. It impacts negatively on the viewers since the picture fails to seek attention. However, a good lighting setup can save you if you forget to clear your background because bright lights chill out the background.
Push Marketing Efficiently:
Proper lighting helps in making a product photo compelling enough to attract customers. 90% of attracted customers turn into real buyers that boost sales with revenue. Here the picture pushes the marketing efficiently by generating customer engagement. For example, when restaurant owners publish their food photos captured with perfect lighting, it makes the viewers crave to ingest the food.
Product Photography Lighting Brands
Going through the blog you have learned about different lighting with importance and also learned how to set up them. Now you might wonder which brands will be good for you or from which brand you should purchase the photography lighting kit. So, I am sharing a few of brands from the bunch of list below from where you can purchase at reasonable prices:
- Godox : As a novice, you can prefer Godox for photography lighting kits since it is one of the leading brands established in 1993 in China. Since the launch time it aims to supply exquisite photography kit and lighting at rock-bottom price
- Neewer: It is another photography equipment selling brand from China. It was founded by China in 2010 with the aim of providing high-end photography tools at competitive prices. The brand ascended the photography market relatively faster than other brands by developing the social, commercial, and photographic ecosystem.
- Linco: If you look for professional and premium photography lighting equipment, Linco is perfect for you. It is a California based company founded in 2005 with the aim of accentuating quality and innovation. Linco supplies high-quality, power efficient and unique lighting kits with design patents at an affordable price. These tools are easy-to-use and constantly undergo modification.
- Fovitec: In 2012 another California based lighting gear manufacturer started photography lighting kits brands named Fovitec. It is well known for supplying admirable quality product photography lighting kits which are user-friendly and reasonable at price.
- MountDog: Most of the beauty bloggers prefer ring lights from the MountDog brand. Does the name ‘MountDog’ sound funny? If you check their product you will find them charming too. It is another California based company established in 2016 with the passion of delivering different category impressive photography lighting tools at an affordable price.
Final Words [ Product Photography Lighting ]
From the long journey over the blog we can summarize that lighting is the key to product photography which has a direct impact on picture quality. Without proper lighting setup you can’t enhance the feature and make the photo compelling.
In the blog I have discussed about the Product Photography Lighting kits, their setting techniques with tips. I have also shared a few brands from where you can purchase your photography lighting kit. Be stoic to experiment with diverse lighting setups and capture professional-looking product photos.
Did the blog help you? If you find the blog helpful let us know in the comment box. Also, you can check out my few more blogs if you like it.
- How to Shoot Dutch Angle Photography
- Way to Outsource Graphic Design
- How to Use ChatGPT for Graphic Design