Disclaimer: This blog is for general informational and inspirational purposes only, based on publicly available information and personal insights. Images—whether of models, screenshots, or products—are for illustrative purposes only and do not depict actual subjects, scenarios, or views described. We do not intend to offend or conflict with any societal, cultural, religious, or political values.
While watching any film, have you ever felt the focused tilt has changed in any specific scenery? Or have you found a picture with an off-side angle focused? A scene like this is called the Dutch Angle. The Dutch angle is a technique that tilts the camera to create a sense of unease or disorientation in photos. It creates visually striking images. Today’s blog will contain possible details of Dutch Angle Photography and guide you on how to shoot Dutch angle photography.
To sum up, the blog will contain the below topics:
- What Is Dutch Angle Photography?
- The Root of Dutch Angle Photography
- How to Shoot Dutch Angle Photography
- Tips to Shoot Dutch Angle Photography
- Why Shoot The Dutch Angle Photography
What Is Dutch Angle Photography?
The term ‘Dutch’ does not refer to Holland. It refers to the non-traditional photo composition style that German Expressionists introduced in the early 20th century. They named it “Deutsch,” but after years passed, it became Dutch for misspelled.
Dutch Angle Photography is capturing photos by tilting the camera for a different angle to diagonal the horizon with the frame’s vertical line. Dutch Angle Photography forms an impression among viewers to see things from a unique perspective.
It is a creative way of breaking other rules, including the Rule of Thirds in Photography and capturing a compelling photo with a unique twist by sloping the camera. It is also called Dutch tilt, canted frame or oblique angle photography. The technique is widely used in film and photography worldwide.
Dutch angle clicks better photos by tilting a camera that puts vertical and horizontal lines close to the frame at an angle rather than in parallel.
The Root of Dutch Angle Photography
The term “Dutch,” as the name suggests, didn’t come from the Netherlands or the Dutch people. Its root is German settlers named “Deutsch.” According to the passage of time, the term “Deutsch” was misspelled and became ‘Dutch’.
In the early 20th century, German filmmakers introduced the Deutsch tilt and used it extensively to show things off-kilter. For example, Robert Wiene used the Dutch angle in his early films like “The Cabinet of Dr Caligari” (1920).
During World War I, German filmmakers were making expressionist scenes that trolled the insanity of the world war. At that time, the Allies’ navy sieged import and export of film in Germany. Meanwhile, German directors brought spring to Hollywood using the Dutch angle.
Gradually, international filmmakers adopted the Deutsch technique with an accepted name, “Dutch”. In modern times, this angle is widely preferred to display off-balanced or strange things for horror, thriller, suspense films and photography. Dutch-angle photography adds visual interest to an image.
How to Shoot Dutch Angle Photography
Dutch Angle Photography breaks the traditional rules. We always try to keep the horizon straight in traditional photography, whereas we intentionally slope the horizon in Dutch Angle Photography.
The essence of photography lies in the joy of experimenting. The Dutch angle is achieved by sloping the camera to generate a feeling of discomfort or loss of balance. It’s a tricky process. Let’s dig deeper to learn how to shoot Dutch angle photography:
Method-1: Tilting camera
- Phase 1- Choose Subject: First, you should select a subject with solid diagonal lines, shapes, or textures to emphasize by tilting the camera. Buildings, landscapes, and even people are good examples of such subjects.
- Phase 2- Set Camera Angle: After selecting the subject, it’s time to set the camera angle to capture. Use a tripod to keep the camera stable and consistent in angles. Use a spirit or electronic level to ensure the camera is correctly tilted.
- Phase 3- Fix Camera Settings: Fixing the camera setting is essential to capture the best shot. Therefore, to shoot Dutch Angle Photography or any other style, you should fix the camera setting based on lighting and desired effect. Try using a wide-angle lens for a broader view of the scene and a unique perspective. To prevent blurriness and capture movement accurately, utilize a fast shutter speed.
- Phase 4- Frame the Subject: In this phase, you need to frame the subject. Use the viewfinder or live view to ensure correct framing with a tilted angle. Pay attention to the composition and make any necessary adjustments.
- Phase 5-Try Different Angles: Try different angles by tilting the camera side or diagonally applying compositional rules to your shots. That’s great if it works well with your composition. It will also be fine if it breaks the composition, but it looks like a winning shot. It will help you find the best side for the subject or concept and let you generate dynamic effects in your pictures.
- Phase 6-Capture multiple shots: A single shot can’t ensure the best picture. So, take multiple shots of your subject from different angles to ensure the best Capture. Continue taking shots until you get the desired outcome.
- Phase 7-Image Post Production: Don’t be spooked if you miss correctly capturing the picture from the Dutch angel with the desired output. Image post-production is there to heal, and Cut Out Image can help you get the desired output. However, be cautious that you are not tilting the image excessively. I may distract the attention.
In closing, you should plan and explore options carefully to Shoot Dutch Angle Photography with the most significant impact. With practice and patience, you can master the Dutch angle shots and create visually striking pictures.
Method 2: Debubbling Camera
Another easy method to achieve a Dutch-angle shot is debubbling the camera. It frames the composition correctly. You should follow the below steps for this-
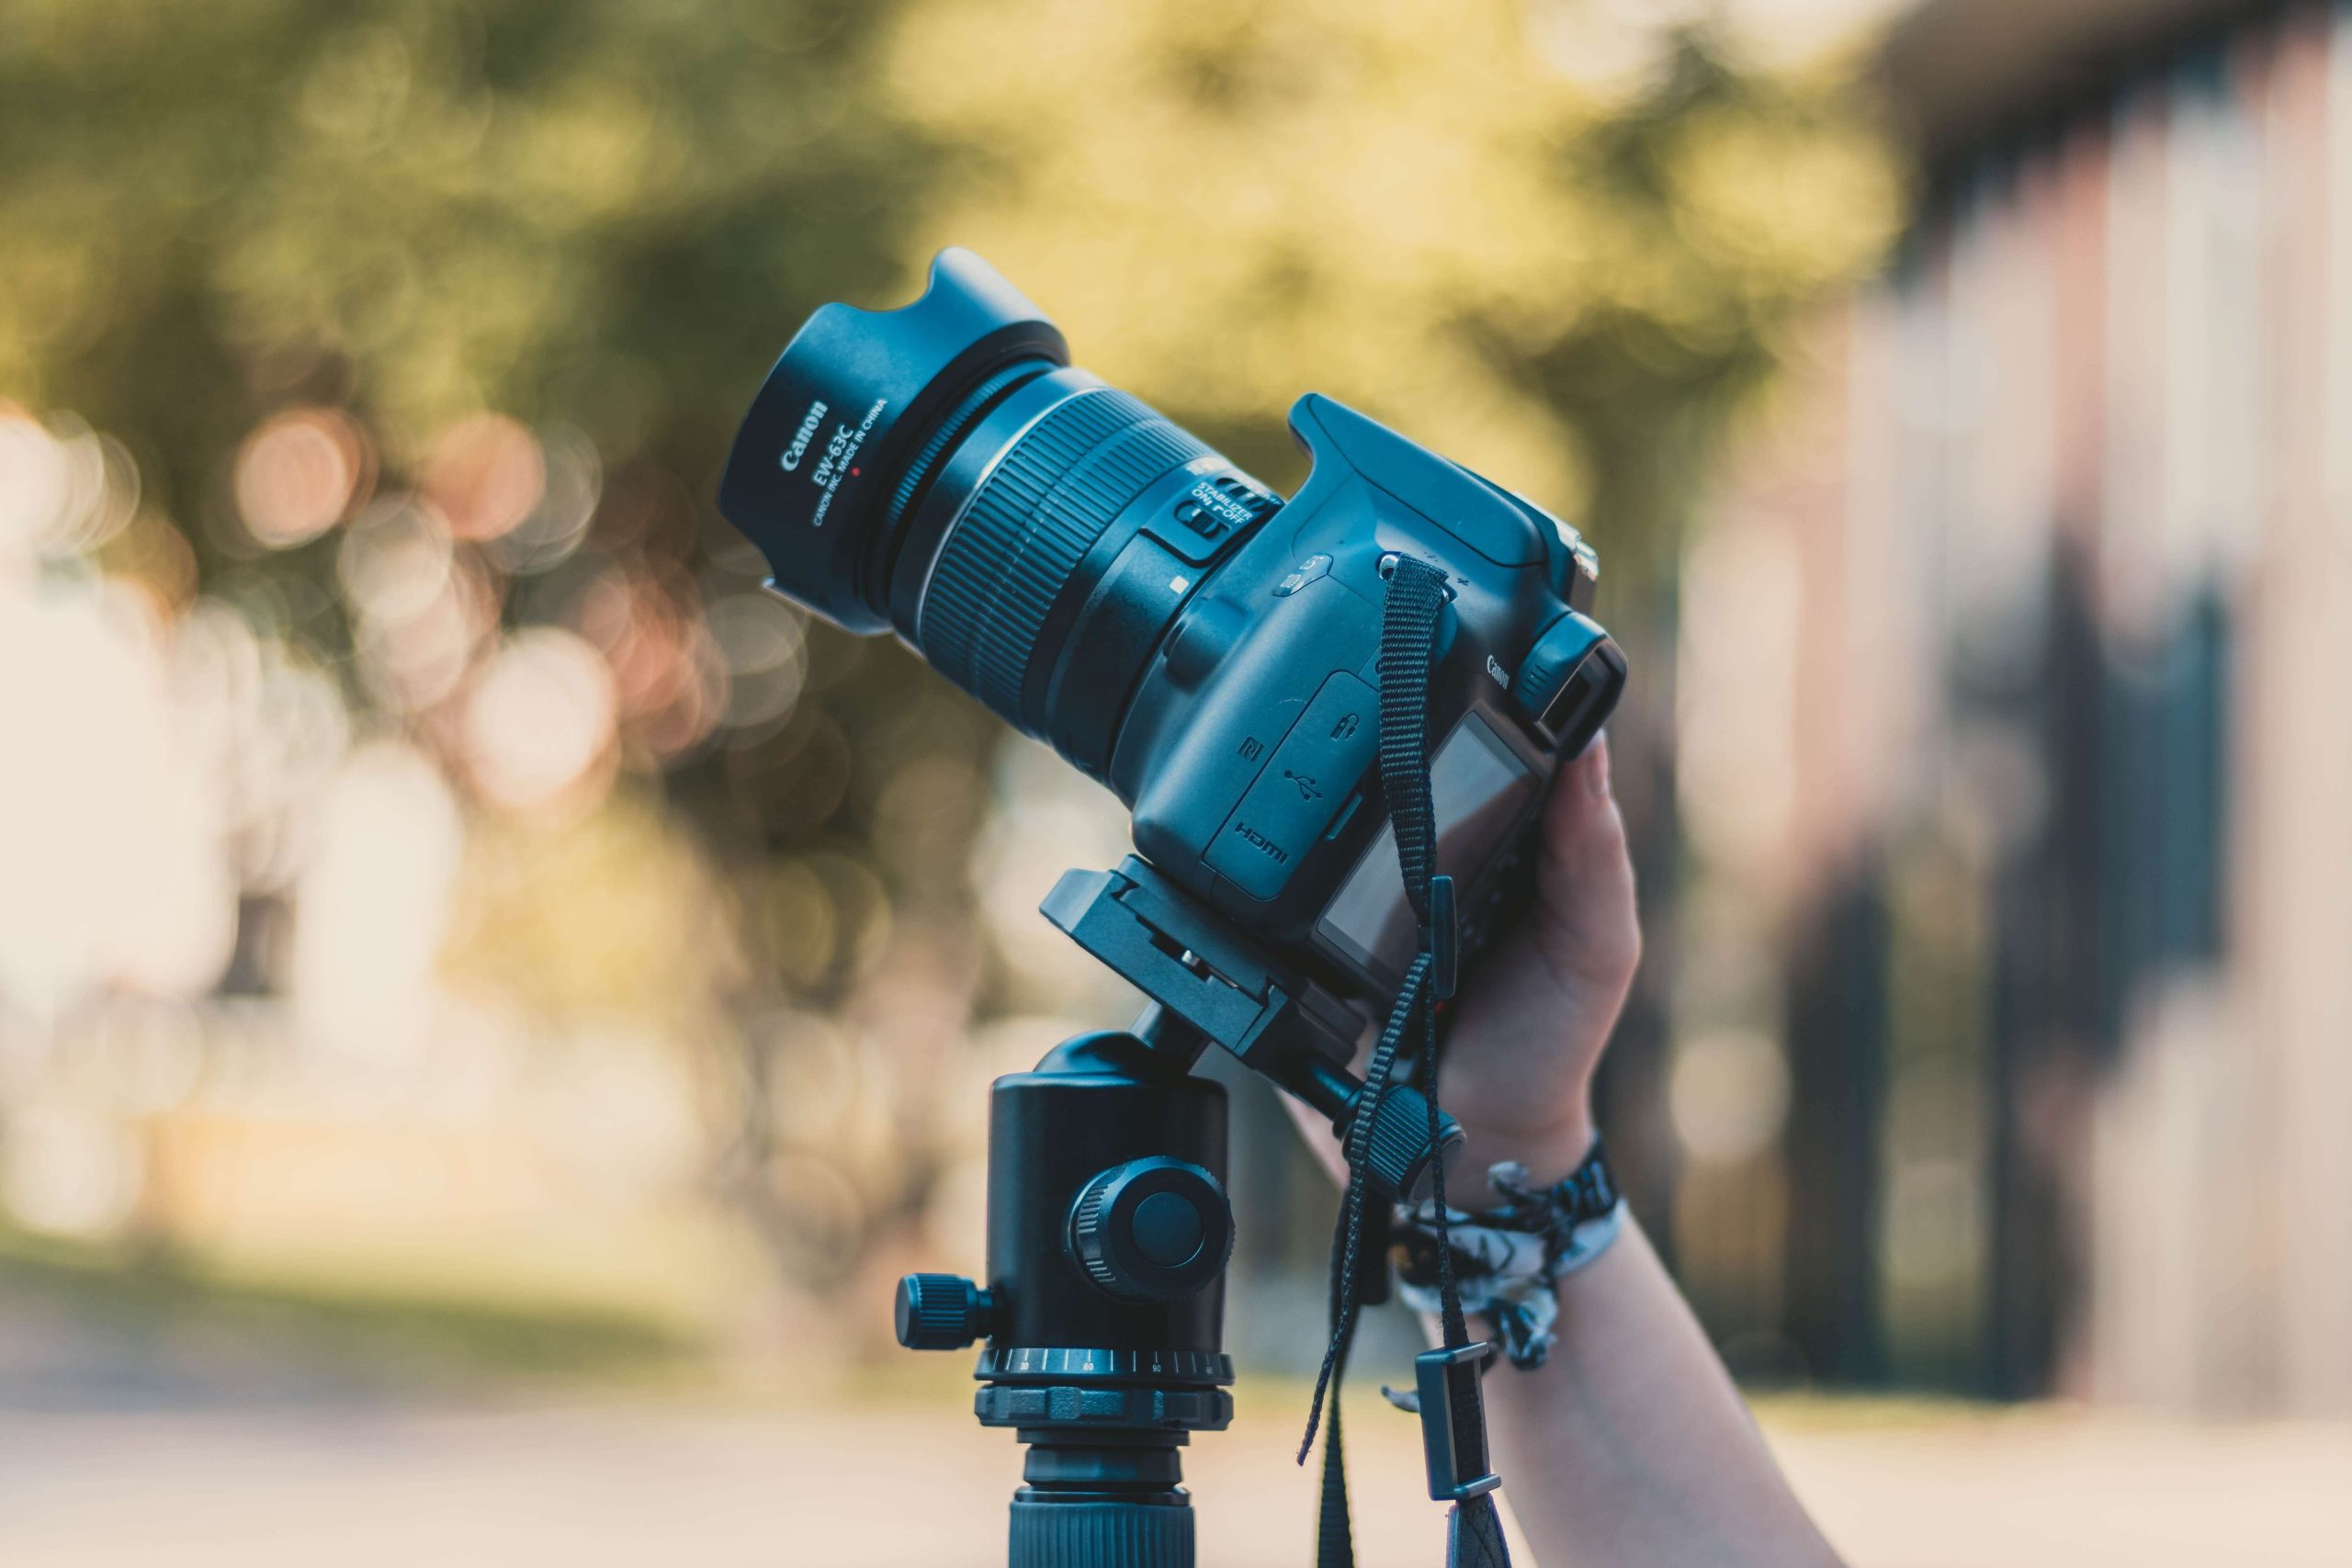
- Detach the tripod’s ball head.
- Create an angle by tilting the tripod to one side.
- Capture the photo by debubbling the camera where the ball head will hold the camera in place.
Method-3:
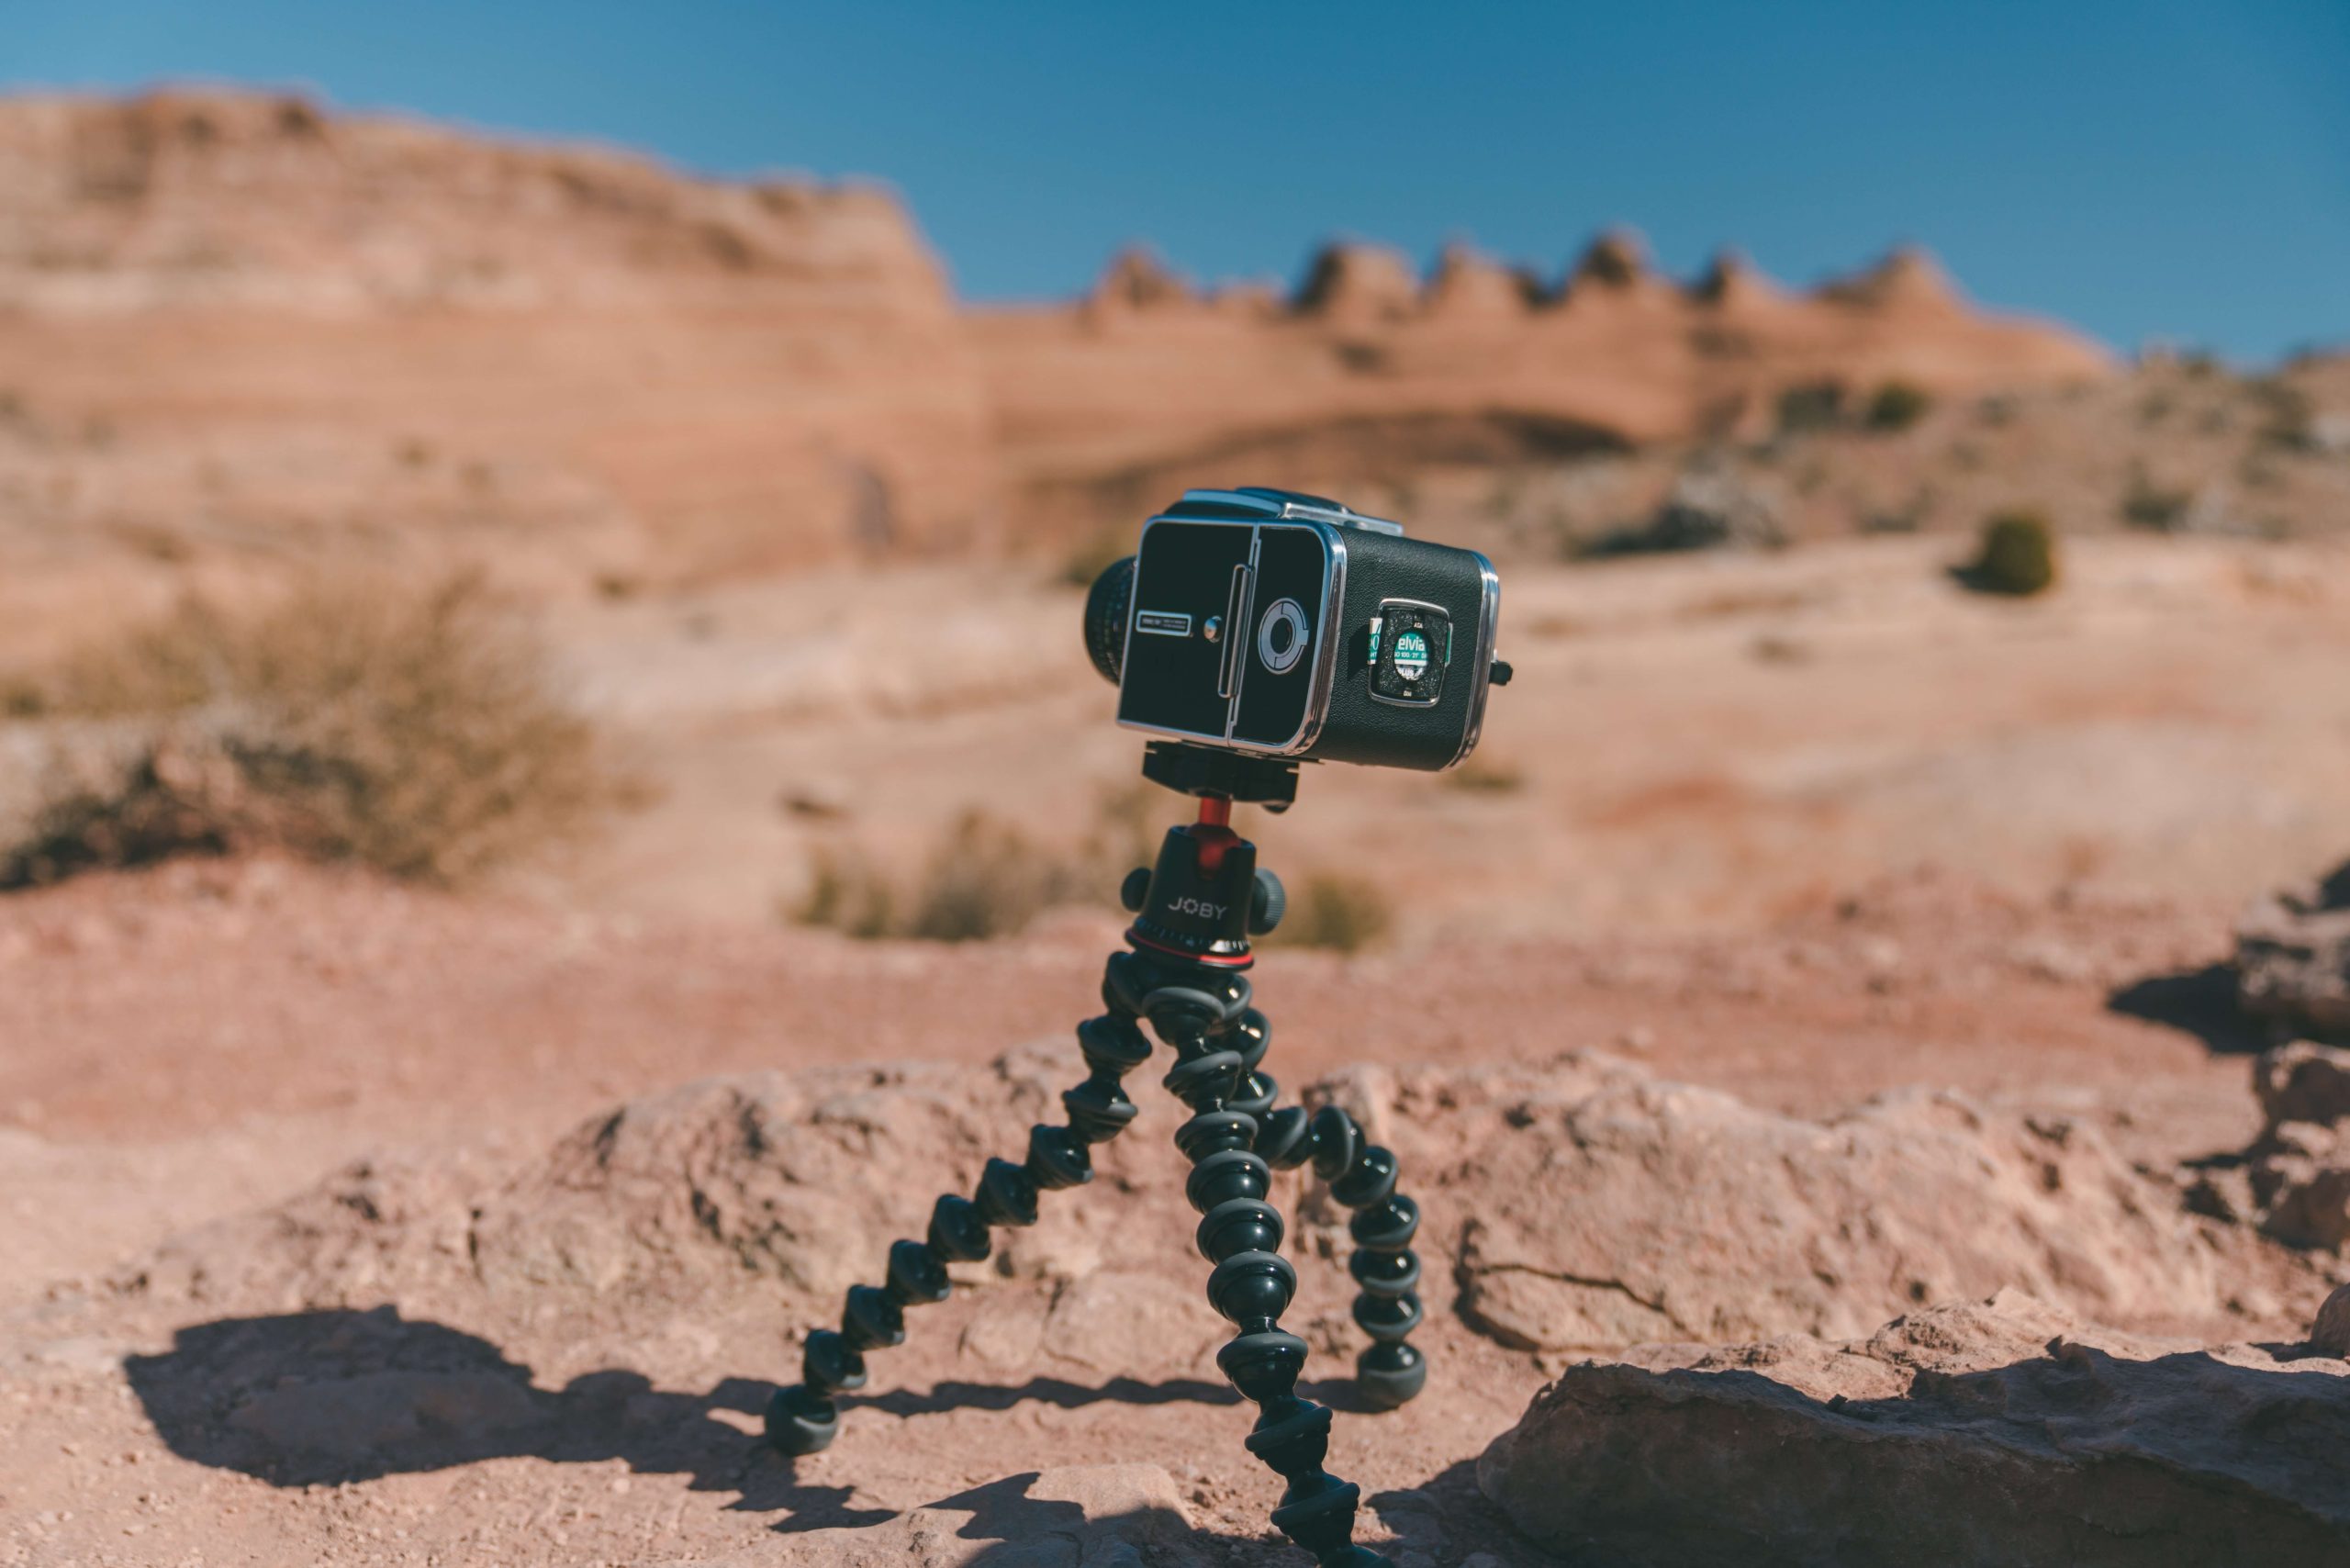
Dutch Angle Photography with this method is simple yet risky. It involves intentionally shortening the tripod’s one leg to create an unbalanced effect. However, there is a risk of the camera falling, so it is always essential to hold it steady and change the angle’s degree slowly while shortening the leg’s length.
Method-4: Using Wedges
This method is simple and affordable to shoot in Dutch Angle. To implement this method, remove the camera from the tripod and put it on a smooth surface like a wedge or sandbag. It will heighten one edge of the camera. With this easy technique, you can safely place the camera in an angel position.
Method- 5: Utilizing Dutch Head
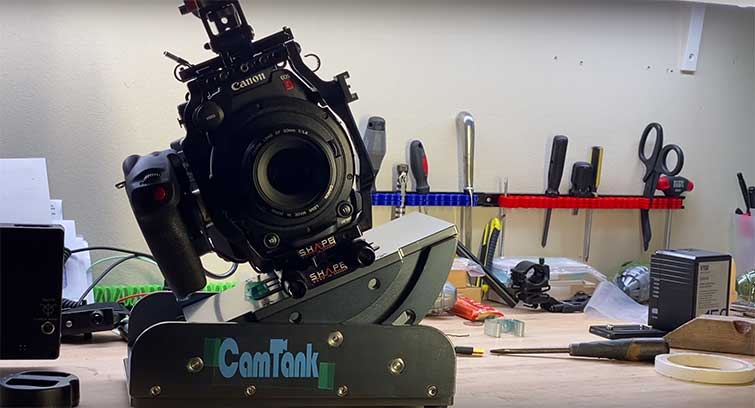
To achieve professional Dutch angles in your camera shots, you can utilize a specialized head designed for managing camera angles. This head has precise markings to help you tilt at a specific angle, conveniently between the tripod head and the camera. You can easily maintain the same tilt for each shot or adjust it as needed for every shot.
Tips to Shoot Dutch Angle Photography
Dutch Angle Photography is technical photography that requires much technique to make an image visually aesthetic. Let’s know a few tips to make photography more fruitful:
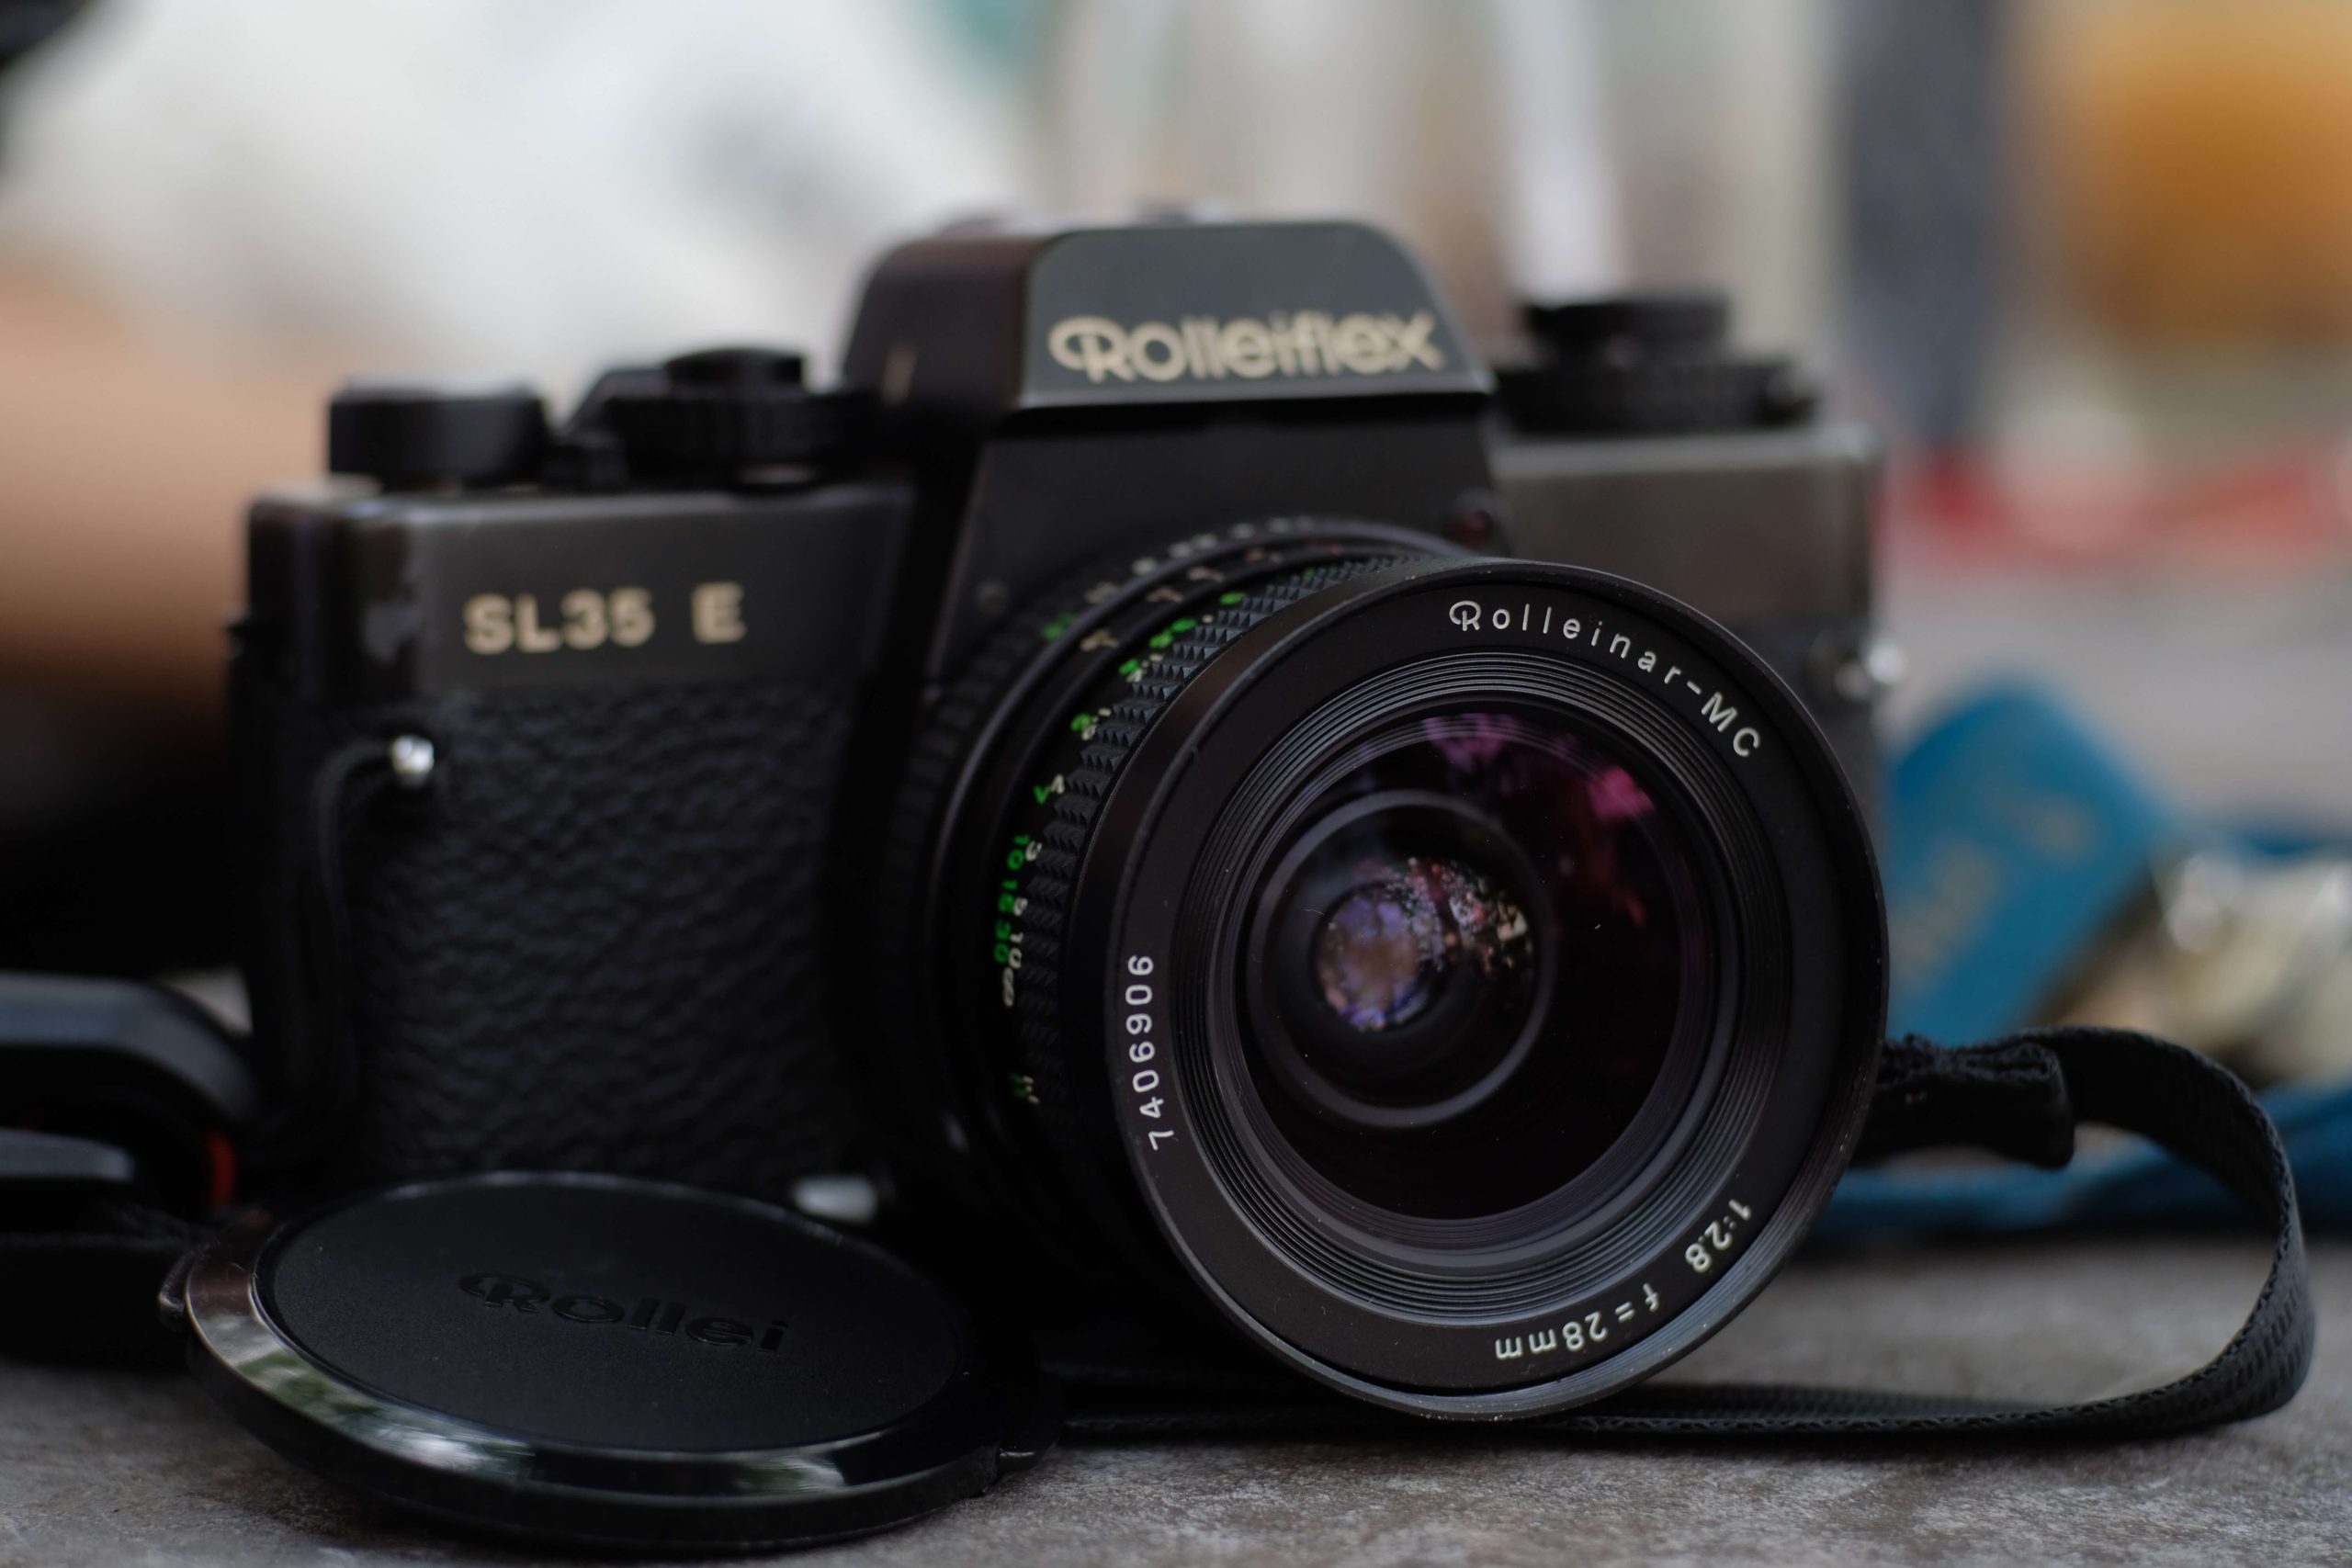
01. Choose Wide Lens:
Selecting a wider lens for Dutch angle photography is wise as it can capture more expansive views and accentuate camera angles. Compared to telephoto lenses, wide lenses are more effective for this purpose.
02. Prioritize Background:
Background, including Dutch angle shots, is vital for photography. For example, while shooting at a Dutch angle, the camera tilted, but if there is nothing in the background to identify the angle focused. Won’t that be pointless? Therefore, defined lines- horizons or vertical are ideal for the Dutch Angel Photography background.
03. Try Multiple Shots:
Single shot never ensures a stunning capture. Therefore, capture the same shot several times to ensure a good one.
04. Be calculative:
If the angle is incorrect, the photo might lose its appearance. Be a little calculative while shooting Dutch Angle Photography. A 45-degree angle is a good rotation. However, don’t forget to try different angles.
05. Use Right Tool:
The proper tool is a precondition for consistent shots. A Dutch head is the most professional but expensive option to get a Dutch angle. You can use it on a tripod or a surface and dial in the exact angle. Alternatively, you can use a tripod, shortening one of the legs for a stable shot. As a cheaper option, you can also use a wedge under one side of the camera on a balanced surface for consistent angles.
06. Select Proper Subject:
All subjects can’t fit well to the Dutch angle shot. So, select a subject with strong diagonal lines or one that can be tilted without losing visual appeal. Make sure your subject is properly framed and balanced within the image.
07. Don’t Overdo:
You can get appreciated if you properly capture the Dutch Angel photo; otherwise, you will be criticized. Therefore, focus on it correctly and don’t overdo it. Use the shot sparingly to accentuate emotions.
Why Shoot The Dutch Angle Photography
Dutch-angle Photography makes a photo visually different. Even though it breaks the traditional rule of Photography, it is advantageous to get an appreciation for photography skills. Here are more reasons to shoot Dutch Angle Photography:
- Maximize the Frame: The Dutch Shoot can benefit you when you face trouble fitting everything in the frame. Horizontally tilted camera provides a wider frame to fit everything. You can implement the technique in Wedding Photography to cover multiple people.
- Develop Creativity: Dutch Angle Photography is a simple technique to turn an ordinary photo into an interesting one with creativity. You can use it for automobile photography to generate a creative photo with an appealing look.
- Create Uneasiness: If you watch horror, thriller, or suspense films, you might have seen angle-focused scenery. Such scenery is constructed to create uneasiness and emotion among the audience. You can implement the same concept in Photography to generate uneasiness or off-balance. Curvy Boudoir Photography is a good example of implementing this technique.
- Add Visual Interest: It might be an ordinary picture if you capture buildings or landscapes with traditional photography rules. But if you tilt the camera in an angle direction, you can add visual interest to your picture.
Ultimately, the purpose of the Dutch angle shot in Photography depends on the context and creative intent of the photographer. It can be a powerful tool for visually striking and emotionally evocative images.
Final Words [ How to Shoot Dutch Angle Photography ]
Dutch Angle Photography is an experimental technique that adds spice to ordinary photography. It is a tricky application to generate unconventional aesthetic photos.
I have shared all the possible ways How to Shoot Dutch Angle Photography with tips. Reading the blog, you have learned the ways. Now it’s time for practicing. Mastering Dutch Angle Photography isn’t a hard nut to crack. Practicing with patience can help you master Dutch Angle Photography. Continue capturing!
Did you like the blog? Check out my other blogs to explore more:
