Disclaimer: This blog is for general informational and inspirational purposes only, based on publicly available information and personal insights. Images—whether of models, screenshots, or products—are for illustrative purposes only and do not depict actual subjects, scenarios, or views described. We do not intend to offend or conflict with any societal, cultural, religious, or political values.
Black and white shades dramatically impact your photographs by adding powerful emotion with natural beauty. Consider the saying of Rob Sheppard, “Black and white can transform a scene into something magical.” So, if you want to add magic to your photos, you can do it by applying black and white shade. You can make it more innovative by adding a drop shadow text in your photo. To do this, you have to know how to add drop shadow to text in photoshop. Black and white spells magic on photos. Do you know the secret of magic? If not, this blog is there to support you to learn how to make an image black and white. Learning is always fun. So, go through the blog, and let’s have fun.
What is Black and white photography?
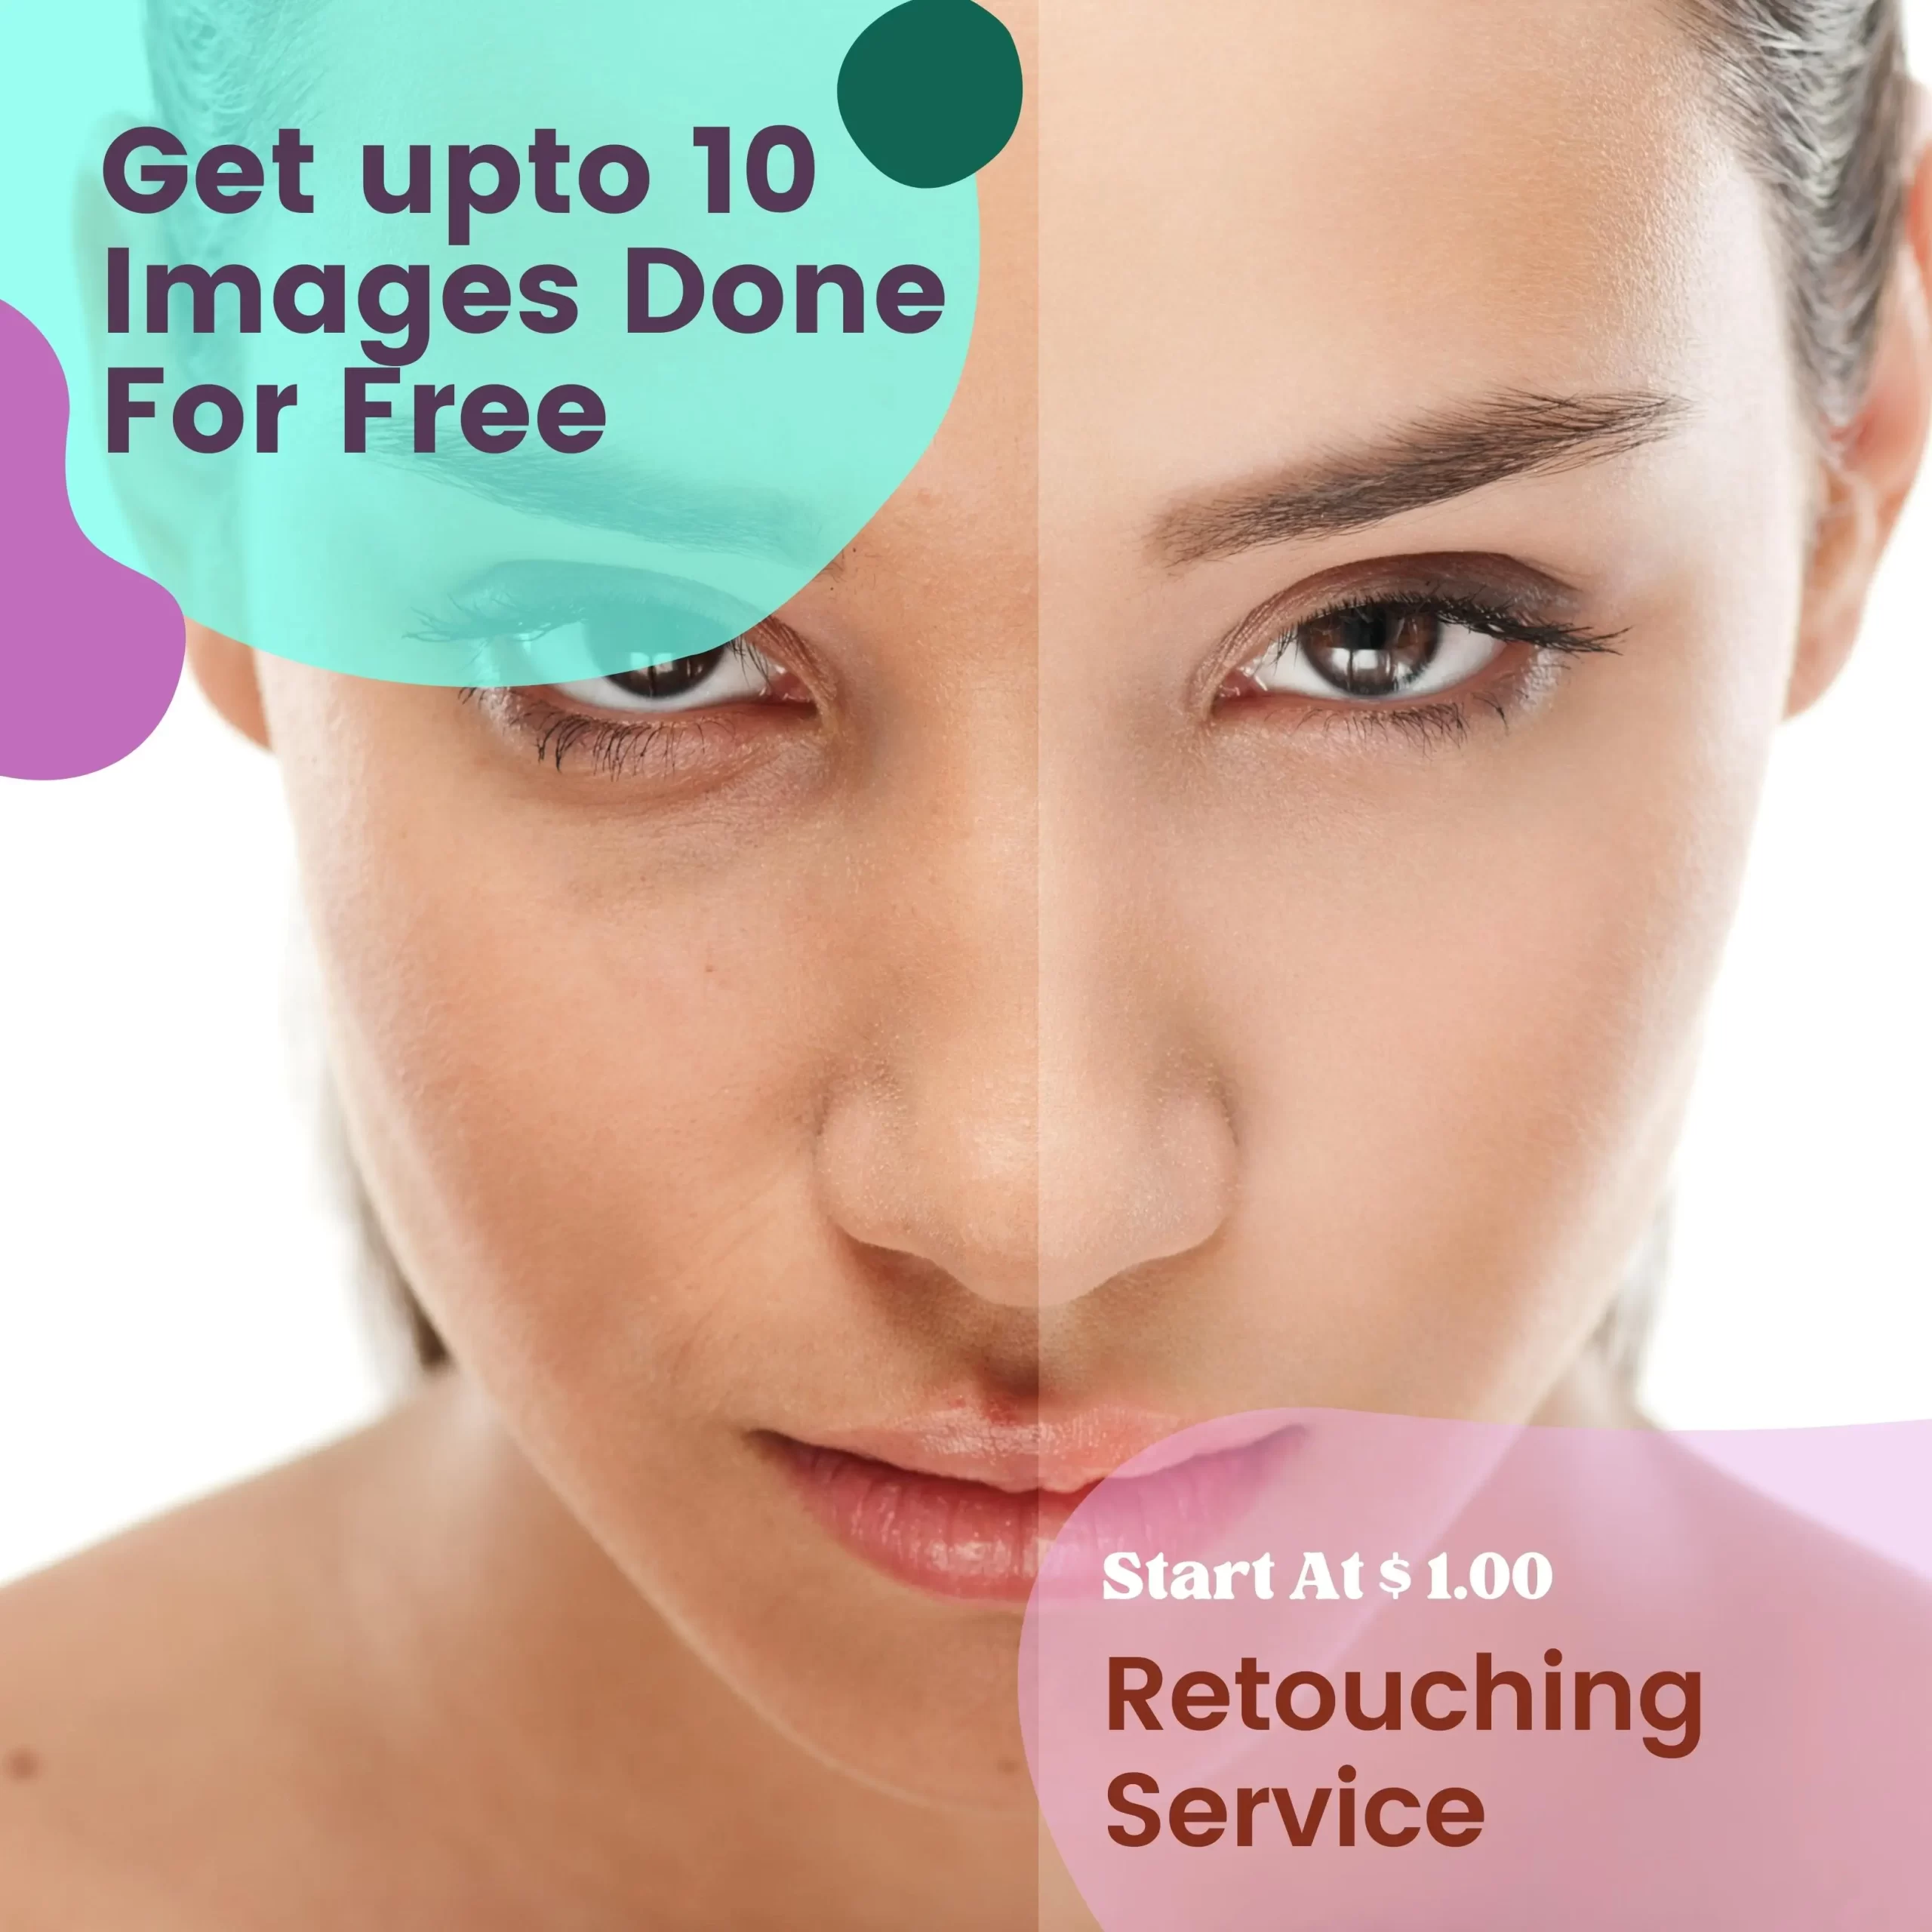
 This image is used solely for illustrative purposes. We do not intend to offend or conflict with any societal, cultural, religious, or political values. Image Source: Freepik
Black and white hold all colors and, at the same time, excluding all. Isn’t it amazing?
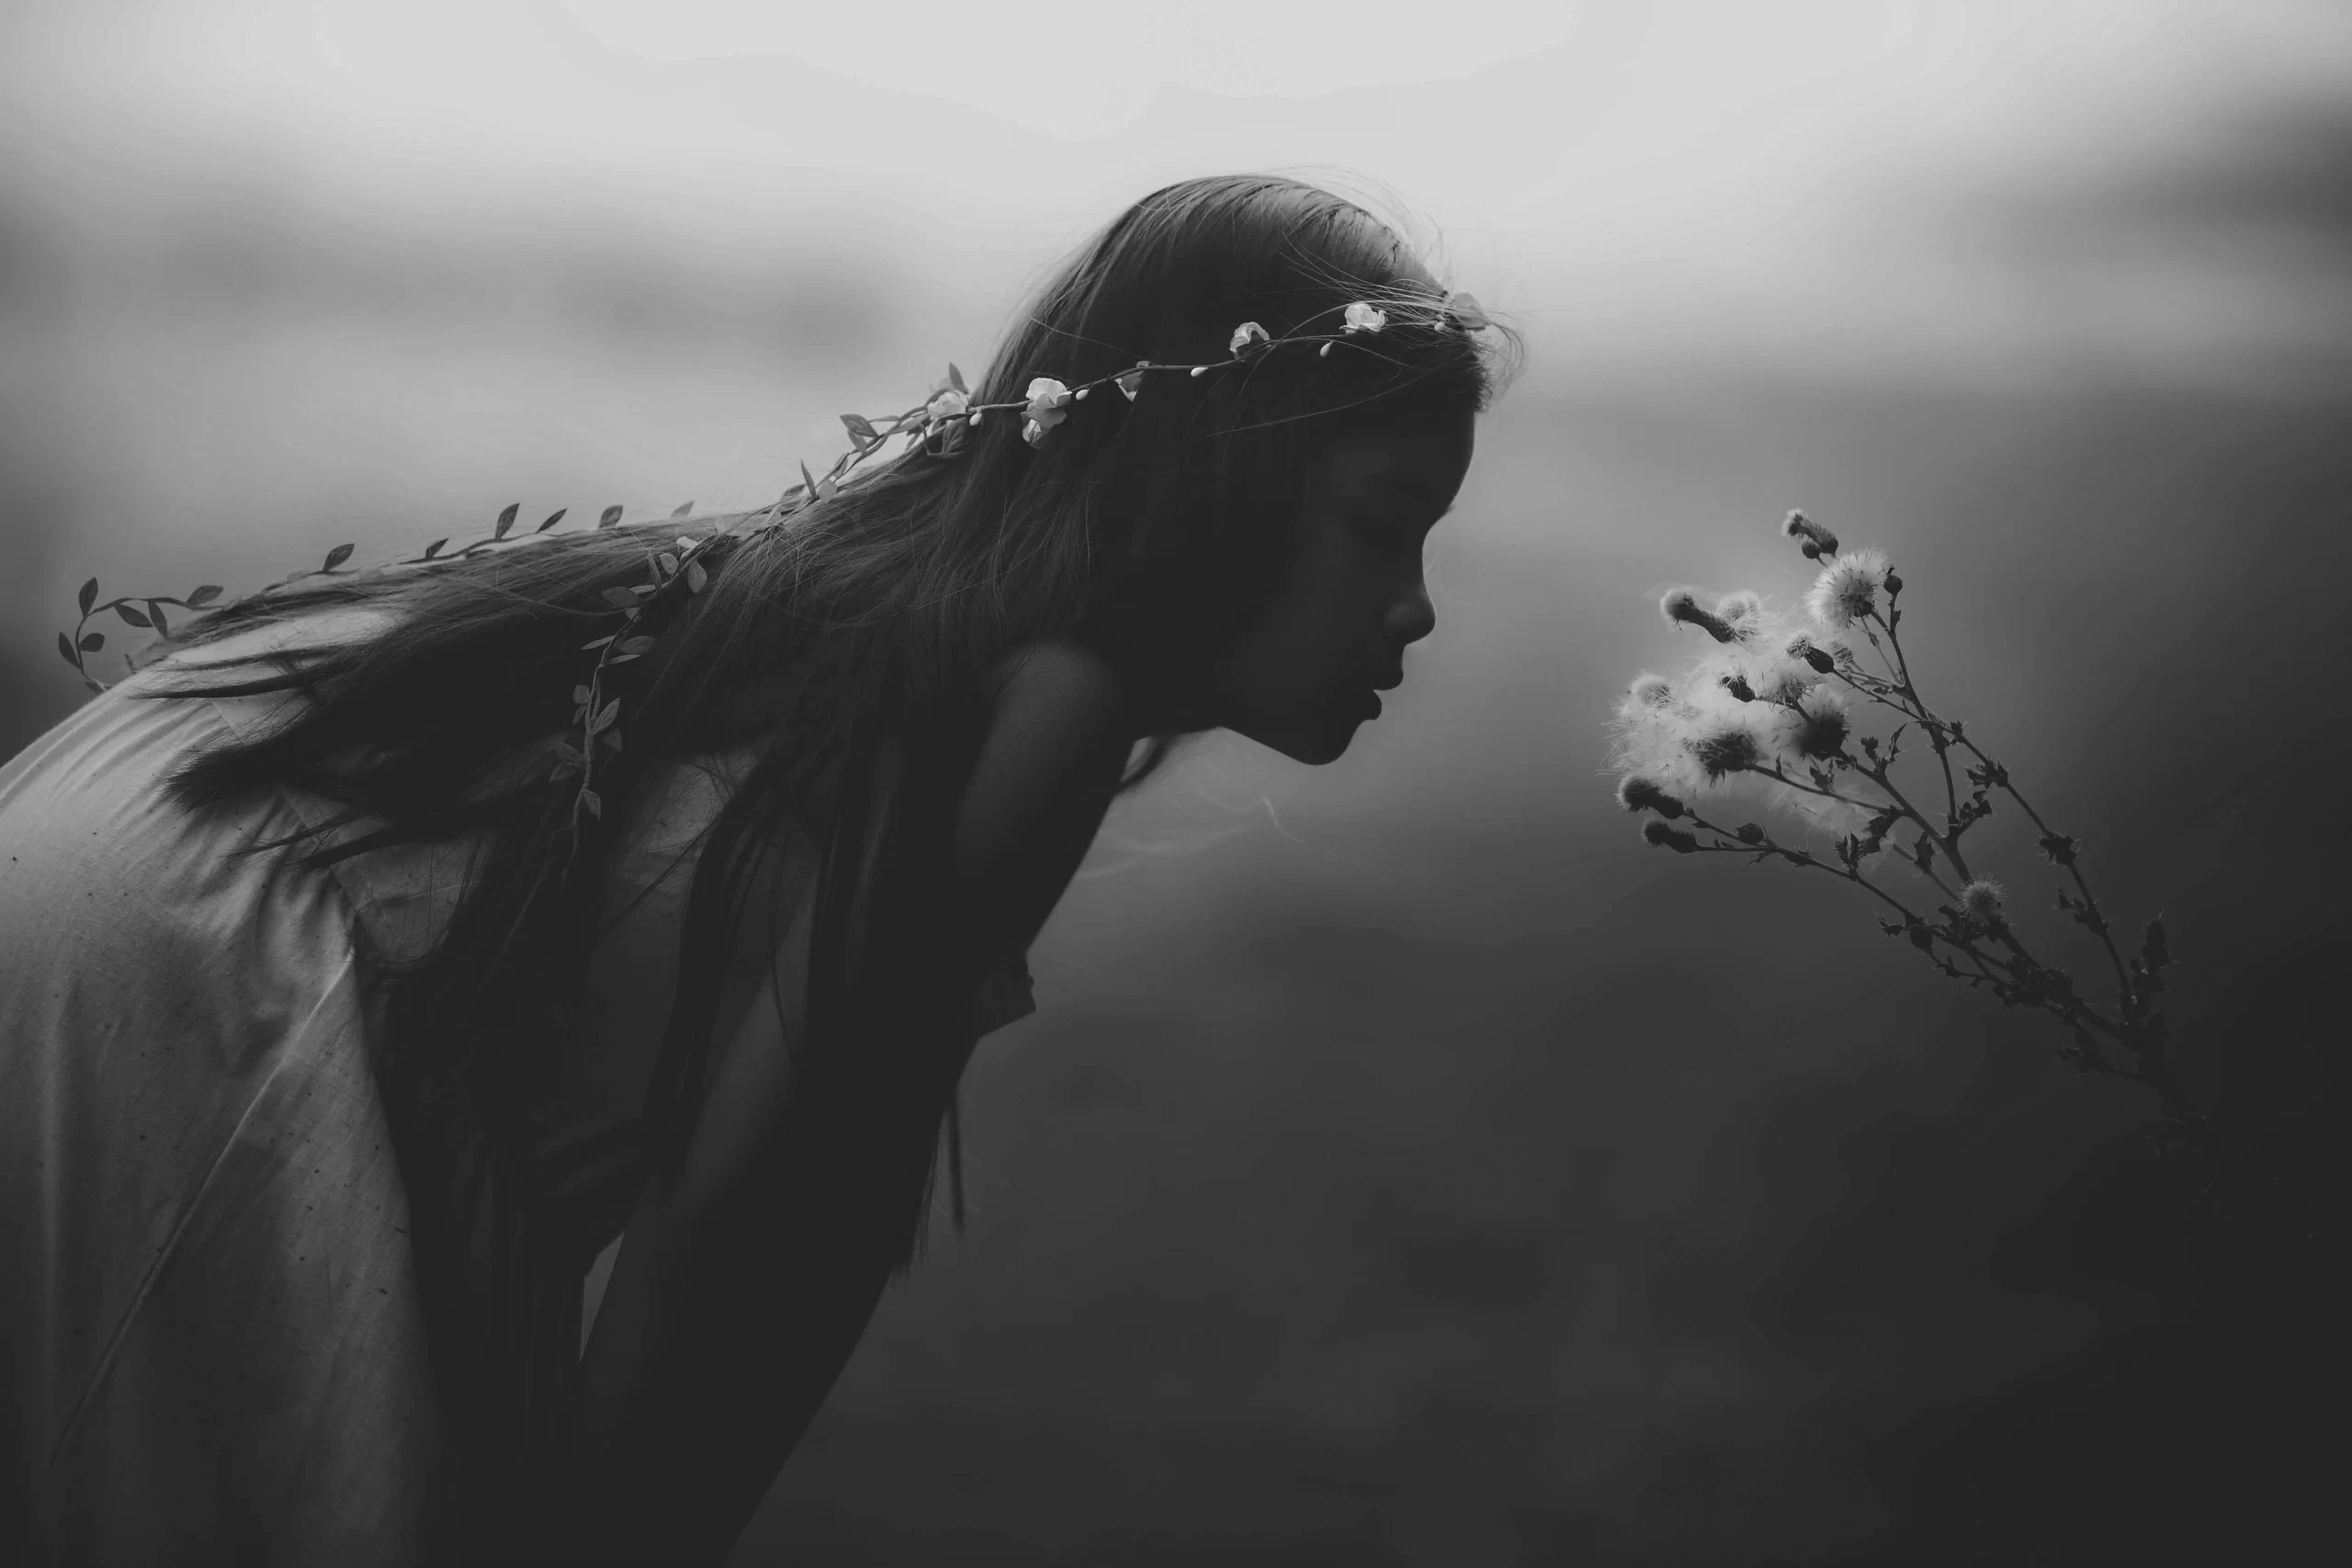
Black and white photography is the mastery of applying various tones of gray, varying from white to dark, in constructing captivating pictures.
From the invention of photography, black and white photos reigned in the photography world for up to 35 years before 1861, when color photography appeared.
After that, color photos penetrated the photography world as the new youngster. However, black and white photography has the same aptitude even today since it simplifies a photo adding an elegant essence. Besides, it demonstrates natural beauty and fetches the contrasts of rays.
How To Make An Image Black and White
 This image is used solely for illustrative purposes. We do not intend to offend or conflict with any societal, cultural, religious, or political values. Image Source: Freepik
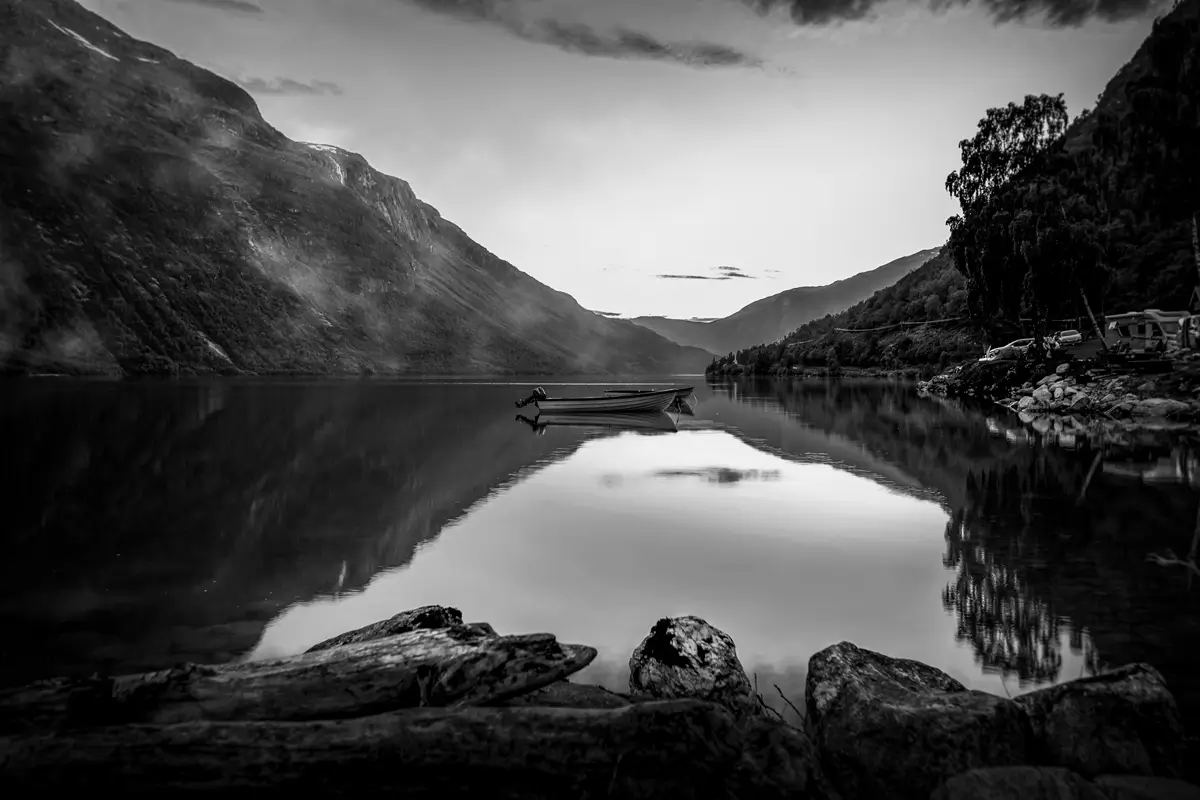
From inventing photographs, black and white photography has always been popular. Even after the invention of a color photo, it has upheld its popularity. That’s why for several reasons, now you can control your image by converting a color photo into black and white. In this part of the blog, we will learn how to make black and white images. So, without beating any bush, let’s dive into learning.
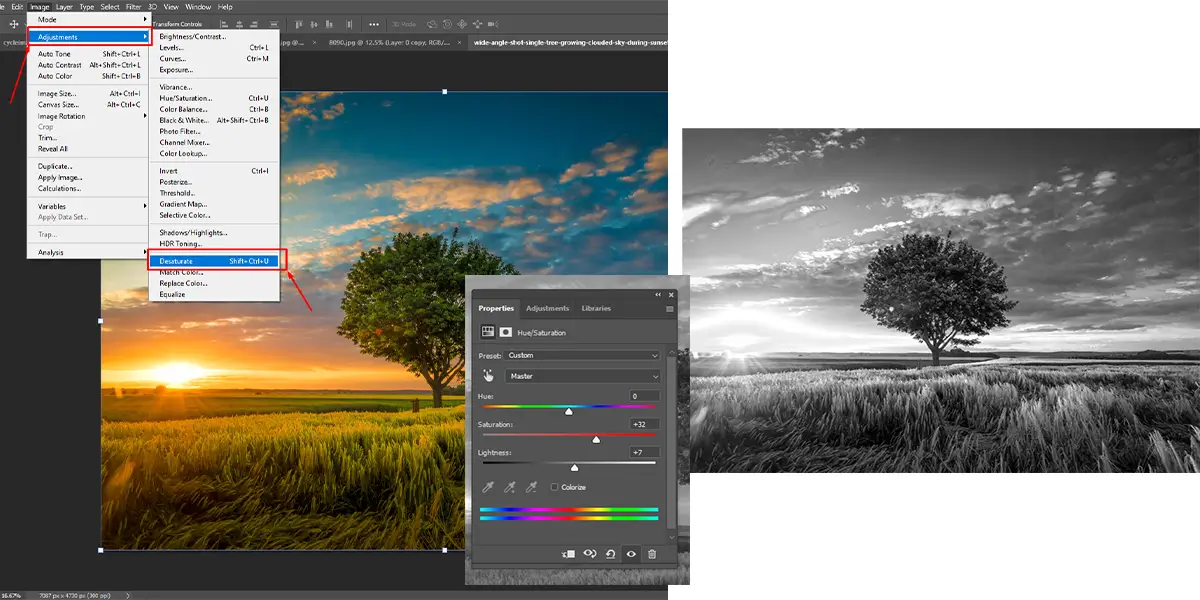
Method-01: Desaturate
Desaturation is a destructive method that doesn’t allow readjusting the picture once it is converted until we restart editing from the beginning. However, it is the most uncomplicated way to transform your photographs to black and white using Photoshop. The steps are as below:
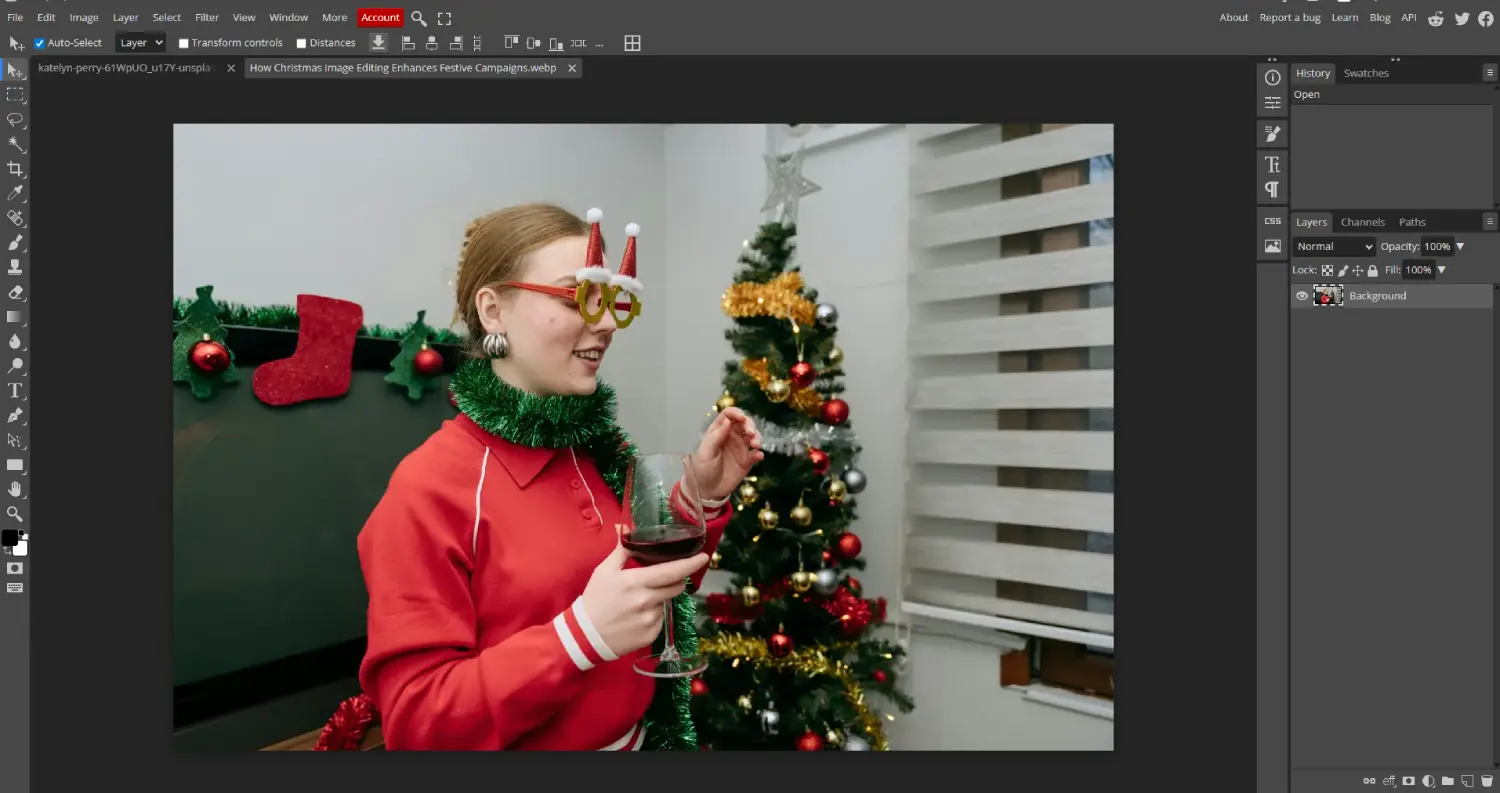
 This image is for illustrative purposes only. No offense or conflict with any cultural, religious, or social values is intended. All trademarks, logos, & content remain the property of their owners.
- Open the image in photoshop.
- Go to the Image option, select Adjustments, and pick Desaturate.
- You can hold shift+control+U in PC and ⌘U in Mac as a shortcut.
- Drag the Saturation slider right to the left up to -100 to adjust the color and then press OK.
Method-02: Black and White Adjustment
Applying a Black and White adjustment is a non-destructive method to alter your photo to black and white. It allows adjusting the image at any time before flattening the image.
- Open the picture in Photoshop.
- Go to the Layer option from the top of the bar and select New Adjustment Layer. After that, pick the Black and White.
- A toolbox including six color settings will appear. Adjust all the colors moving the bar right to left.
- After adjustment, click OK.
Method-03: Lab Color
One of the great features of Photoshop is that it allows you to convert files from raw to vector using image tracing and convert RGB color using the color lab. If you want to know where is image trace in photoshop, you can check out my blog on that. Now, let’s learn about converting the RGB color mode of a picture to Lab color mode.
Lab color mode registers the brightness and color values individually. For that, you can delete the color information to make a photo black and white. The steps are as the below:
- Open the Photo in the photoshop window.
- Go to the Image command from the top bar. Then select Mode and pick Lab Color.
- Now, shift to Window and choose Channel. The Channels palette will show the converted Photo from RGB to Lab color mode.
- In RGB, there are three additional Red, Green, and Blue channels. After converting, you will find that the red one is named lightness, and the other two are replaced by ‘a’ and ‘b.’
- From the available channel, pick the lightness channel. The other two-channel will automatically be deselected when you choose the lightness channel.
- The lightness channel is the black and white picture we are working for.
Method-04: Camera Raw Filter
You can apply a Camera raw filter to convert the color photo into a black and white effect. One plus point is that it allows working on all types of pixel layers. Let’s learn the steps:
- Open the image in photoshop.
- Duplicate the layer.
- Select a layer you want to convert and right-click on that. Choose the Convert to Smart Object from the pop-up options.
- Converting the layer into a smart object, you can readjust the settings. For this, go to Filter, then select the Camera Raw Filter.
- You will get an interface on the screen containing filter settings enhancing your pictures’ saturation, contrast, transparency, and additional attributes.
- Go to the Black & White button under Treatment and click on it.
- After that, click on the Black & White Mix tab. As a result, you will get options for eight sliders corresponding to the Black and White Adjustment Layer and do the adjustment sliding left or right.
- After all the adjustments, you will get the outcome.
One of the amazing features of Camera Raw is the ability to catch clipping. For example, you drag a slider at a distance to the left or right. If you check, you will find that a few portions of the image become red or blurred. You have to fix this clipping. If you have no idea about clipping, you can check my blog on what is clipping in Photography.
Method-05: Channel Mixer
The Channel mixer provides you with an elevated control on the black and white transformation. It is the first tool that uses all the image color information fully. In addition, the process allows you to modify the ratios among the red, green and blue channels.
The steps to convert the photo into black and white is as below:
- After opening the photo into Photoshop, duplicate the layer.
- Select the layer you want to convert and go to the Layer command on the top of the bar.
- From the available option, choose New Adjustment Layer and pick Channel Mixer.
- After that, checkmark the Monochrome box.
- Drag the Red, Green, and Blue sliders left and right to add different tones of brightness and darkness to the picture.
- Make sure the total of the three sliders is 100%.
- Select on ‘OK’ when you are done adjusting the color.
Are Black and White and Monochrome Photographs the Same?
Unfortunately, many mix Monochrome with black and white photography though they’re not the same. However, if you look into the deep, you can find the difference.
‘Mono’ means single, and ‘chromos’ indicates color. So, Monochrome means pictures with exclusively a single color containing huge variations in hues and shades. It normally holds blue, green, or gray colors.
On the contrary, black and white photography possesses variants of gray varying from complete black to complete white in the absence of other colors.
In a point, black and white photos fall under the monochrome photos category. But Monochrome isn’t black and white. It is because monochrome removes other colors displaying a single color. Still, it doesn’t depict hues of gray like black and white. So let’s have a contrasting view of black and white and monochrome to get a crystal clear concept.
Difference between Grayscale and black and white
The grayscale photograph displays various shades of a gray color. However, it contains only three colors like black, white, and numerous shades of gray.
On the contrary, black and white include only two colors, pure black and white variant from gray. So when we recast a coloring photo into grayscale, it replaces the original colors with gray. As a result, based on the vigor of each color, the shade turns the dark colors into dark gray and the light one into light gray.
When we convert an image into black and white, it includes only two colors, black and white, without any grayline shade.
The grayscale preserves various details in an image where all components are lost in black and white photos.
When to Employ Black and White Photography
Black and white photos have created the same enthusiasm among photography fanatics as it was in the period of first photography. It makes the photo vivid and creates emotion with charisma.
Shadows add the icing sugar to the cake by giving it an authentic look. That’s why capture a photo however you like but keep eagle-eye on the shadows in your frame. Try to keep an appropriate shadow in your photograph. If that’s not possible during photography, don’t worry, there is Photoshop Shadow Creation Service to make it happen.
Now comes the question: when should you convert the photo to black and white? Well, consider the following situation to go for conversion:
Multicolor and Bothersome Background: Color brings life to the photo, but too many colorful items make the background jumbling. As a result, the focus gets lost with distracting things instead of enriching the image. Sometimes, it is impossible to control the location view to eliminate the de-clutter. Still, you can apply Black and white as the solutions.
Photo Downgrade by Color and Clothing: Sometimes, we capture a photo of a sudden situation, scenery view, condition with happiness, or sadness. At that time, we may not wear perfect clothing matching the picture theme. Fortunately, black and white is the solution to make the picture stunning. It is also the solution for the distracting color of the surrounding in an image.
Magnifying Contrast and Outline: If you want to construct a creative photo, go according to your plan because there is no certain hard and first rule for creativity. You always have to think out of the box to generate an innovative style. For example, capturing a photo with blur motion or adding different ingredients and then turning it into black and white can help you produce a creative picture.
Black is Better Than Color to Influence: The scenery often looks lifeless because of chaotic and indescribable colorings that stand neither standard nor outstanding. As a result, it fails to meet the goal of capturing. If you face such a situation, count your heart and turn the photo into black and white. Even if you find the environment with background, subjects all have the same color appearance, don’t forget to make it black and white to outline them.
Dazzling or Demolish Color Image:
Think of a situation when you found a moment to capture a priceless picture, but you don’t have enough time to set the camera settings. What will you do? You will capture the photo though there is a chance to be overexposed or underexposed. Don’t worry much since you still have the opportunity to make it stunning by applying the black and white effect. Here black and white works as the imperfection fixer.
Going through the blog, you have understood the importance of black and white photographs and how to make an image Black and White with various methods. However, you may create a low-grade outcome where the photo can be washed out as an amateur. You can also do it online using different websites, apart from the above method. But unfortunately, those won’t look good enough to meet the professional intention. If you want to convert for a professional purpose, you must seek out a professional service provider like Cut Out Image. They have experts to give you a dab hand.