Disclaimer: This blog is for general informational and inspirational purposes only, based on publicly available information and personal insights. Images—whether of models, screenshots, or products—are for illustrative purposes only and do not depict actual subjects, scenarios, or views described. We do not intend to offend or conflict with any societal, cultural, religious, or political values.
Let’s read about What Is Clipping In Photography?
As an art, photography may seem like the most open-and-shut task, but it is challenging to generate an authentic look. A random click can’t make the perfect photograph to look back on the past and glance over the future. Because of the clipping, the picture loses its authentic look with detail when capturing or processing. So What is clipping in photography? The clipped portion appears with the lowest or highest illumination that demolishes the image detail.
If you are a novice with the term clipping in photography and skimming to understand it, this blog will help you. Because, in this blog, I will cover the topic with some other details as below:
- What is Clipping in Photography
- Reason for coming off Clipping in Photography
- Clipping in Photography Bad or Not
- Tools To detect Clipping in Pictures
- How To Evade Clipping from Photography
What is Clipping in Photography?
Photography combines light and shadow where the clipping appears if you fail to concentrate accordingly. As a result, you will discover some bright or dark shadows that have no meaning on the planet. The word clipping represents the part of a picture that has lost its attributes caused by overexposed or underexposed.
Imagine you have captured a panorama on a sunshine day. When you showed it to your colleague, he said the cloud had ‘blown out.’ What does it denote?
In reality, he is talking about the clipping that vanished the cloud as a consequence of the over brightness. The term is also called by a few other names like crushed, blown out, etc.
In precision, clipping is a sort of screw-up in photography that can be terminated utilizing Clipping Path Service. But, again, don’t confuse clipping in the photography and photo clipping path service. Clipping turns a photo into an unprofessional where clipping path service fine-tunes it professionally.
Reason for Coming off Clipping in Photography
Clipping destroys details in a captured picture with no information to show. It can occur in the form of brightness or darkness. It doesn’t only happen when capturing the photo but also arises during post-processing.

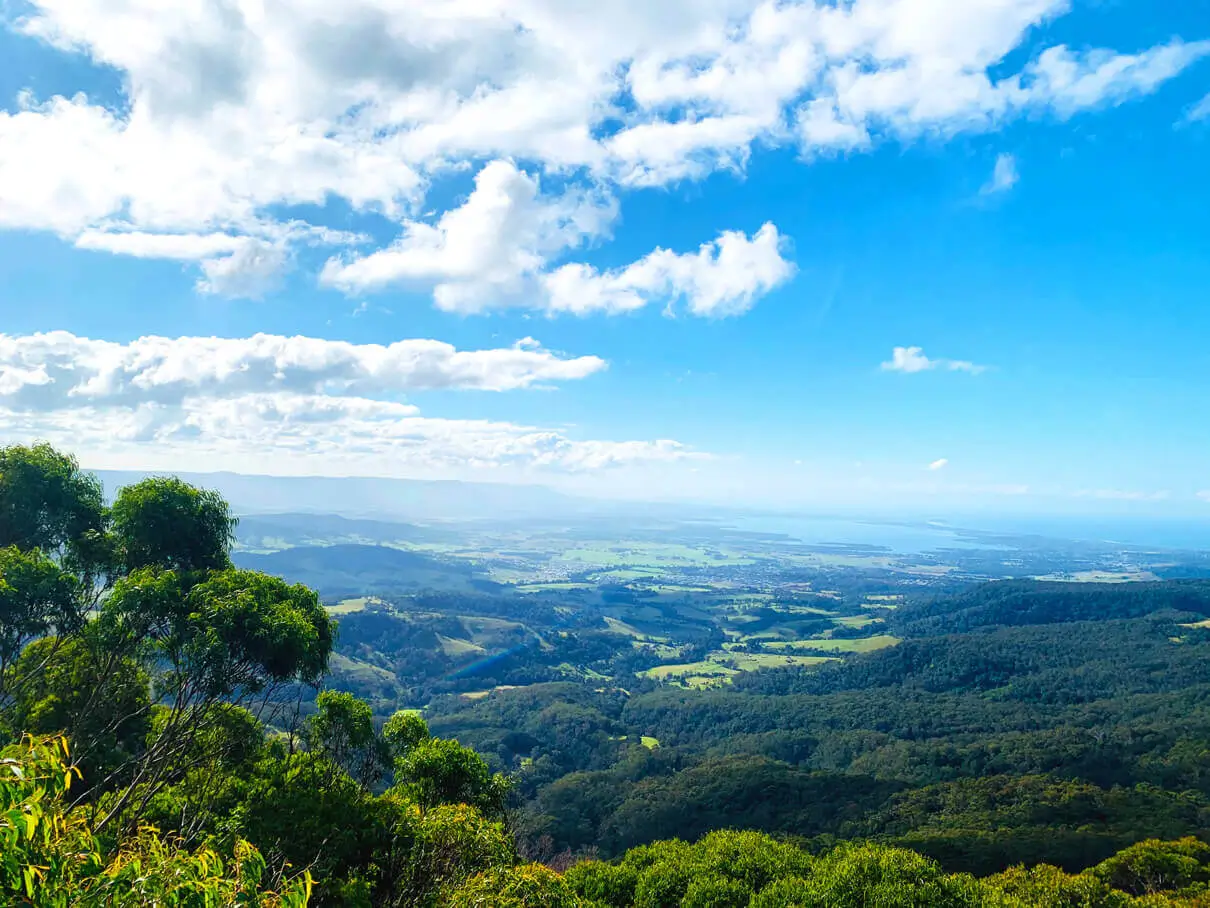
This image is used solely for illustrative purposes. We do not intend to offend or conflict with any societal, cultural, religious, or political values. Image Source: Unsplash
- Clipping During Capturing
Though the passionate photographers consider the lens like the heart of the camera, the camera lens struggles to capture reality because of the volume of light or dark, vibrant coverage, and shades from black to white.
Most photographers focus on the photo’s main subject during photography rather than the rest of the frame. Sometimes, the light meter displays a wrong calculation pivoting on the metering mode. However, few photographers ignore the exposure and caution alerts the histogram exhibits. As a result, clipping emerges in photography.
- Clipping During Photo Editing
Photography is not an effortless task where the photographer only carries the camera and clicks. Instead, there is a lot on the plate to add life to the snapshot.
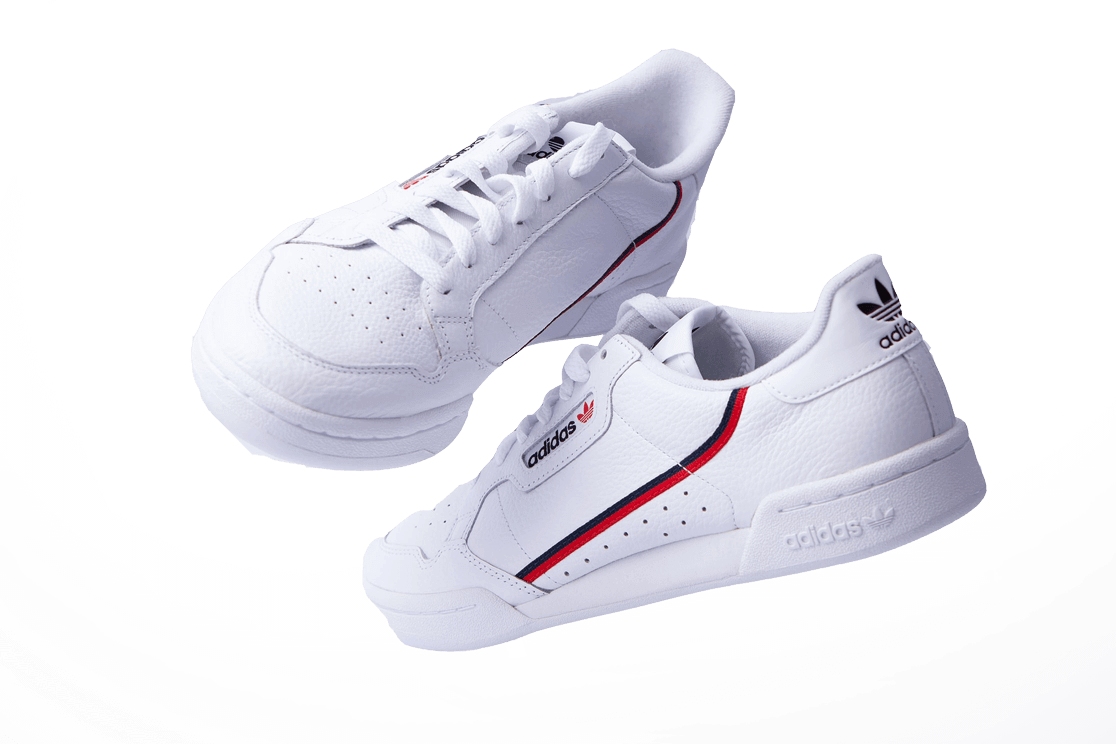
For example, you want to take a shoe picture for your online business. Here you have to know how to take a shoe picture, and later you must undergo a photo editing process, including the photo cut-out service to magnify the photo’s subject. In addition, there is a chance of clipping appearance during photo editing due to the excessive brightness of the picture.
Clipping in Photography Bad or Not
According to the photography theory, clipping is terrible as it destroys a few details, but sometimes it’s not that big in the actual scenario. In the case of photography, especially for business products, where the subject is the main focus point rather than the other objects, clipping doesn’t create any problem because the editor employs Photo Cut Out Service or background removal service to emphasize the subject.

The reason behind avoiding clipping is that it eradicates information so that sometimes it becomes impossible to reconstruct. For example, you have taken a picture combining the shiny sky and the mountain. Due to the underexposure, the image does not show the hill properly. Furthermore, if you add brightness, it may affect the sky, demolishing the clouds. Isn’t it problematic?
That’s why it’s most acceptable to avoid clipping during photography.
Tools To Detect Clipping in Pictures
It’s challenging to understand whether a particular portion of your photograph is clipped or not. It would help if you analyzed with an eagle eye. By the way, some tailored tools are available to identify the clipped portion of the picture. Let’s know about them.
1) The Internal Light Meter: The camera has an internal light meter that visualizes darkness or brightness. It grabs a scene as black and white with different brightness points. By following the internal light meter, you can calculate the possibility of clipping. According to the camera’s meter calculation, Zero is the correct exposure to capture a photo. Clipping is almost unavoidable if your light meter shows the figure exceeding the range of +3 or –3. If the meter displays the coverage as -2 to +2, it also creates clipping, but you adjust it during post-processing.
2) The Histogram: The histogram is a small curved diagram depicting the frequency of the photograph’s tonal values varying from black (0%) to white (100%).
The right portion of the histogram demonstrates the brightness, and the left one reveals darkness, where the middle part of the histogram represents mid-tones. The height denotes the number of pixels within a specific range. If most of the histogram is crushed against another side, you must adjust a few exposures.
How To Evade Clipping from Photography: What Is Clipping In Photography
Clipping is a common issue as meat and potato in the case of photography. The photo clipping path service can help you avoid clipping in the photo, but this is a challenging photo editing process that demands a long time for a photographer to edit the image. Cut Out Image can help you to get the best result quickly. Luckily, we can avoid this problem by following certain things though we know that photography isn’t a game to follow any specific rule.
Concentrate on the Light Meter: The internal light meter is standard for DSLR or other cameras that is a screen showing the number ranging from +3 to -3. You can set this to zero (0) in the dial if you have the option. However, decreasing the range from zero will overexpose the photo where increasing can affect the opposite.
Play Safe with the Sliders: Because of carelessness, you can crop a perfect photo in the post-production process. A novice can accidentally overexpose or underexpose an image by misusing the editing software sliders. The Lightroom slider can help you show the photo portion that is trimmed by highlighting the issue.
Photographing in RAW Formats: It’s not a mistake to capture a photo in JPEG format. However, sometimes a camera can capture a good shot in JPEG format without any editing that you can share on Instagram directly. The photographer prefers the raw format to get more freedom of data playing compared to the JPEG format. You can switch your device settings to preserve RAW and JPEG format photos.
Consider the Atmosphere During Shooting: The atmosphere and the light of the day can impact the photography, including the clipping, even if you are an experienced photographer.
For example, if you capture a photo facing the sun in summer midday, you may discover that the atmosphere is overexposed. On the contrary, shooting a picture with an incorrect camera setting at night can give you an underexposed result, and it will be very challenging to retrieve.
Adjust Brightness and Darkness During Editing: A handful of photo editing software is available to improve the photo quality and correct the mistakes. It also enables fixing the clipped areas of images with highlights and shadows sliders. Sometimes, it may not fully recover some clipped photos, but it can still provide a good enough picture with some modifications.
Accommodate the Histogram: Based on the previous discussion, now you know what a histogram is. To fix clipping, you can alter the histogram settings on your picture by dragging the chart linear left or right. It will display a different color triangle if one of the image portions gets clipping. Try to keep the histogram as neutral as possible though it will be tricky because of the photo style.
Repeat Capturing: Photography is a universal language more effective than words. However, due to the fine-drawn reality, it evolves more realistic than reality in the photograph. That’s why you can’t expect a 100% perfect photo with a single capture. So, to avoid clipping, you must capture the same topic multiple times after correcting the mistake.
Utilize A Neutral-density Filter: To avoid clipping, you can employ the Neutral-density (ND) Filter. It will enable you to obtain clipping path uniformity by downsizing the brightness and shadows. It will also handle the light passing on the camera lens and escape the clipping demanding color correction.
Capture for HDR: HDR automatically picks the best photographs from the group of pictures. So, using the HDR, you can take good photos lowering the application of clipping mask design. Consequently, you will get less disruption in post-production.
Photography is full of twists and turns though it sounds easy. Reading this blog, you have learned about clipping in photography, how to seize it and avoid it. I believe you are no longer afraid of it, although it demolishes the picture. Because now you know the tricks to protect your image from being destroyed. So, don’t delay; grab the camera and start photography!
Read our another blog: How To Take Shoe Picture
Another one is: How Long Does It Take Photographers To Edit Photos


