Disclaimer: This blog is for general informational and inspirational purposes only, based on publicly available information and personal insights. Images—whether of models, screenshots, or products—are for illustrative purposes only and do not depict actual subjects, scenarios, or views described. We do not intend to offend or conflict with any societal, cultural, religious, or political values.
Have you ever taken photos only to notice unwanted objects or distracting backgrounds afterward? Instead of deleting those shots, Adobe Photoshop offers powerful solutions, including removing watermarks or removing the background from images. Among all the tools, Content-Aware Fill is a top choice for quickly erasing unwanted elements—and it can even help move objects within a photo.
With Photoshop 2026, AI-powered enhancements make Content-Aware Fill online and in-app faster, more precise, and easier than ever. Whether you want to remove objects, adjust backgrounds, or refine details, this tool gives you professional results without harming the original image.
In this post, we’ll explore Content-Aware Fill tools, explain how Photoshop’s AI upgrades change the game, and guide you step-by-step on how to use Content-Aware Fill in Photoshop 2026 for flawless, natural-looking edits.
What Is a Content Aware Tool in Photoshop?
The Content-Aware Fill feature in Adobe Photoshop has come a long way since it first showed up in 2010. The 2023 update added a useful ‘Delete & Fill’ option that makes editing easy. In 2026, new AI technology was introduced. This technology greatly improved speed, accuracy, and control, making everyone’s workflow smoother.
Content-Aware Fill is an essential tool for photographers and designers. It makes it very easy to remove unwanted items, fix missing parts, and rearrange elements in a photo while maintaining the original quality.
What makes Content-Aware Fill different from other object-removal tools in Photoshop is its smart way of selecting objects. You pick the area you want to change, and Photoshop uses pixels nearby to fill it in, making everything look natural and seamless.
You can use tools like the Lasso Tool, Spot Healing Brush, and Patch Tool for quick edits. The Spot Healing Brush is awesome for little fixes, and the Lasso Tool works well for bigger areas that need more attention.
Now, Adobe Photoshop has made Content-Aware Fill available through the Creative Cloud web app, so it’s easier for everyone to use. As this feature spreads to more areas, subscribers can edit images right from their browser, which is super handy for remote work and quick tweaks.
Helpful Link: If you are a student, check out my blog, ‘How to Get Adobe Creative Cloud Student Discount‘, to enjoy the Content Aware Fill online in future.
Exploring Content-Aware Fill Tools in Photoshop 2026
You already know about Content-Aware Fill in Photoshop. This tool is great for getting rid of stuff you don’t want, filling in gaps, and moving things around easily. Before jumping into Content-Aware Fill in Photoshop 2026, it’s smart to familiarize yourself with the tools and workspace to make your editing process a lot easier.
Work Area and Preview Panel: The workspace is divided into the work area on the left, where you adjust objects, and the Preview panel on the right, showing live results. The green overlay shows where you’ve filled in the stuff that got removed. Adjusting this overlay is super important for making everything look clean and natural.
Content-Aware Fill Toolbar: The tool icon looks like two crossed curved arrows (X-shape) in the Photoshop Toolbar. If it’s not visible, go to Windows → Tools, or use the three dots in the Toolbar to Edit Toolbar and drag the tool into view. The Toolbar now includes four main tools:
- Sampling Brush Tool: Resize the green overlay and use paint to add or remove spots where you want to collect samples.
- Lasso Tool: Use the Lasso or Polygonal Lasso tool to fine-tune your selection. Just draw around the area you want, either freehand or with straight lines.
- Hand Tool: Drag the image around to move it and zoom in or out to check out the details better.
- Zoom Tool: Tweak the zoom level to make editing a bit easier and more spot-on.
Options Bar: Located above the work area, the Options Bar displays relevant controls for the active tool.
Content-Aware Fill Panel: On the right of the Preview panel, the Content-Aware Fill panel has four sections with essential settings:
- Sampling Area Overlay: Toggle “Show Sampling Area” and adjust overlay opacity. The default green overlay can represent either the sampling or the excluded area.
- Sampling Area Options: Select Auto, Rectangular, or Custom to pick which pixels Photoshop will use.
- Fill Settings: Adjust the brightness and contrast for better color matching. Rotate the content if it’s turned sideways. You can also scale it up or down, or flip it around if you need to adjust the size and how it looks.
- Output Settings: You can make edits on a new layer, duplicate the current layer, or change the layer you’re working on. This lets you tweak your edits with greater ease, all while preserving the original image intact.
2026 Update Notes:
- Photoshop now leverages AI enhancements in Content-Aware Fill. This makes it easier to select areas, get accurate samples, and blend backgrounds naturally, even when they are complex.
- The Preview panel updates instantly with AI suggestions, providing faster and smarter results.
You can totally use Content-Aware Fill online with Adobe Creative Cloud. It lets you edit remotely, so you have more freedom to work wherever you want, not just stuck at your computer.
How to Use Content-Aware Fill in Photoshop 2026: AI-Enhanced Tips & Tools
Content-Aware Fill in Photoshop is a handy tool for zapping unwanted stuff from your photos. In 2026, Adobe added some fun features like AI suggestions, real-time previews, and online access to speed things up. We’ll walk you through using this tool for simple fixes and more complex edits while checking out all the cool new stuff it can do.
A) Removing Objects Using Content-Aware Fill
Method 1- Patch Tool: The Patch Tool is ideal for removing objects, especially in photos with simple or blurry backgrounds.
Steps:
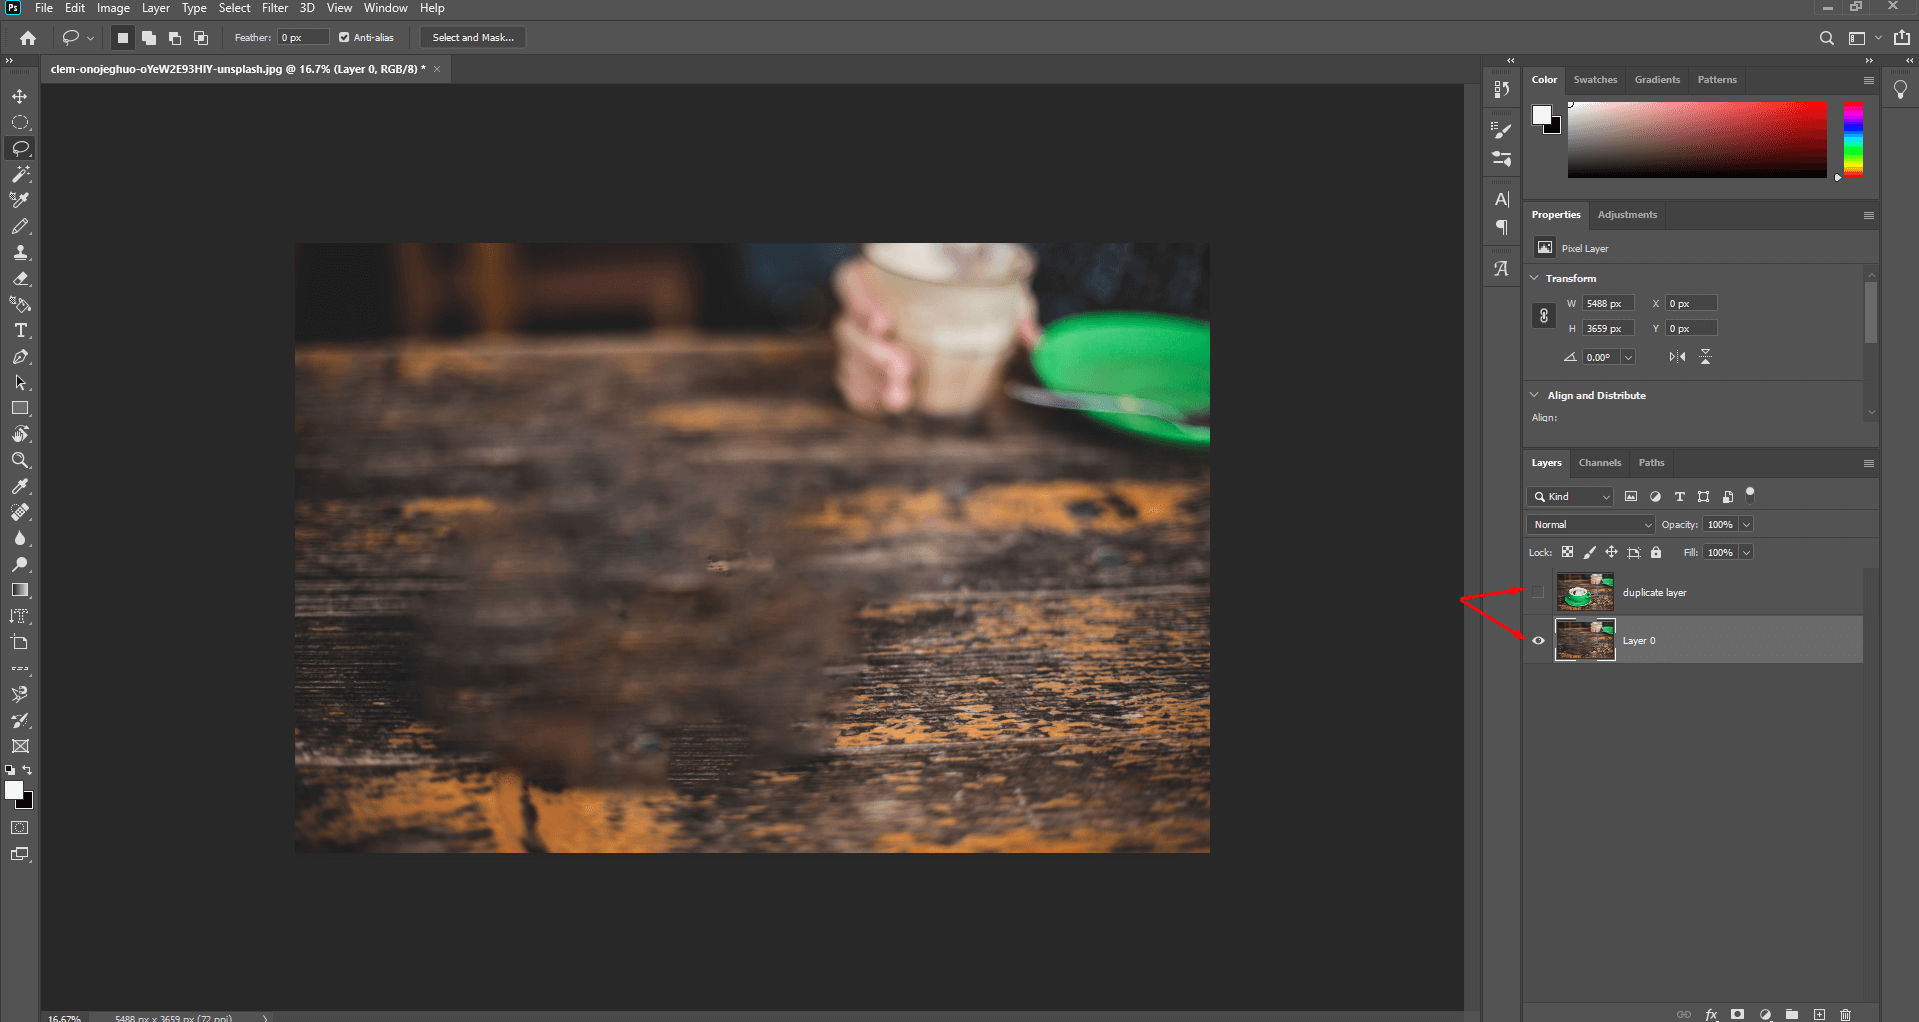
- Open the photo and duplicate the layer.
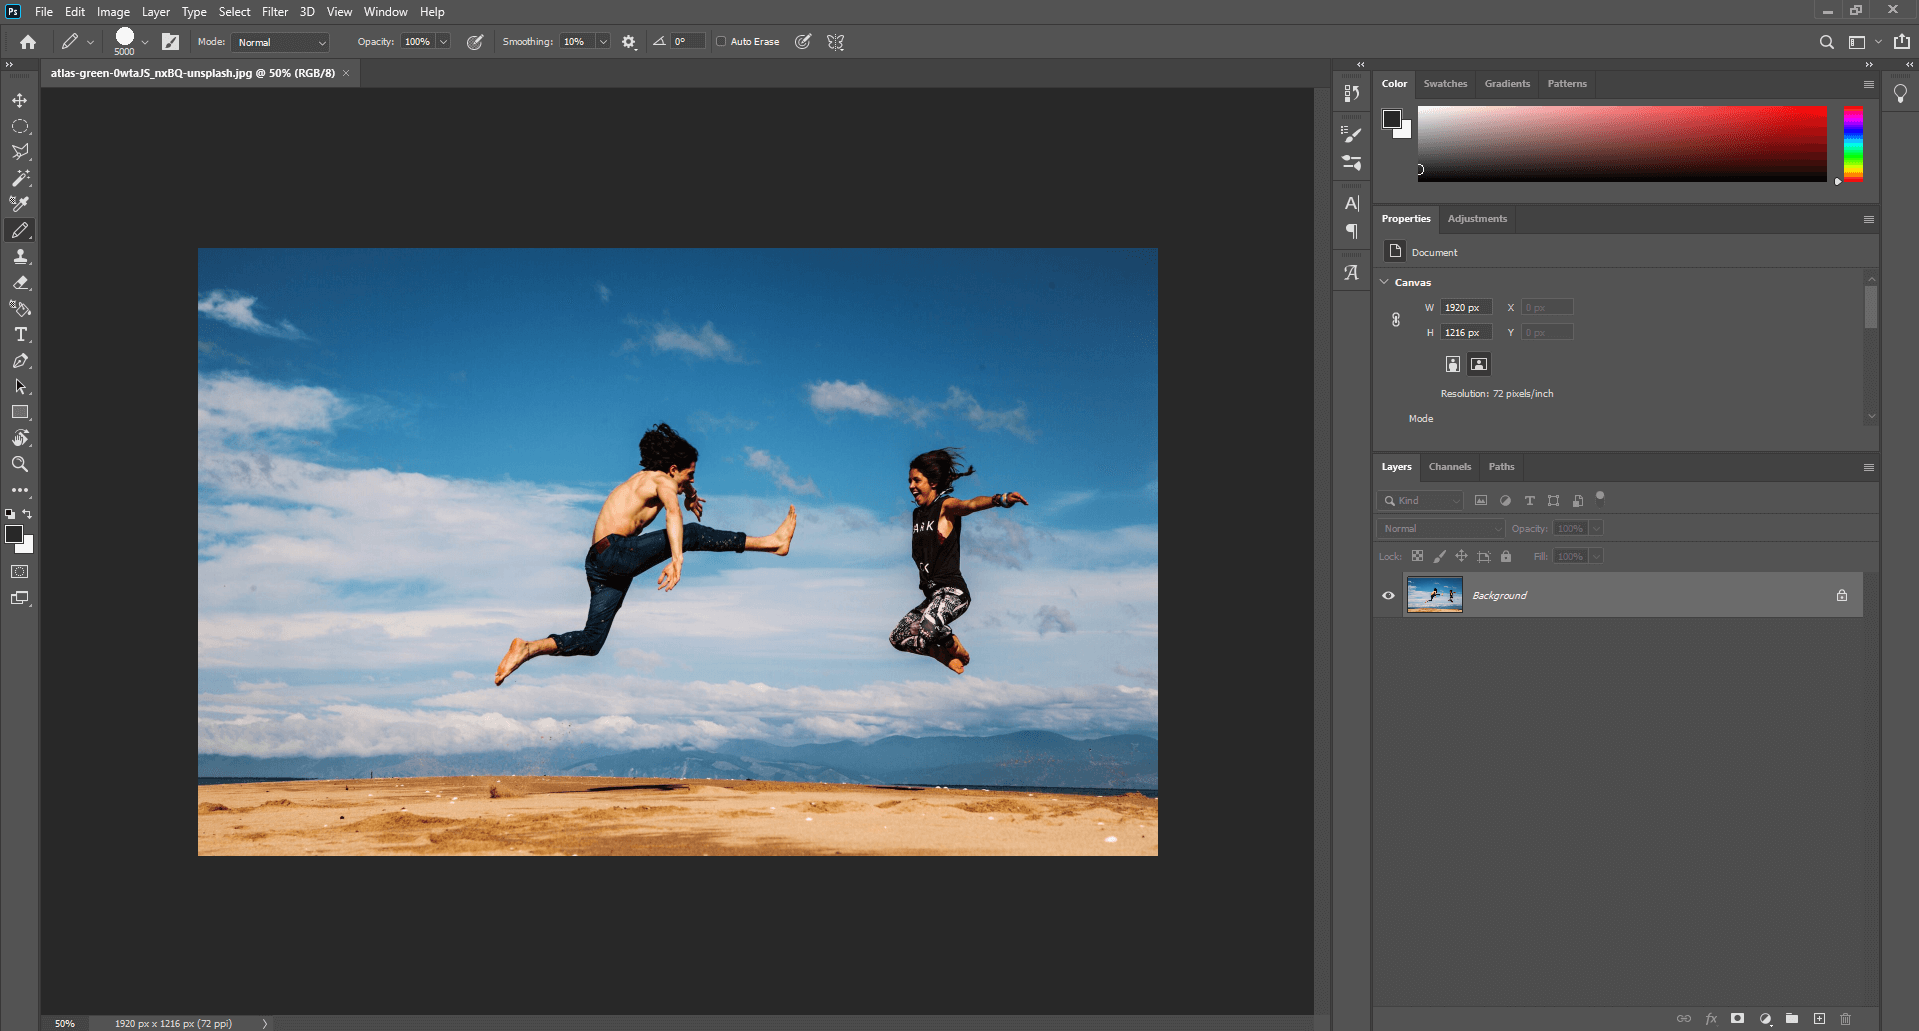 This image is used solely for illustrative purposes. We do not intend to offend or conflict with any societal, cultural, religious, or political values. Image Source: Unsplash
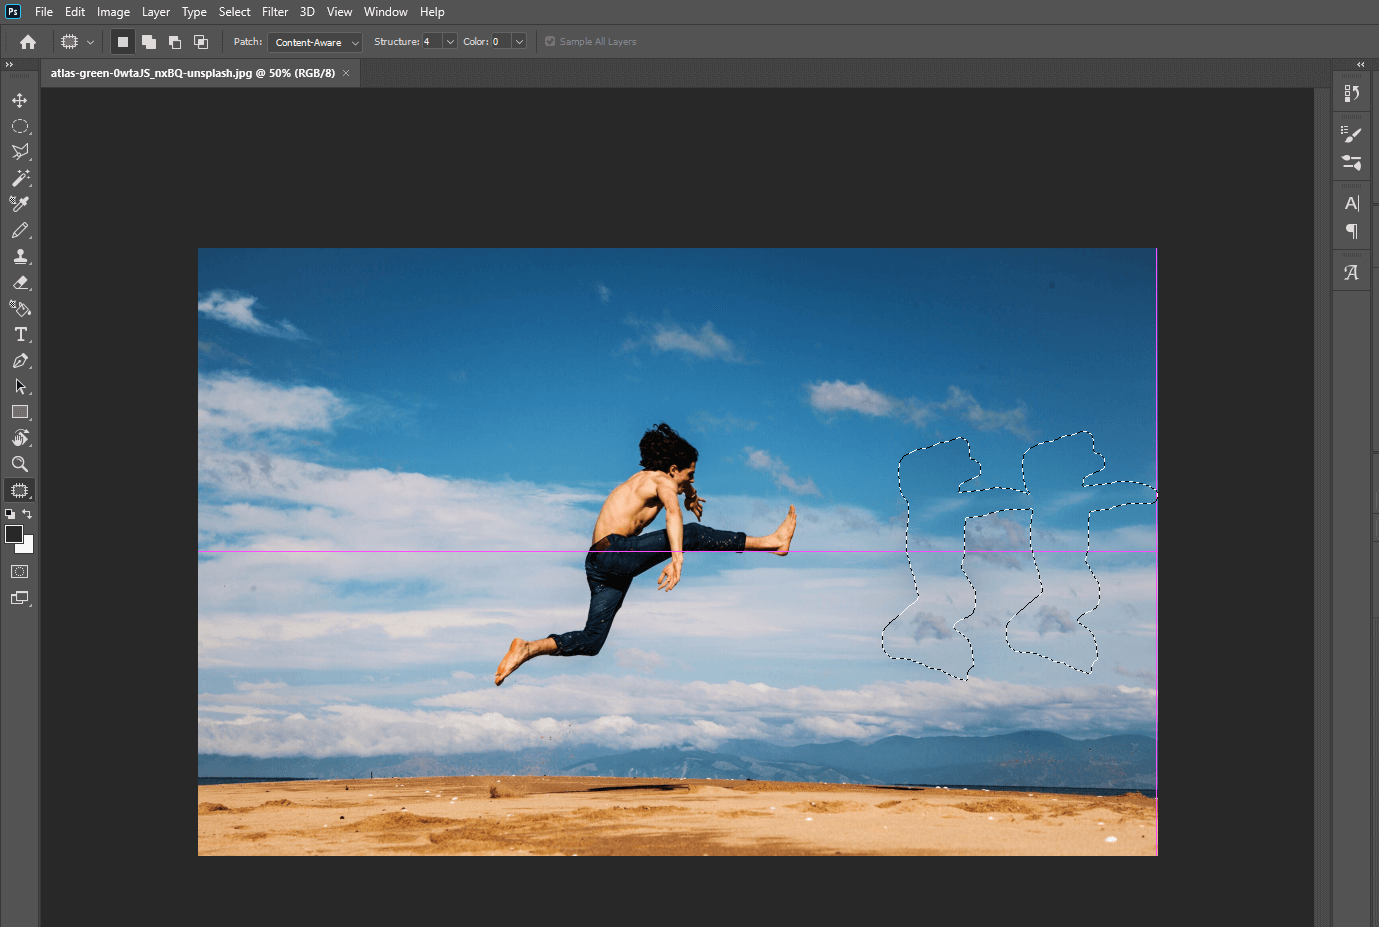
- By pressing ‘J’ on the keyboard, select the Patch tool and outline the object.
 This image is used solely for illustrative purposes. We do not intend to offend or conflict with any societal, cultural, religious, or political values. Image Source: Unsplash
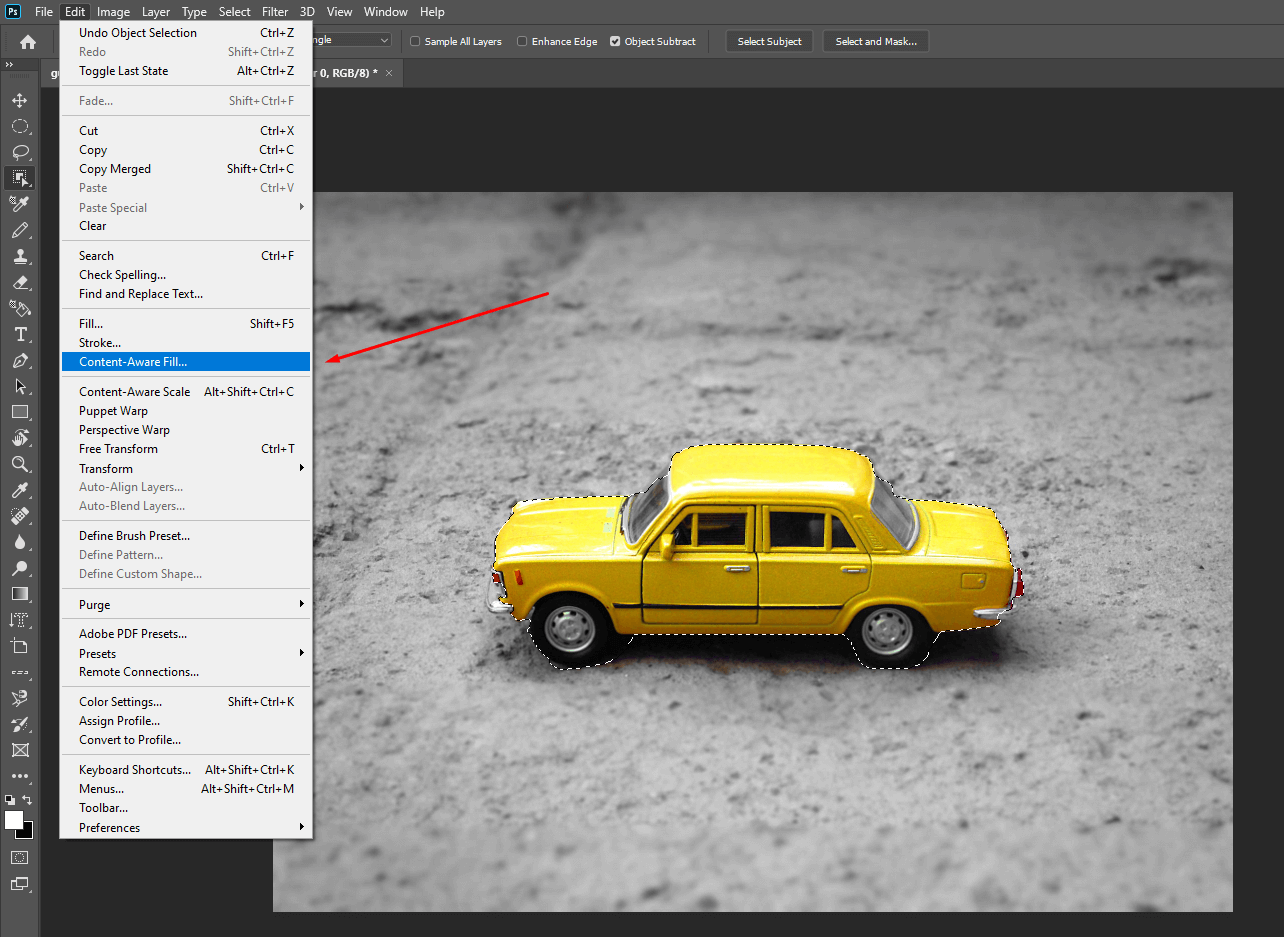
- Change the patch ‘Normal’ to ‘Content-Aware’ from the above option bar.
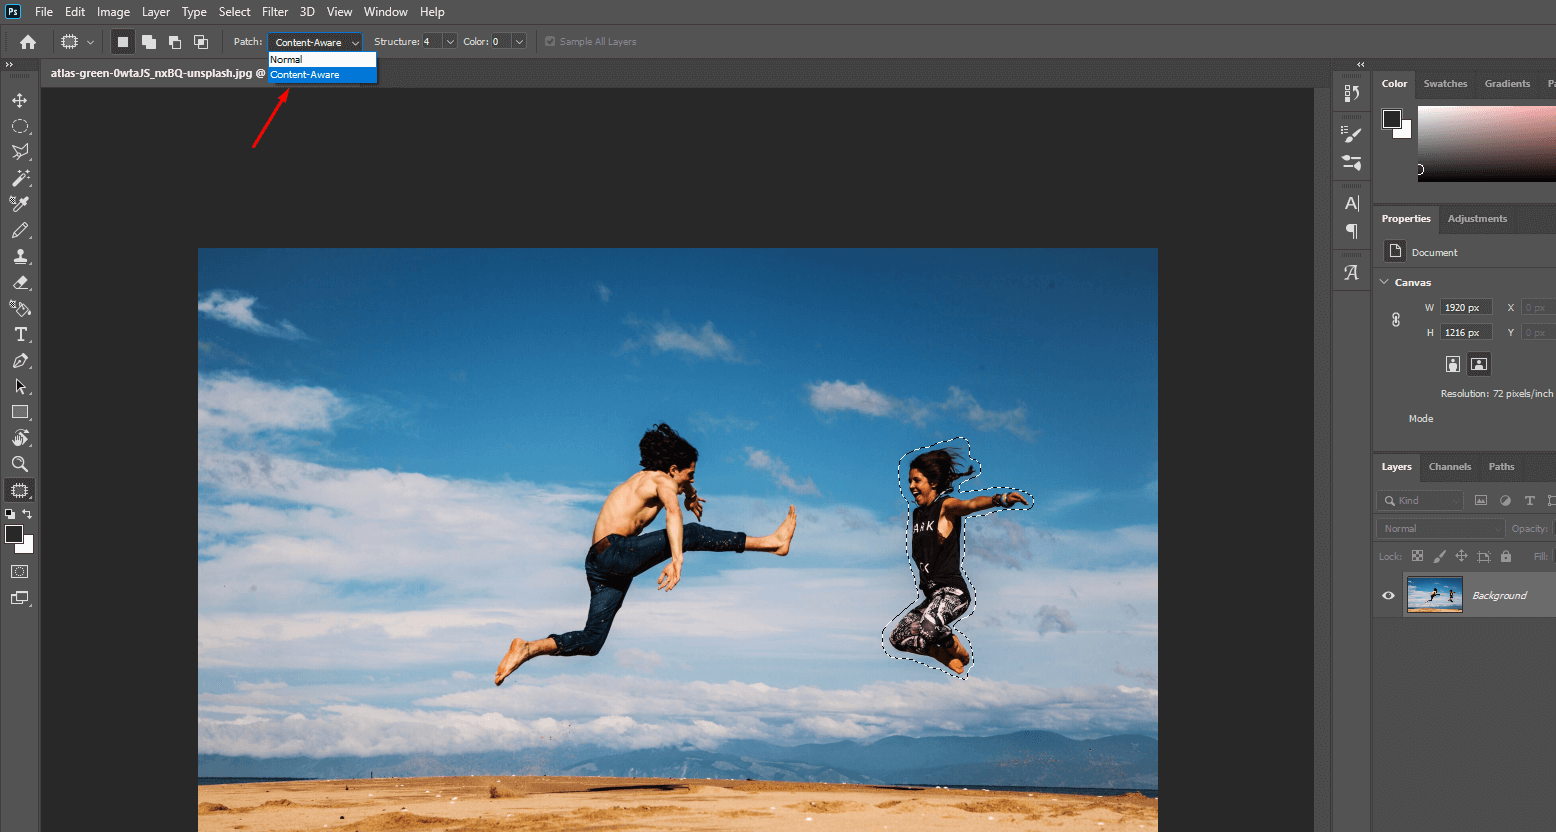 This image is used solely for illustrative purposes. We do not intend to offend or conflict with any societal, cultural, religious, or political values. Image Source: Unsplash
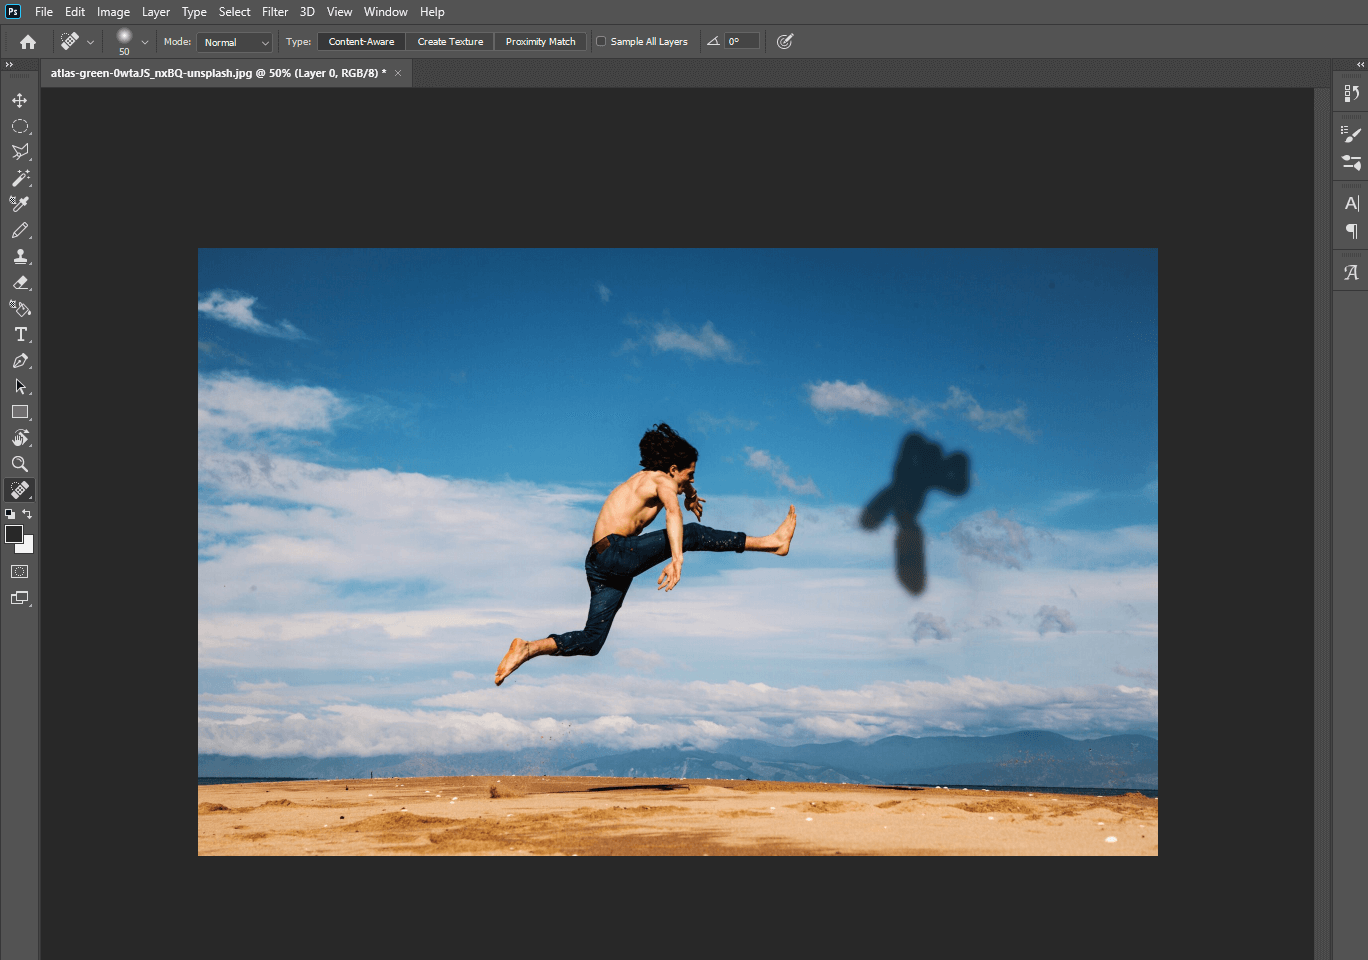
- Drag the selected object to the area you want to be replaced.
 This image is used solely for illustrative purposes. We do not intend to offend or conflict with any societal, cultural, religious, or political values. Image Source: Unsplash
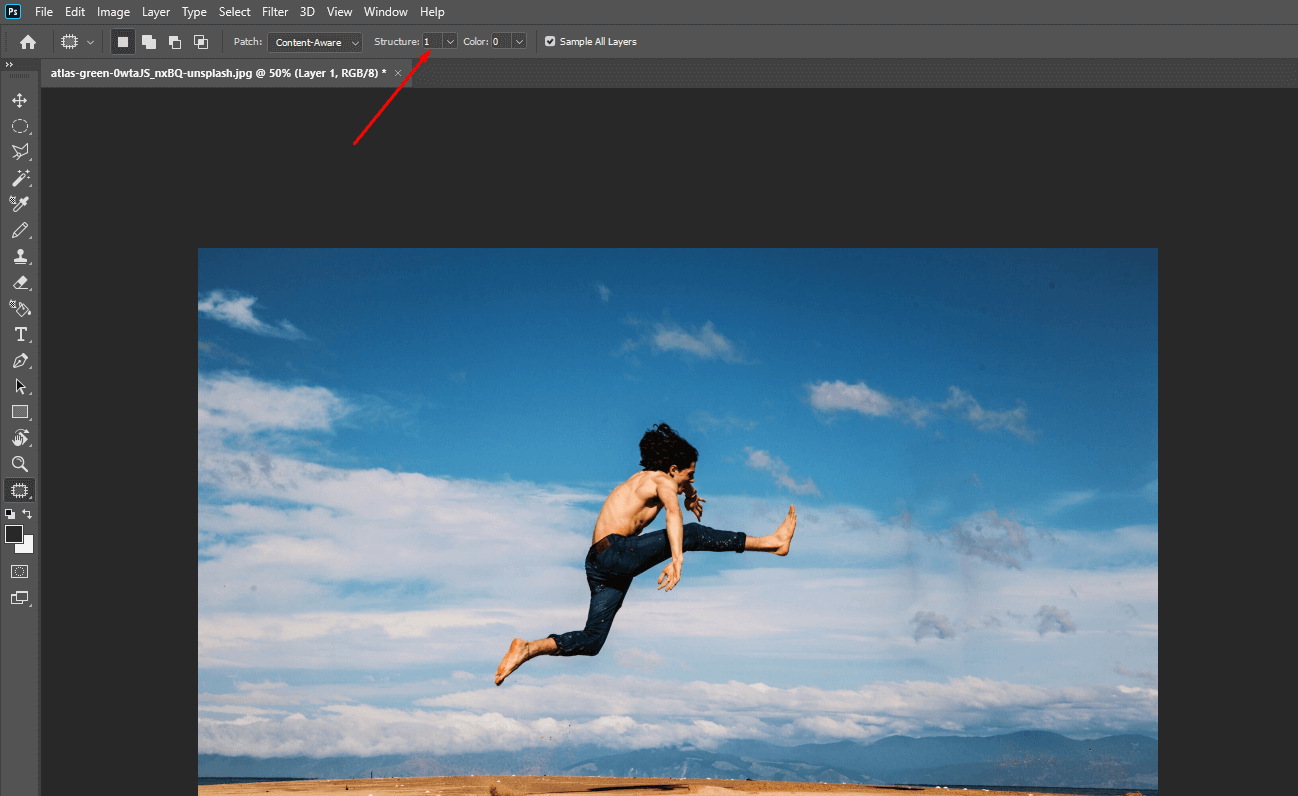
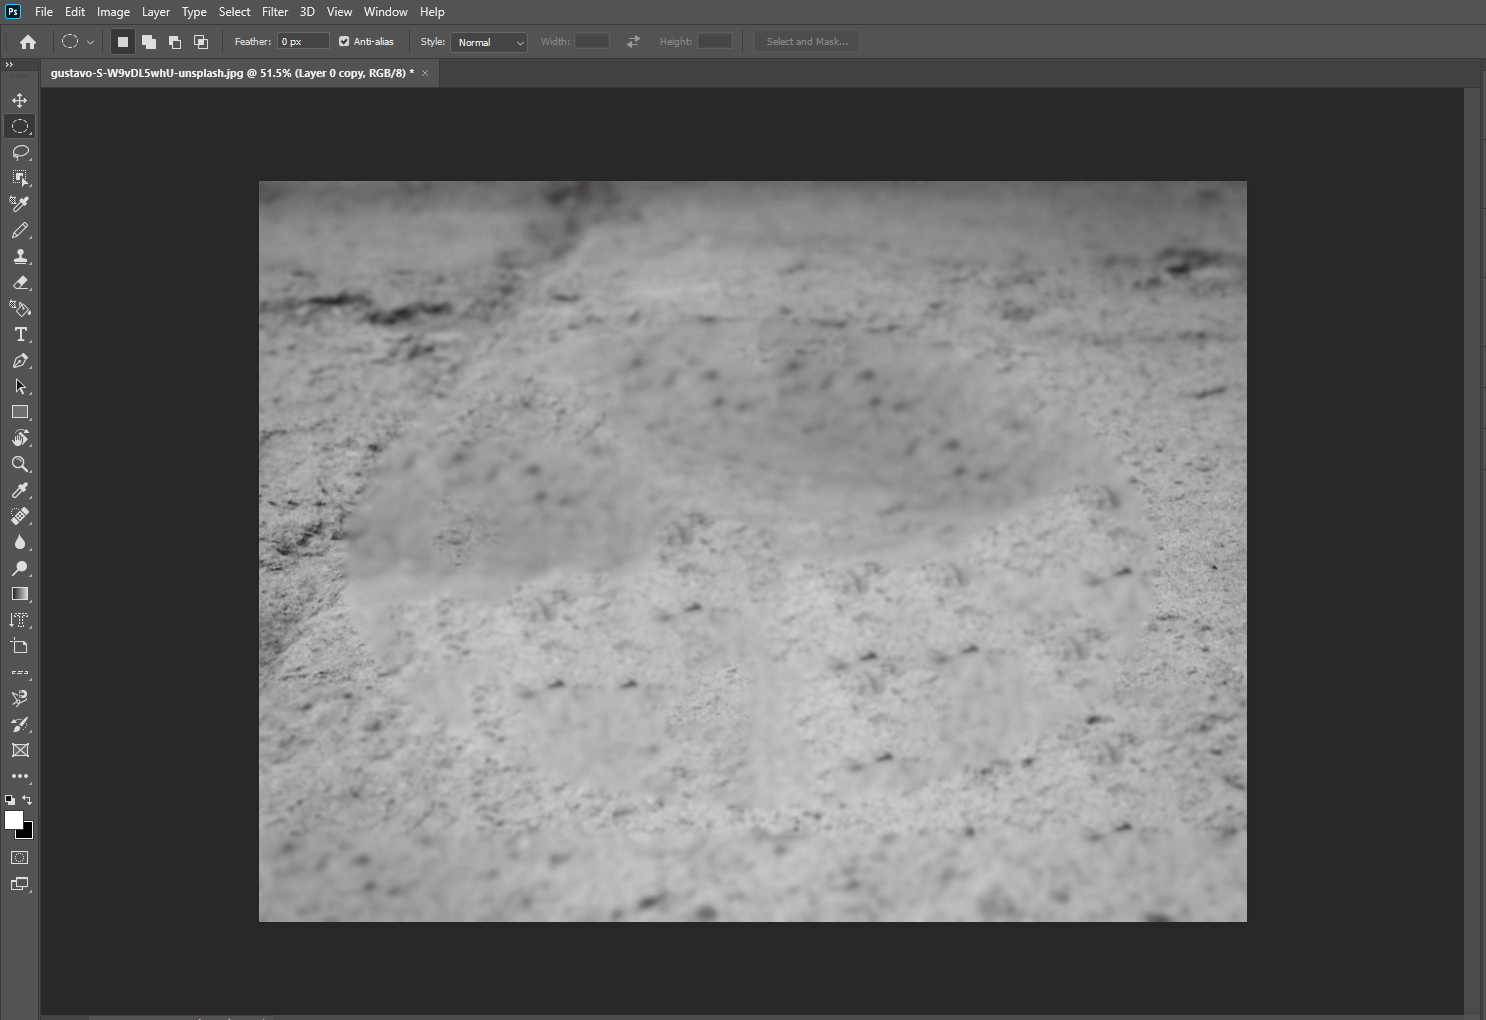
- If any dune is in the background, go to the options panel at the top to set the structure value 1. This value will signal to the program that it can adjust the forms independently.
 This image is used solely for illustrative purposes. We do not intend to offend or conflict with any societal, cultural, religious, or political values. Image Source: Unsplash
- Next to ‘Structure,’ you will find the the’Color’ option. Set the color 0 if you don’t want to shift the color. But if you want to replace the color, set it to 10.
- Using the Spot healing brush, gently heal small unwanted details like hair.
 This image is used solely for illustrative purposes. We do not intend to offend or conflict with any societal, cultural, religious, or political values. Image Source: Unsplash
- Finally, the picture is ready!
 This image is used solely for illustrative purposes. We do not intend to offend or conflict with any societal, cultural, religious, or political values. Image Source: Unsplash
Tip: AI enhancements reduce manual adjustments, blending patched areas seamlessly with surrounding pixels.
Method 2- Lasso Tool: For more control, the Lasso Tool allows you to select objects precisely and fill them using Content-Aware Fill.
Steps:
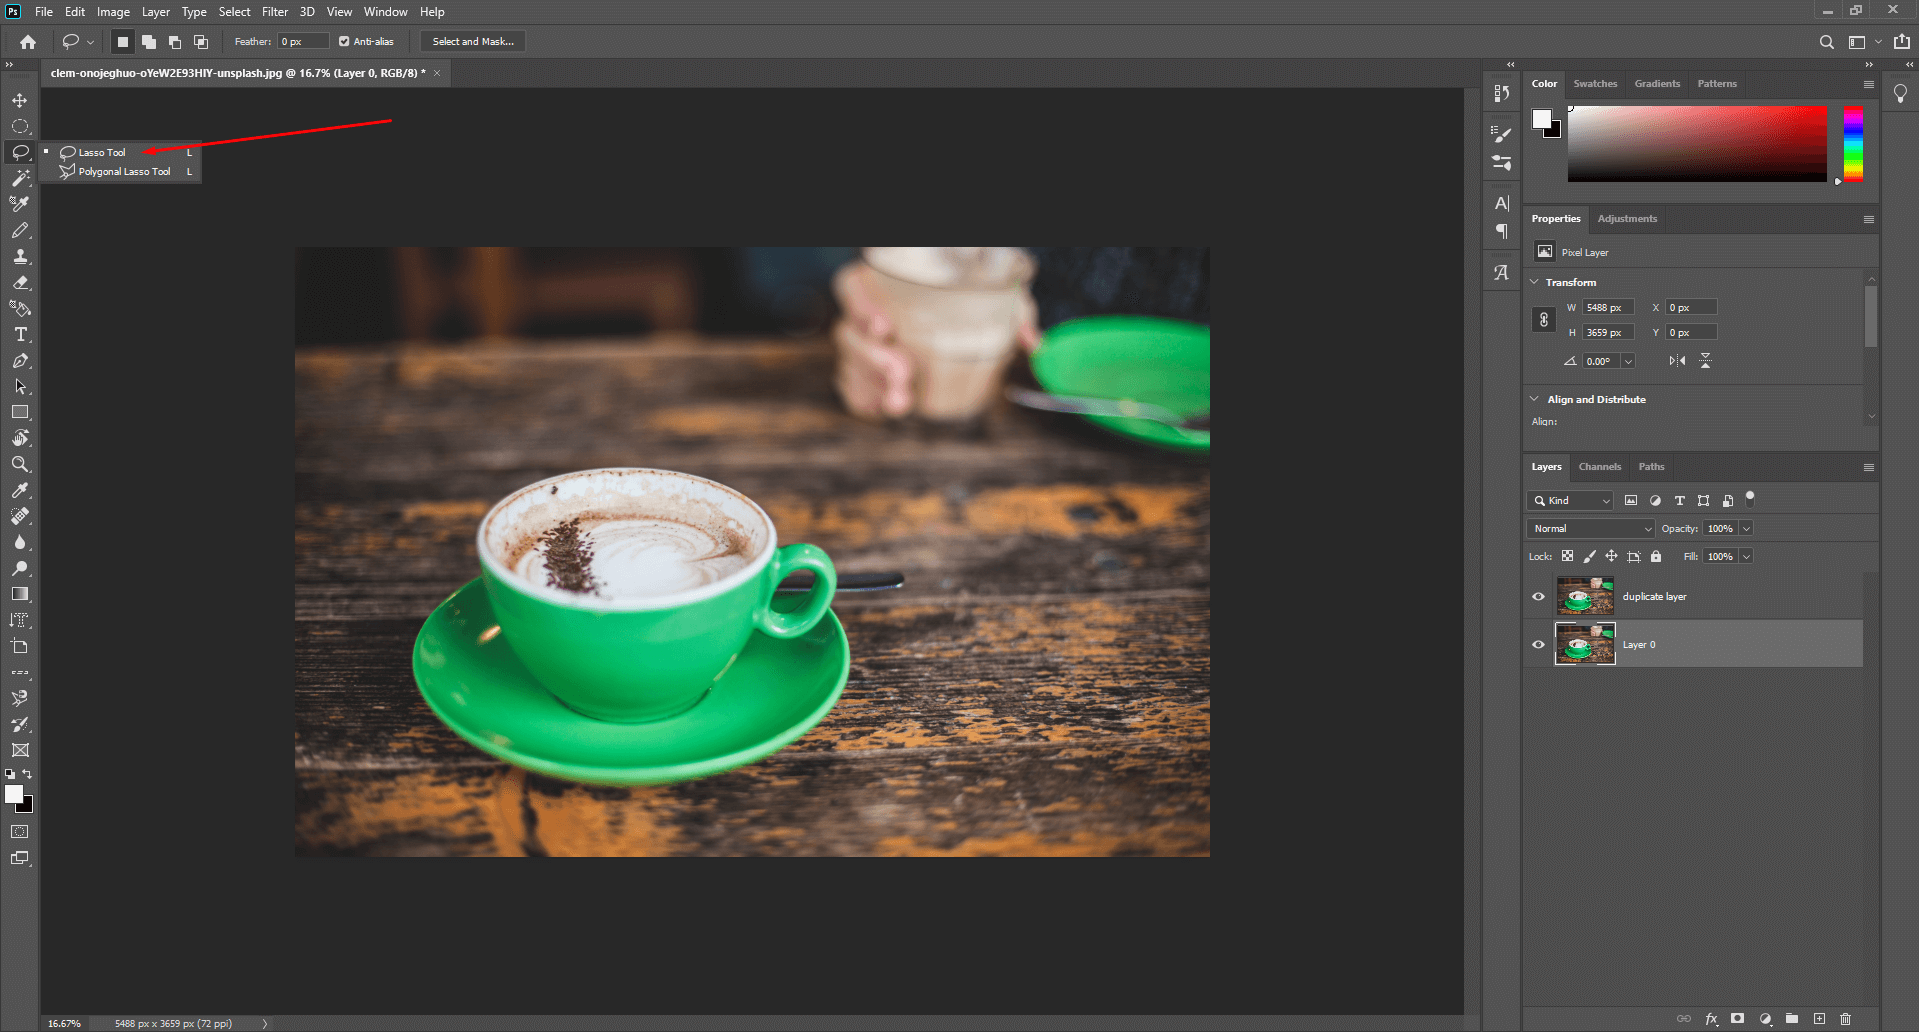
- Open the picture and duplicate the layer.
- Select the object using the Lasso tool.
 This image is used solely for illustrative purposes. We do not intend to offend or conflict with any societal, cultural, religious, or political values. Image Source: Unsplash
- Go to the ‘Edit’ command above and select Fill.
 This image is used solely for illustrative purposes. We do not intend to offend or conflict with any societal, cultural, religious, or political values. Image Source: Unsplash
- A dialogue box with content options will pop up. Select ‘Content Aware’ from the options and click ‘OK.’
 This image is used solely for illustrative purposes. We do not intend to offend or conflict with any societal, cultural, religious, or political values. Image Source: Unsplash
- The object will disappear immediately, replacing it with surrounding sampling pixels.
 This image is used solely for illustrative purposes. We do not intend to offend or conflict with any societal, cultural, religious, or political values. Image Source: Unsplash
- Finally, the object is removed.
 This image is used solely for illustrative purposes. We do not intend to offend or conflict with any societal, cultural, religious, or political values. Image Source: Unsplash
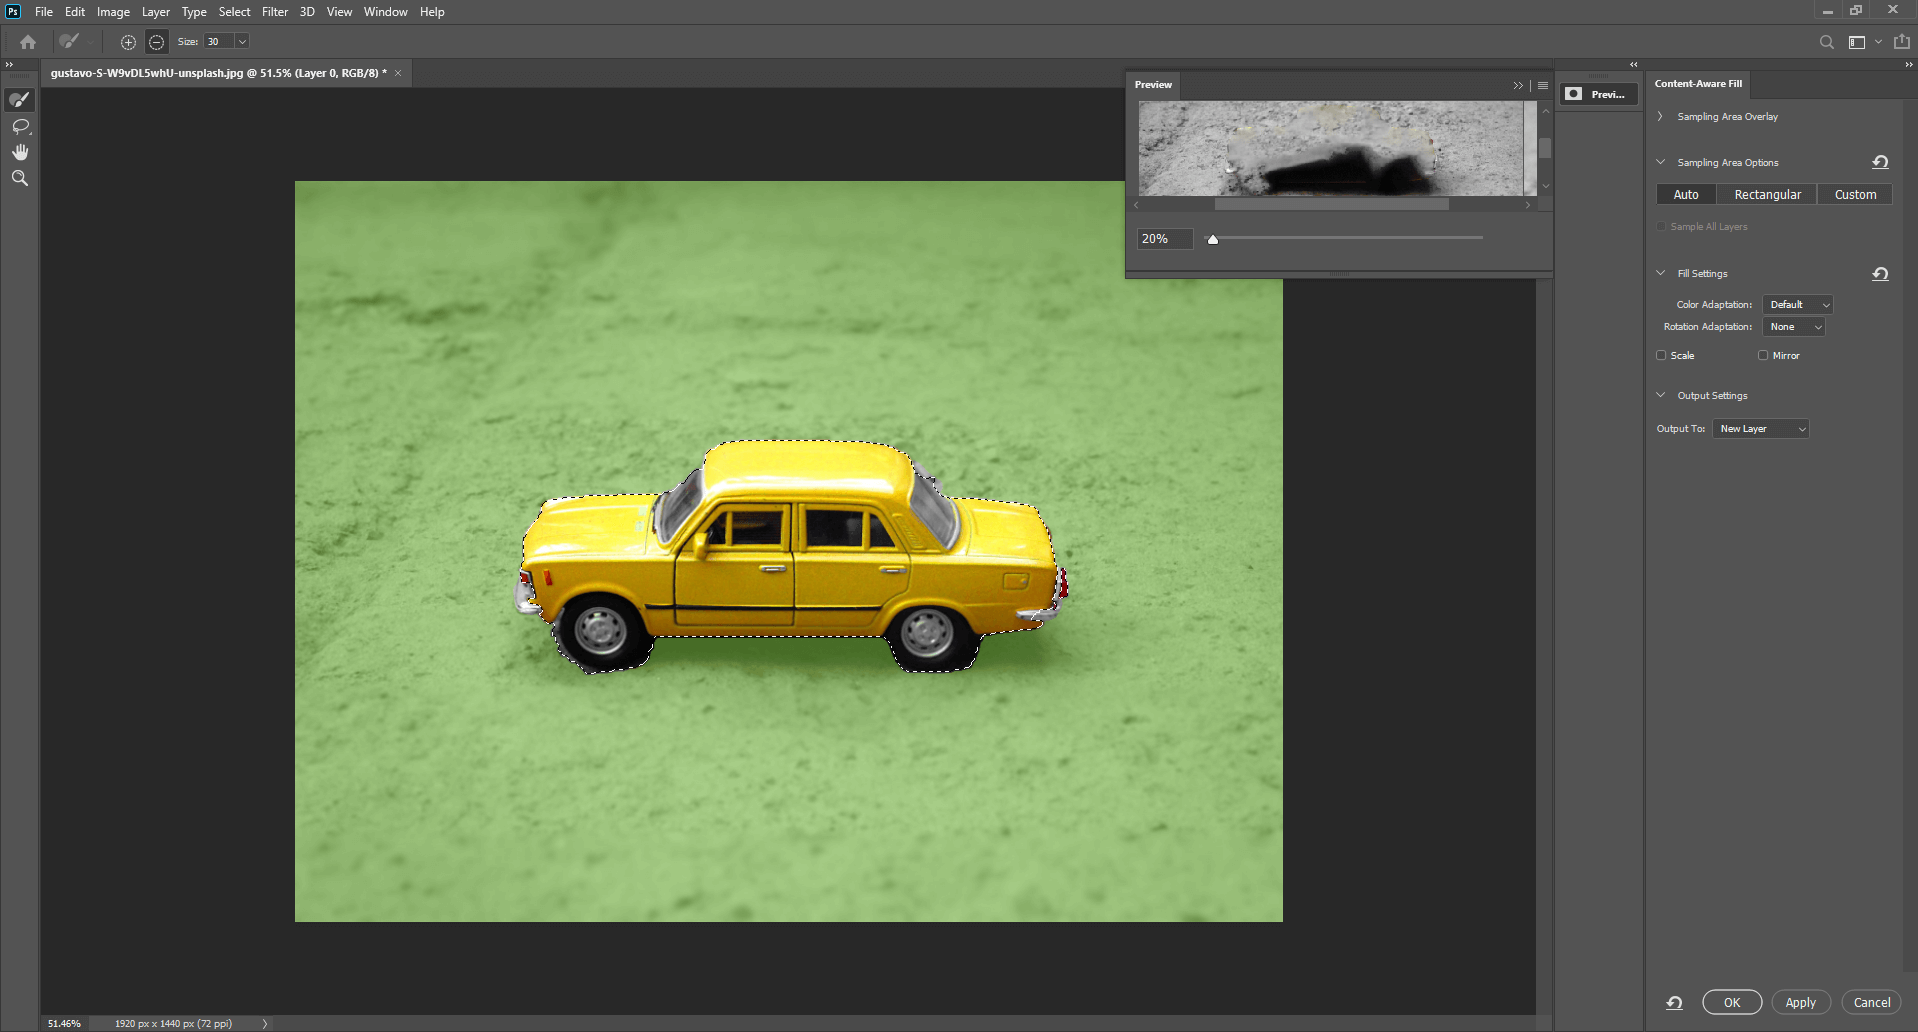
Method 3 – Content-Aware Fill Workspace (for Complex Images): For intricate patterns, large objects, or complex textures, the dedicated Content-Aware Fill workspace gives maximum control.
Steps:
- Open the photo and duplicate the layer.
- Select the object Selection Tool and click ‘Select Subject from the above bar.
 This image is used solely for illustrative purposes. We do not intend to offend or conflict with any societal, cultural, religious, or political values. Image Source: Unsplash
- It will automatically select the Subject. Go to the ‘Edit’ command and select Content-Aware Fill.
 This image is used solely for illustrative purposes. We do not intend to offend or conflict with any societal, cultural, religious, or political values. Image Source: Unsplash
- Consequently, there will be only 4 tools left in the Toolbar.
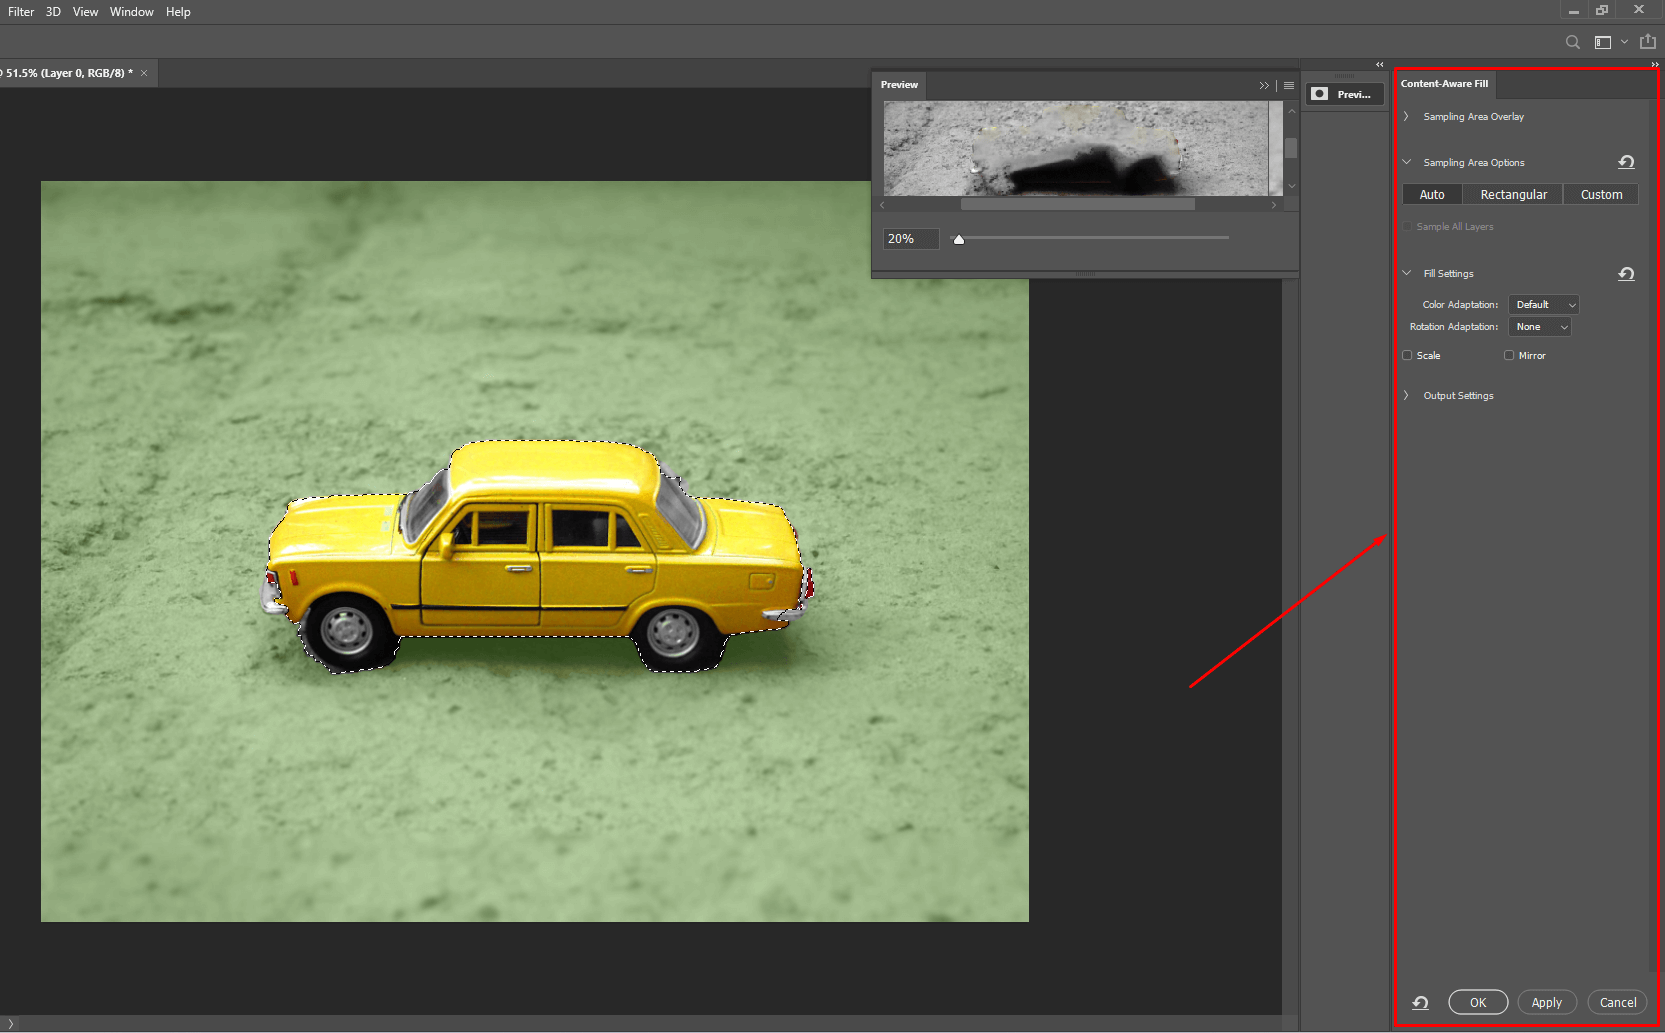
- Select the Sampling Brush Tool in Subtract mode. Check the mode from the above option bar. Also resize the brush from the Size option.
 This image is used solely for illustrative purposes. We do not intend to offend or conflict with any societal, cultural, religious, or political values. Image Source: Unsplash
- Paint over the unwanted parts for replacement patterns. Do it carefully and check the preview for the promising result. Press Ctrl+Z to undo any mistake or Shift+Ctrl+Z to redo any step.
- From the right Content aware fill panel, set the Color Adaptation ‘Default’ and Rotation Adaptation ‘None.’ Keep the Scale and Mirror unchecked. Set the Output according to your preference, but I recommend setting New Layer so that you can overlook if something goes incorrect. Lastly, press ‘OK.’
 This image is used solely for illustrative purposes. We do not intend to offend or conflict with any societal, cultural, religious, or political values. Image Source: Unsplash
- Deselect the area by pressing CTRL+D on the keyboard and look closer.
- The object is removed using Content-Aware Fill.
 This image is for illustrative purposes only. No offense or conflict with any cultural, religious, or social values is intended. All trademarks, logos, & content remain the property of their owners.
New in 2026: AI now helps pick the best sampling areas and replacement patterns on its own, which speeds up complex fills, makes them more accurate, and cuts down on the need for manual tweaks.
B) Adding Sampling Areas
When moving an object leaves gaps in your composition, Content-Aware Fill can fill them naturally.
Steps:
- Duplicate the layer.
- Select the Marquee (M) Tool to select the blank area.
- Head over to Edit > Fill, choose Content-Aware, and make sure Color Adaptation is checked. Click OK.
- Photoshop’s AI detects missing areas and fills them with matching textures and colors.
- For any final touches, use the clone stamp tool to clean things up.
Tip: Photoshop 2026 has this awesome new gap-filling tool that makes editing images a total breeze—it’s like magic!
Content-Aware Fill Versus Watermarks
A lot of photographers are worried that Content-Aware Fill could be a game-changer for dishonest folks, letting them easily erase watermarks and snag their work without asking.
 This image is used solely for illustrative purposes. We do not intend to offend or conflict with any societal, cultural, religious, or political values. Image Source: Unsplash
Let’s test a few types of images to understand the reality.
- I chose a picture with simple repetitive patterns. Content-Aware Fill eliminated the watermark quite well.
- Next, I tried a picture with highly repetitive patterns. Content-Aware Fill didn’t do a great job getting rid of the watermark this time.
- I worked with a two-color image that had a lot of strong positive and negative space. Content-Aware Fill had a hard time with it and messed up some parts, so I found that the clone stamp and healing tools are way better for making those detailed fixes.
- I tried out an image with a bold subject in the middle of a repeated background. This time, Content-Aware Fill messed up the surrounding pixels because it thought the background pattern kept going over the watermark area.
Content-Aware Fill is useful for fixing up simple patterns or small distractions, but it can have a hard time with complex textures, busy backgrounds, or large watermarks. Even with the new updates in Photoshop 2026, it still struggles to completely remove those pesky watermarks without leaving some strange marks behind.
It’s definitely not a perfect fix for removing watermarks. Most of the time, you’ll still have to do some manual editing or call in a pro to really make an image look good.
Important Link: Want to know How to Remove Watermarks From Photos? Check out my blog on this topic to learn.
When to Use Content-Aware Fill Photoshop?
 This image is used solely for illustrative purposes. We do not intend to offend or conflict with any societal, cultural, religious, or political values. Image Source: Unsplash
Photoshop is like a magic lamp, providing numerous tools and techniques for photo editing, object moving, and removal. The only difficulty is understanding when to use which tool for your image. Since we are focusing on Content-Aware Fill in Photoshop, here are some situations where it works best:
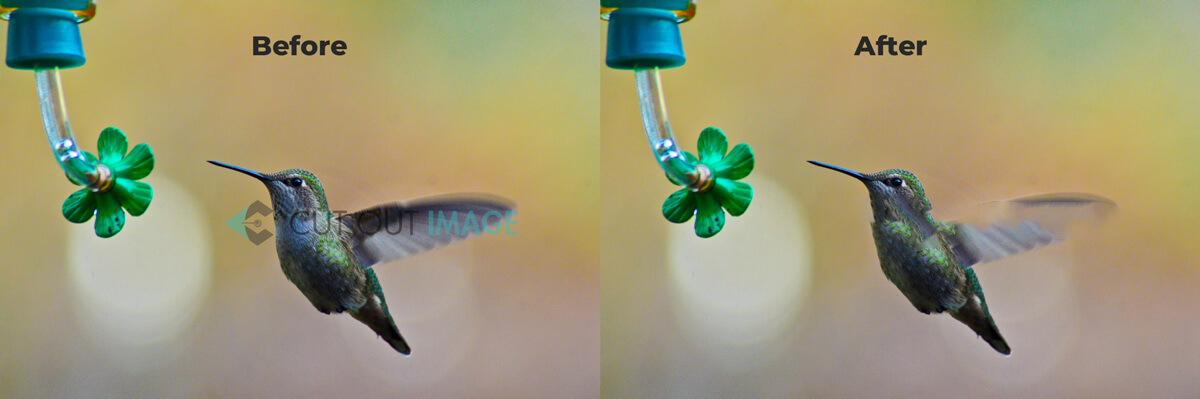
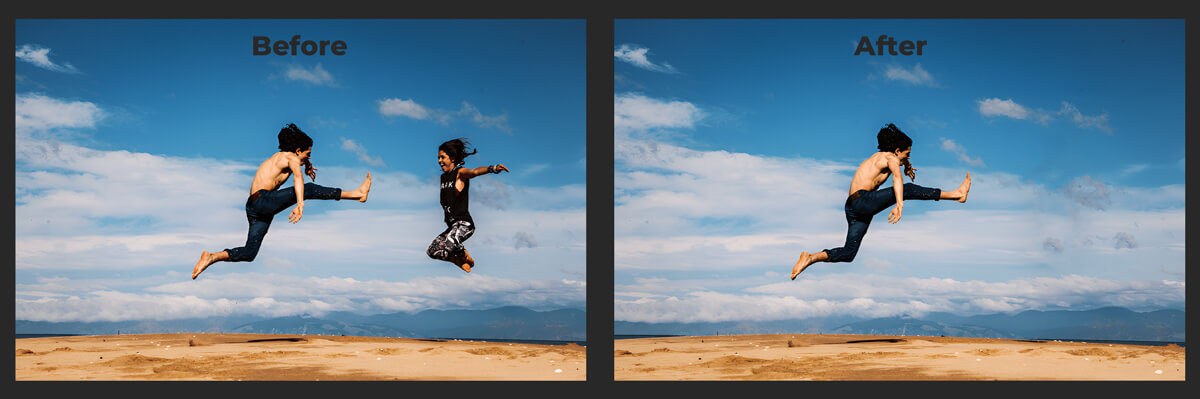
- Remove simple objects from a picture: If something distracts from your main subject, like a passerby in a street shot, Content-Aware Fill can seamlessly erase it without affecting the background.
- Work with uniform colors and textures: Smooth surfaces—like walls, skies, or water—are ideal for Content-Aware Fill, which fills in missing areas naturally.
- Move objects within a photo: If you’re looking to adjust a subject a little, this tool can move it around and mix it with the nearby pixels so it still looks natural.
- Fix missing or damaged areas: If a section of an image is missing or needs some fixing up, Content-Aware Fill basically fills in that spot while keeping everything looking natural.
2026 Updates: Photoshop’s AI suggestions and Content-Aware Fill make editing way easier by automatically spotting the best areas to fill. It speeds things up and gets the details right, no matter what device you’re on. Just don’t forget to duplicate your layers so you’re working in a safe, non-destructive way!
When you run into tricky situations, Content-Aware Fill really delivers some great results. However, Photoshop can still feel complex for many users because of its advanced features and tools.
For more advanced or challenging edits, or if you want a professional touch, the team at Cut Out Image can handle complex retouching while maintaining authentic, polished results.
Why Use Content-Aware Fill in Photoshop 2026
 This image is used solely for illustrative purposes. We do not intend to offend or conflict with any societal, cultural, religious, or political values. Image Source: Unsplash
Professional photographers and designers need great tools, and Photoshop is a key part of their setup. In 2026, Adobe made the already handy Content-Aware Fill feature even better by adding AI suggestions, real-time previews, and making it accessible online. This update made the process quicker and easier to use.
Here’s why Content-Aware Fill is indispensable:
- Save otherwise ruined shots: An annoying object—like someone walking by or some junk in the background—can totally mess up a good photo. Content-Aware Fill makes it super easy to get rid of distractions while keeping the surrounding details just right.
- Fast object removal: Content-Aware Fill is a game changer when it comes to editing. It effortlessly removes small objects, so you can breeze through those annoying or messy backgrounds and save a ton of time.
- Repair damaged areas: Scratches, missing pixels, or weird textures can be fixed easily, making your photos look clean without obvious edits.
- Move objects naturally: Looking to move something around in your composition? The tool now uses AI to match pixels really well, so whatever you reposition will blend in seamlessly with the rest of the scene.
- Automated pixel correction: When something gets taken away, the AI checks out the nearby pixels to fill in the space realistically, keeping the colors, lighting, and textures just right.
- Centralized workflow: All the content-aware tools are now combined into one easy workspace, including the online version you can access through Content-Aware Fill online. This means you can edit from any device and work together more smoothly!
2026 updates: With the new AI tools, you can skip all that trial-and-error nonsense. They help you pinpoint the best areas to tweak and speed up your editing process a whole lot, especially when you’re dealing with bigger or trickier edits. If you’re into photography, this means you’ll get more reliable results, better precision, and you’ll save a ton of time on those annoying little adjustments.
If you’re a photographer looking for flawless results without spending forever on small edits, Cut Out Image is definitely the way to go. They combine classic retouching with modern AI tools to whip up sleek, professional images every single time.
Troubleshooting Content-Aware Fill in Photoshop
Even experienced editors sometimes run into hiccups with Content-Aware Fill, especially when navigating its advanced AI-powered features. Figuring out common problems ahead of time helps avoid hassle and stress, especially if you’re new to this. Here are the biggest pain points and some solutions for 2026:
Trouble 1 – ‘Content-Aware Fill’ Disabled: A lot of beginners notice that the option is grayed out and doesn’t work. This usually happens when they haven’t selected anything.
Solution: When you’re working in Photoshop 2026, always start by picking your object using the Lasso Tool, Object Selection, or any other selection tool you like. The cool thing now is that the AI can even highlight the stuff you didn’t select and suggest areas that could use some filling. This really helps cut down on those annoying mistakes!
Trouble 2 – Tool Unresponsive After Selection: Sometimes the tool doesn’t kick in, even after you’ve picked an object. This usually happens when you’ve got the wrong layer active, like an adjustment layer or a hidden one.
Solution: Make sure you’re working on the right pixel layer. Starting in 2026, Photoshop will let you know if you’re on a layer that won’t work and even suggest switching to one that you can edit.
Trouble 3 – Blank Preview Panel or Fill Errors: You might see a blank preview or an error message like “Content couldn’t be filled because there’s no image data or change layers” when you open up the Content-Aware Fill workspace.
Solution: Make sure you’re using a pixel layer, check that “Sample All Layers” is turned on, and double-check your object selection. Photoshop 2026 makes it even easier by giving you real-time AI previews, so you can see right away if the fill works and get suggestions for other areas to sample in case you run into any blank or messed-up spots.
Trouble 4 – Misaligned or Unexpected Fills (New in 2026): When dealing with tricky textures or really detailed images, the AI might kick out a fill that doesn’t quite blend in with the nearby pixels at first.
Solution: You can use the Sampling Brush Tool to tweak areas by hand. The AI picks up on these changes and gets better at suggesting automatic fills for the rest of the image, which means less fiddling around with manual adjustments.
The 2026 AI upgrades make using Content-Aware Fill a lot easier. If you’ve got complex projects or a bunch of images to deal with, you can always get some professional help from Cut Out Image. They’ll take care of everything and make sure it looks clean and perfect, so you don’t have to worry about it.
Final Words
Photoshop is leveling up again, and in 2026, the Content-Aware Fill tool is quicker and way smarter. With AI suggestions and real-time previews, plus the option to use Content-Aware Fill online, tackling those tricky edits has never been easier or more spot-on.
To really save some time and get great results, it’s super helpful to know how to use Content-Aware Fill in Photoshop 2026. This guide covers everything from easy object removal to more complex fills, along with some tips for common issues. Starting with a simple image is a good way to see how the AI upgrades can boost your workflow and make editing feel smoother.
We want to hear all about your experiences, so drop your results in the comments! Also, don’t forget to swing by our Blog section for more tips and tricks on making the most of Photoshop tools, including how to use Content-Aware Fill online.